- Your cart is empty
- Continue Shopping


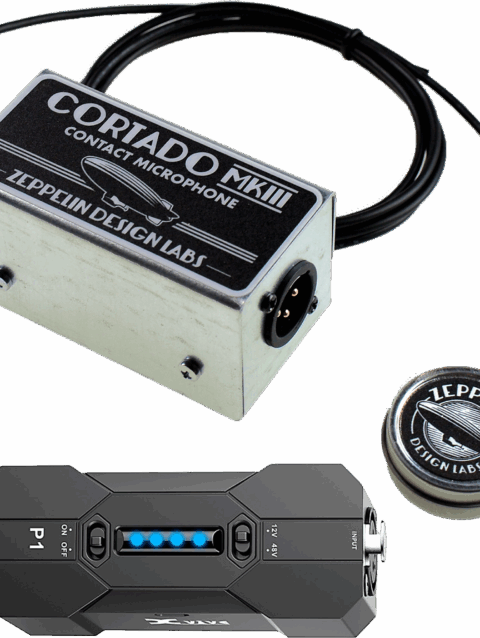
Cortado MkII Balanced Buffered Contact Mic DIY Kit
$1.25 - $44.00
The Cortado MkII Balanced Buffered Contact Mic kit contains a phantom-powered circuit that balances the signal from a piezo transducer and matches its high output impedance to the low input impedance typical of consoles and recorders. Please note the MkII is only offered as a DIY kit.
MkII Features:
- Extended low-end response for full, rich sound
- Adjustable bias for optimal performance
- Crazy-low noise floor
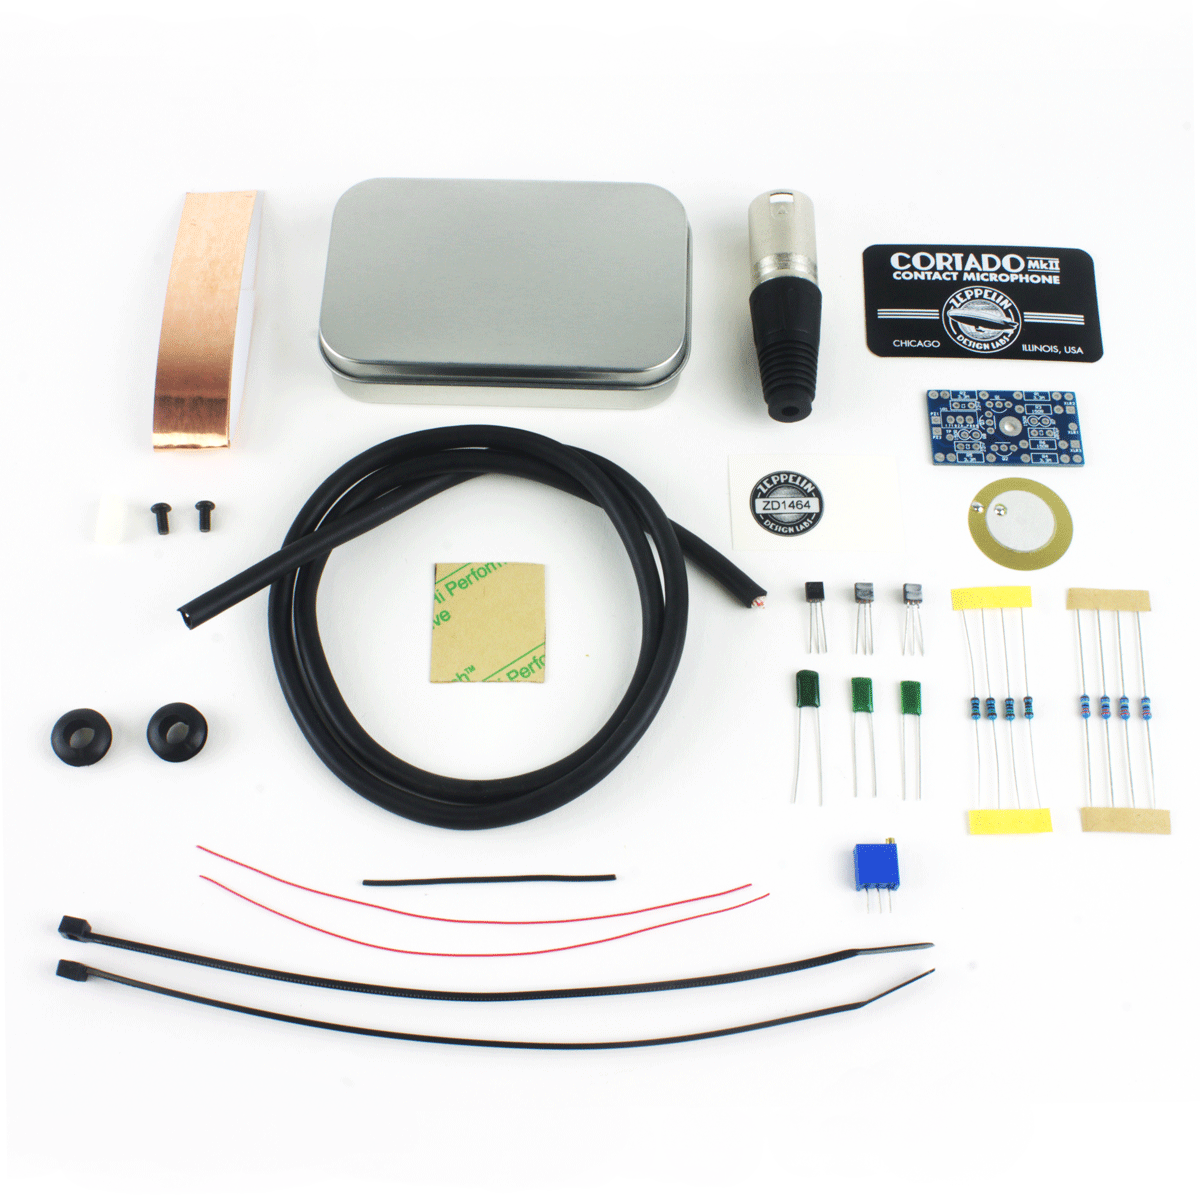
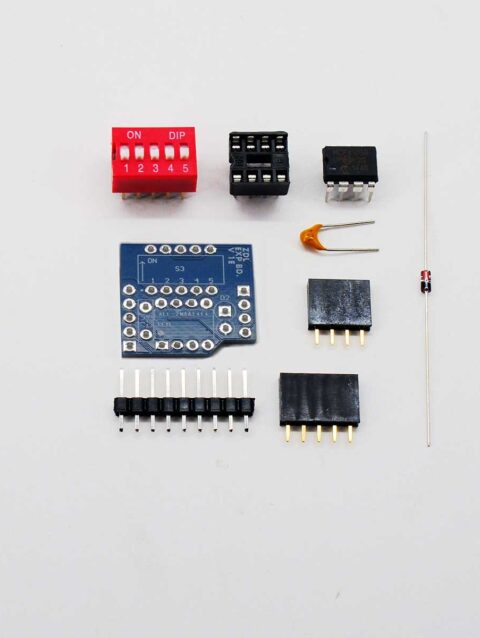
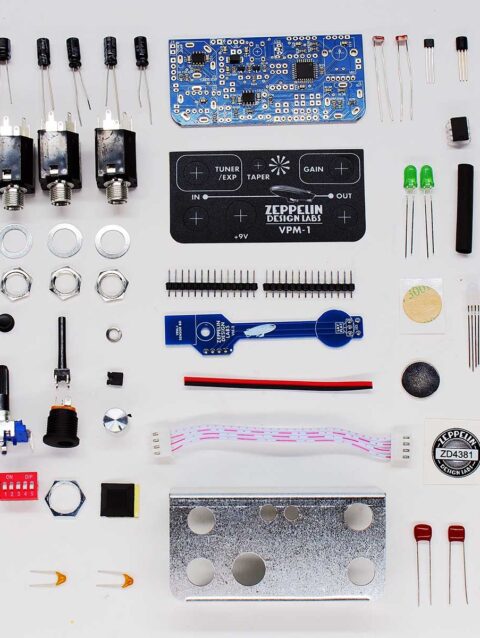
- The kit includes all the parts needed to build a Contact Mic or an Instrument Pickup.
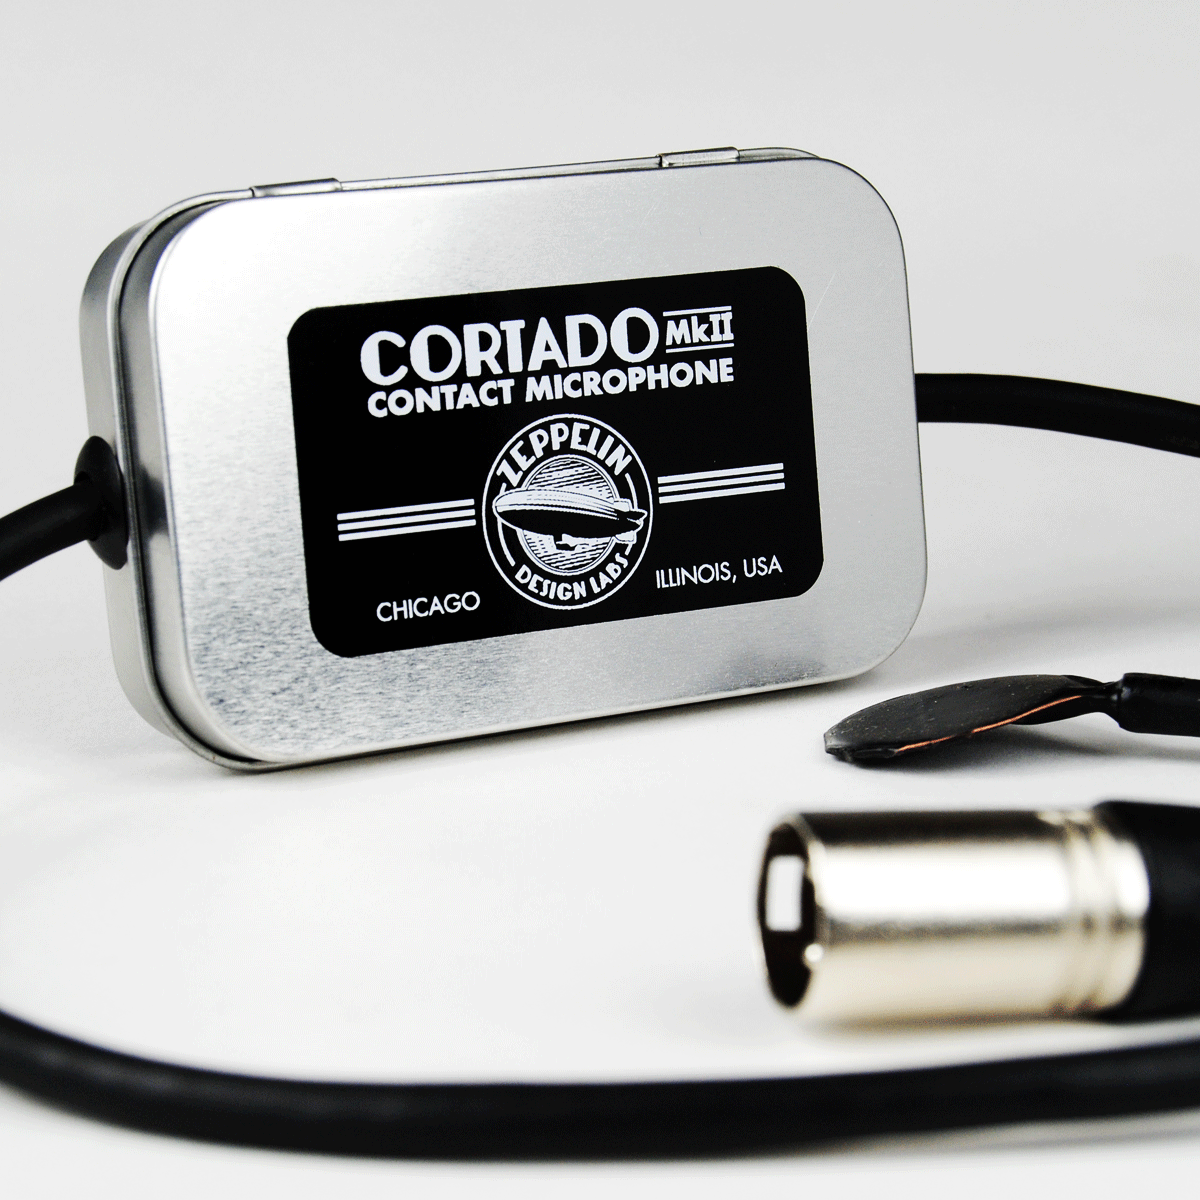
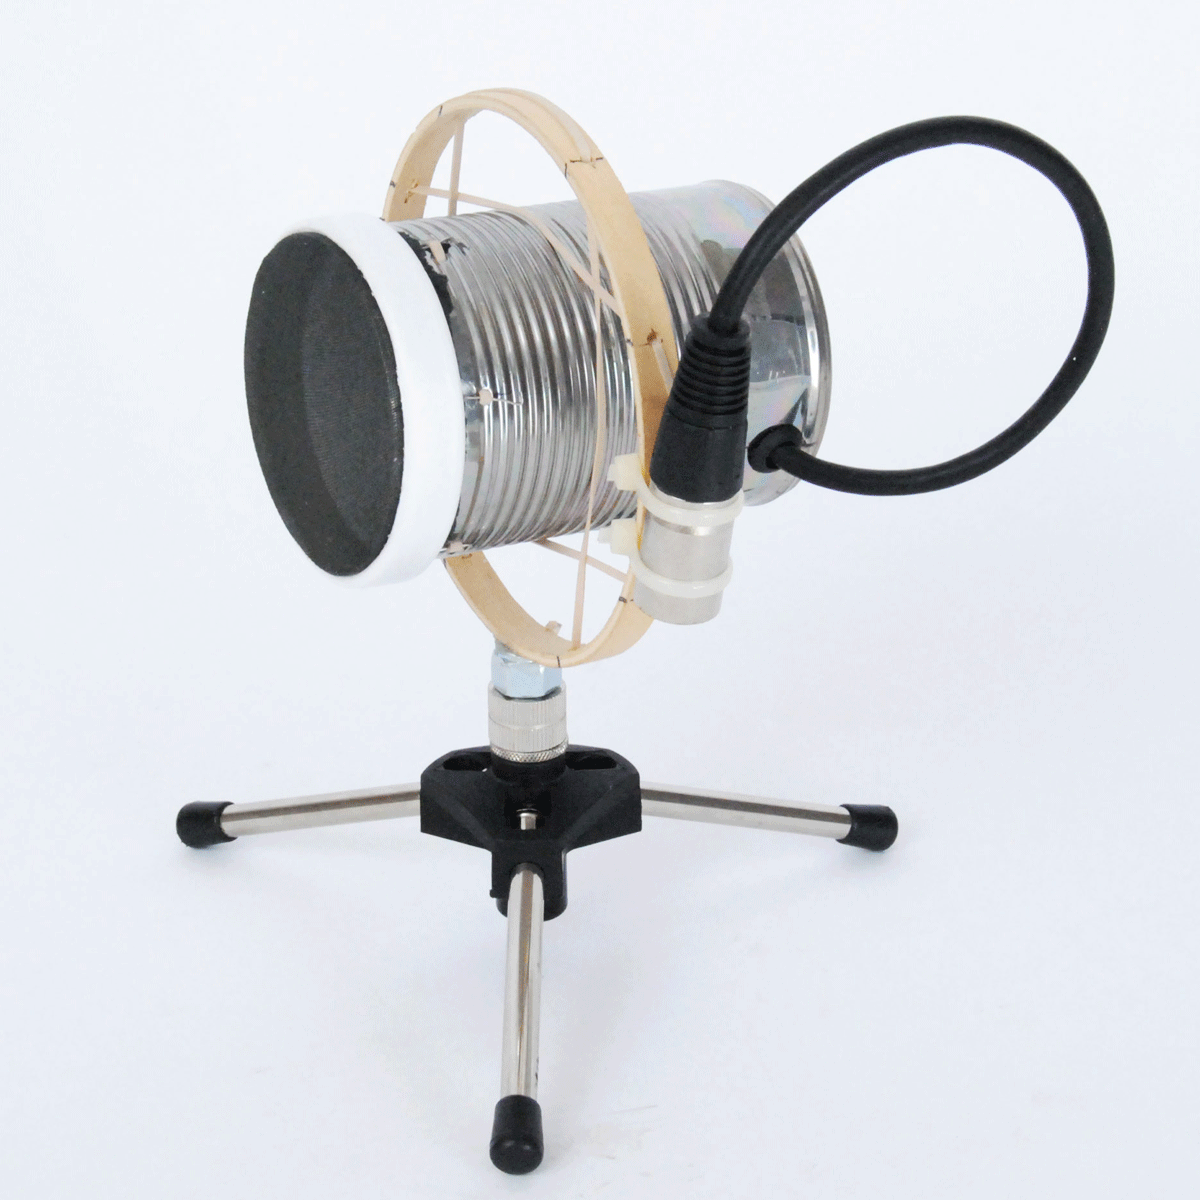
- Cortado MkII can be adapted into a fabulous Tin Can Mic, as detailed in our Instructable (using the original Cortado mic).
- The Cortado MkII requires Phantom Power.
- Bulk mic cable is available to extend cable lengths.
Add to cart
Piezo sensors are quite incredible little things. They can be used to detect the slightest variation in pressure, force, or strain and convert that energy into a voltage. Over the past several decades they’ve been used in numerous applications in several fields including the audio industry. Unfortunately, they’ve developed a bad reputation for sounding “harsh” and “brittle” when used as contact microphones in acoustic instruments. This is due to improper impedance matching and the inadequate driving circuits that are mostly used with these sensors in audio applications. Piezo sensors in themselves are capable of a very wide bandwidth, and when used properly, can achieve excellent results. So with the intention to get the most out of a piezo sensor, we are offering the Cortado Balanced Piezo Contact Mic. This mic contains a phantom powered circuit that properly matches the piezo sensor input impedance and drives the signal via a balanced output, which allows for wide bandwidth (~20Hz-30kHz), low signal losses, and high signal to noise ratio. The Cortado’s circuit was originally designed by Alex Rice for use in his contact mic hydrophone, but it can be used in countless more applications with excellent results. In the recording studio or on stage it can be used on pianos, guitars and other stringed instruments, or even percussion. It can be used as a plate reverb pickup or wooden stomp box mic. We even created this Tin Can Microphone out of stuff we found in the trash (as illustrated in the product photos).
The Cortado is also the perfect accessory for a low-fi geek or a field recording enthusiast. Discover the sounds inside the pipes in your apartment building, or in bridge suspension cables, even in melting ice. Anything that vibrates or resonates with an audible frequency can be captured by this contact mic. Several field recording enthusiasts around the web use this circuit to record some pretty cool stuff; check out these links:
Cortado Field Recordings
The First Rule of CONTACT MIC Club
Getting Connected With Contact Mics
Building Contact Microphones
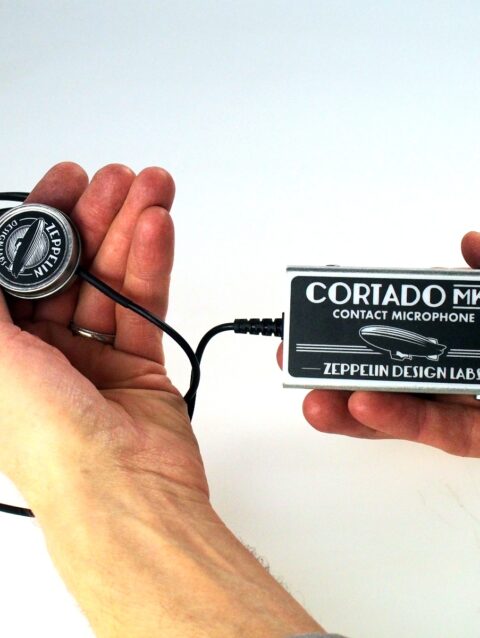
The Cortado kit includes everything you need to build the circuit, complete with a male XLR output, mounting hardware, and several shielding options. Requires phantom power.
The Cortado MkII is under the Creative Commons Share-Alike license, which means you are free to add or build upon this circuit idea in any way your creativity allows, but any derivatives must be shared using the same license.
Studio Band Recording Utilizing Only Cortado Mics
Recording Notes:
Every sound in this song was recorded with the original Cortado. All instruments were recorded using the standard Surface Contact Mic configuration (in the tin box). The vocals were recorded using the “New and Improved Tin Can Microphone” as described by our Instructable. The placement of the Cortados on each instrument was fairly haphazard. The tracks were recorded using the first placement we tried. The acoustic guitar was mic’ed with two Cortados on the soundboard, both about 1 inch behind the bridge, near the low E string and high E string. The upright bass also used two Cortados, just below either side of the bridge. The snare used one Cortado on top of the head, muted by one layer of cotton fabric. The Percolator 2W Tube Amp was used for electric guitar. The 1×8 speaker cabinet was mic’ed using two Cortados, one taped to the magnet of the speaker, the other taped to the outside of the cabinet. We were pleasantly surprised that this mic arrangement captured such good tone from the electric guitar. All tracks were recorded with Logic Pro 9 and a minimal amount of EQ and effects were used… some compression, reverb, and a bit of delay on the electric guitar. For those interested, the band is called Ami Moss and the Unfortunate (for which our very own product designer, Brach, plays guitar). We were also fortunate enough to have Chicago blues legend Glenn Kaiser featured on electric guitar.
You must be logged in to post a review.
- Cortado MkII Balanced Piezo Contact Mic
- Cortado MkII Assembly Instructions / Owners Manual - 3.9 MB PDF. Detailed instructions for making a standard contact mic, the guts of a tin can mic, or an instrument pickup.
- Tin Can Mic
- View the Tin Can Mic assembly instructions on Instructables. This gives detailed instructions for fabricating and assembling our very own Tin Can Mic design. Note the Instructable features the original Cortado circuit, which differs a little from the present MkII circuit.
- Using The Cortado MkII
- Instructions and suggestions are included in the Cortado MkII Contact Mic Owners Manual / Assembly Instructions.
- Terrific article on all things piezo
- Hula Mic
- View the Hula Mic instructions on Instructables.
- Watch the Hula Mic instruction video.
- Download "Essentials of Hula Mic Design" (4.7MB PDF)
- Video / Audio
- Product Promo Video
- Summertime - Ami Moss and the Unfortunate perform this standard in a recording made entirely with Cortados.
- Field Recordings - A few odds and ends we recorded with the Cortado: sheet metal, coffee percolator, grandfather clock.
What you will need to build the basic kit (Surface Mic or Instrument Pickup):
Tools:
- Digital Multimeter, able to measure Resistance
- #2 Philips Screw Driver
- Ruler
- Small awl, or metal poking probe
- Soldering Iron (not a soldering gun, or a “cold heat” iron), good quality, 15-50 watt, with a good medium or small sized tip, conical or “screwdriver” shape. One with a temperature control and a stand is best.
- Wet sponge or dry solder-cleaning pad
- Wire strippers
- Flush cutters or small diagonal cutters
- Needle-nose pliers
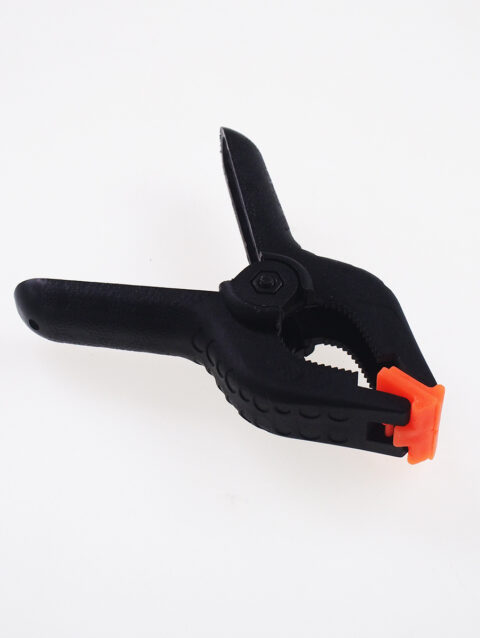
- Some sort of clamp or fixture to hold the printed circuit board while soldering (optional, but it’s nice to work with).
- Solder sucker or solder braid – optional, but very handy if you have to remove / repair any components!
- Scissors
- Cordless Drill
- Drill bits: 9/64”, 3/8”
Supplies:
- Solder, 60/40 rosin core, the smaller diameter the better (we prefer .032” diameter). Make sure it’s good quality; we prefer Kester brand, but the Radio Shack brand will work fine.
- Isopropyl alcohol, denatured alcohol, or rubbing alcohol
- Rough grit sandpaper or metal file (optional, depending on the container you use)
- Electrical tape
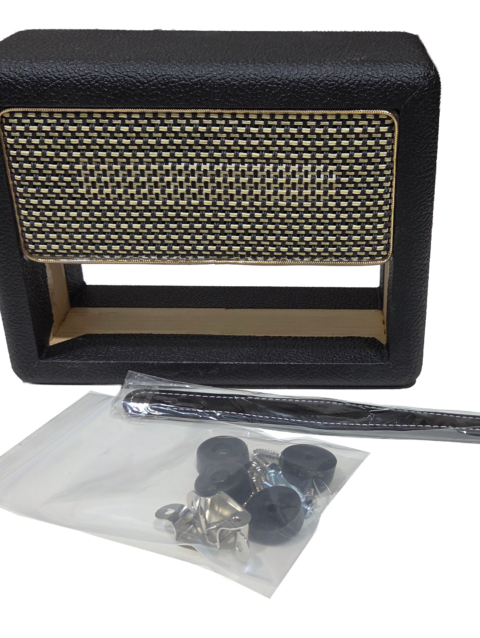
To make the Tin Can Mic as shown, you will additionally need the following:
- Styrofoam cup
- Tin (steel) food can
- Three rubber bands
- Scrap of nylon stocking
- 5" embroidery hoop
- Mic stand adapter
- Mic stand
- Dab of epoxy glue
- Blob of sticky-tack, the stuff used to stick posters to the wall
- #6x2" Machine screw and two #6 lock nuts


Reviews
There are no reviews yet.