- Your cart is empty
- Continue Shopping
Modding A Vintage Ernie Ball Volume Pedal
Adding the Mother of All Volume Pedal Mods to the Original Ernie Ball Volume Pedal
The VPM-1 is a volume mod that I developed for the Ernie Ball Jr volume pedal and we released it as a product in the beginning of 2020 (check out the link, if you’re not familiar with it). Since that time we’ve received a lot of inquires about if this mod would work for the larger line of Ernie Ball volume pedals. Originally, I designed this mod for the “Jr.” line of pedals because I thought they were more commonly used than the larger series…but I may be biased because I’ve always preferred the smaller Jr sized pedals because they fit on my pedal boards much better, while being just as easy and comfortable to use as the larger line of pedals. They are also less expensive! But apparently there are a lot of people who still use the larger line of these volume pedals too. So in this blog I want to show how it is possible to mod these older, larger volume pedals with the VPM-1.
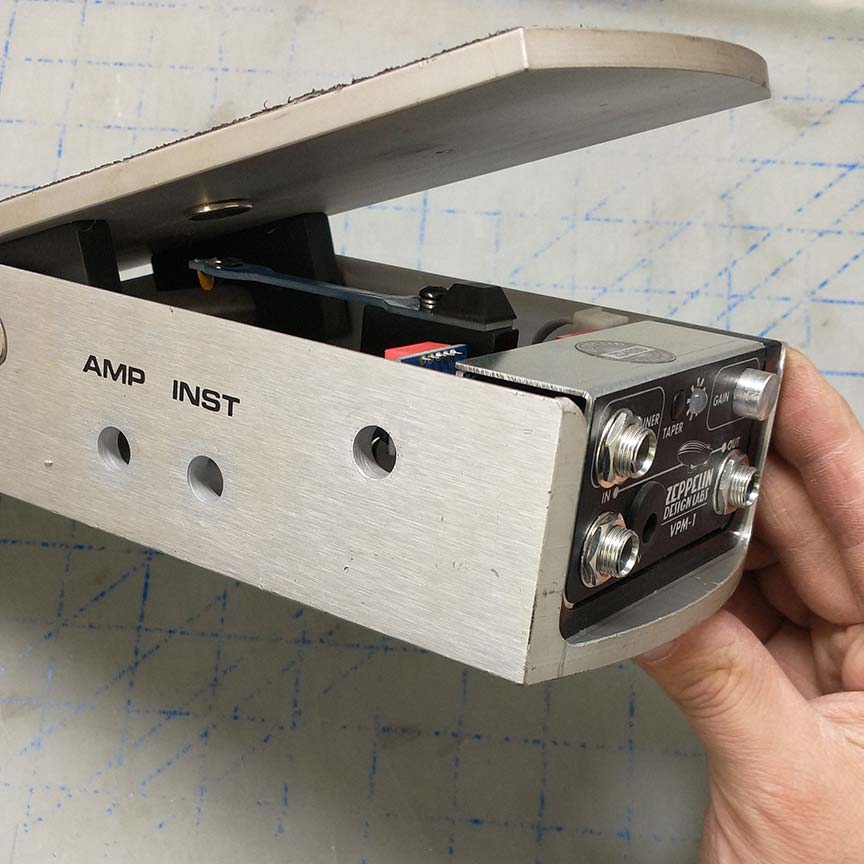
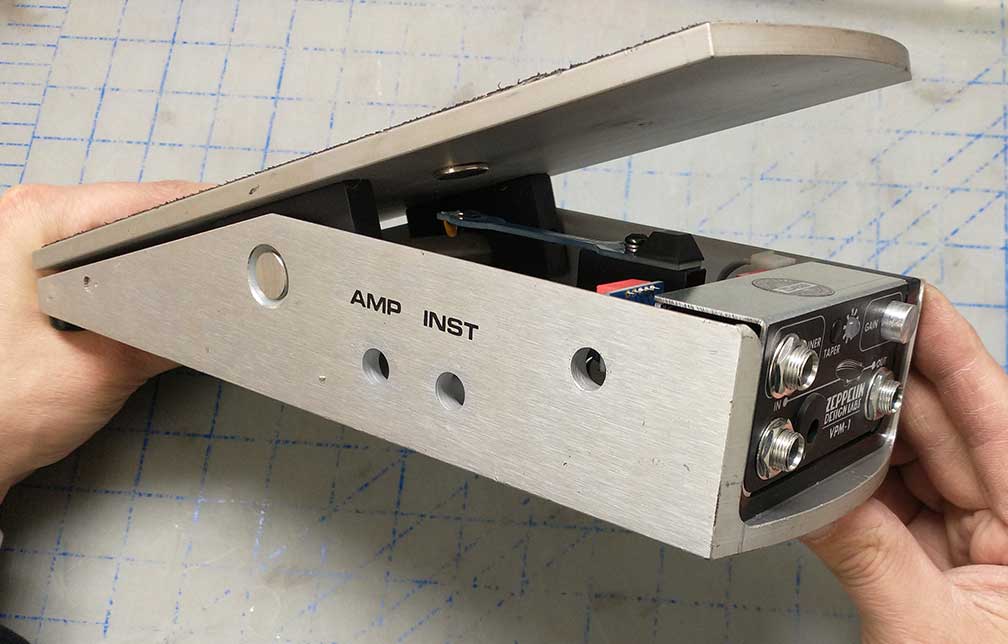
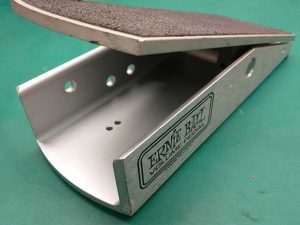
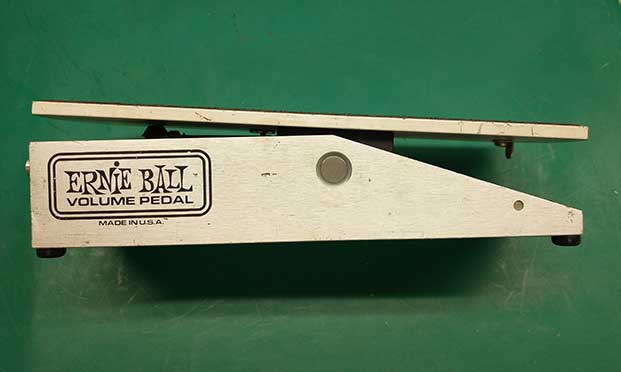
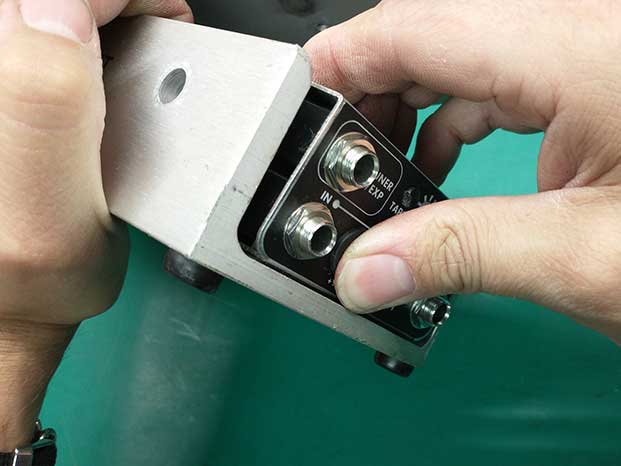
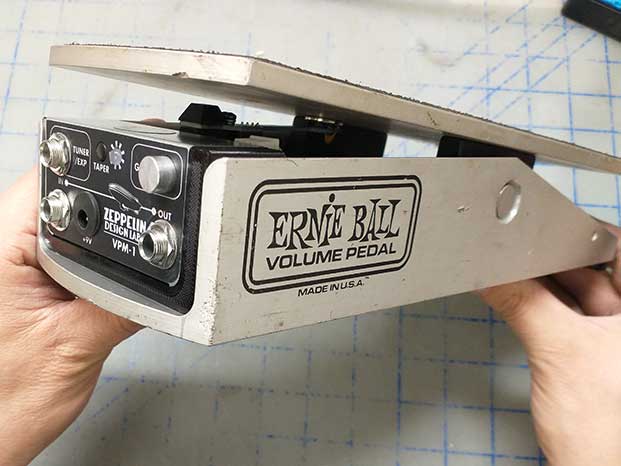
As far as I can tell, there are generally two main models of larger Ernie Ball volume pedals: The vintage model and the more modern model [comparison pic]. The vintage model has the input and output jacks on the side of the chassis. In the more modern model, Ernie Ball started using a jack module at the front of the chassis to house the input and output jacks.

We recently developed an adapter that will mechanically hold the chassis of our VPM-1 onto the pedal chassis of the more modern, larger Ernie Ball pedals. This adapter can be found here. But in this blog, I want to demonstrate how to use this adapter in the vintage volume pedals, as well as an alternate way to hold the VPM-1 mod in the vintage EB volume pedal chassis that doesn’t require any drilling or mechanical modification.
Modding the Vintage Ernie Ball Method 1:
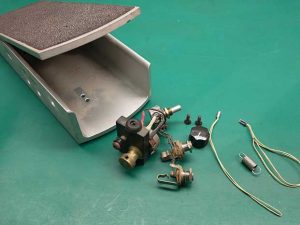
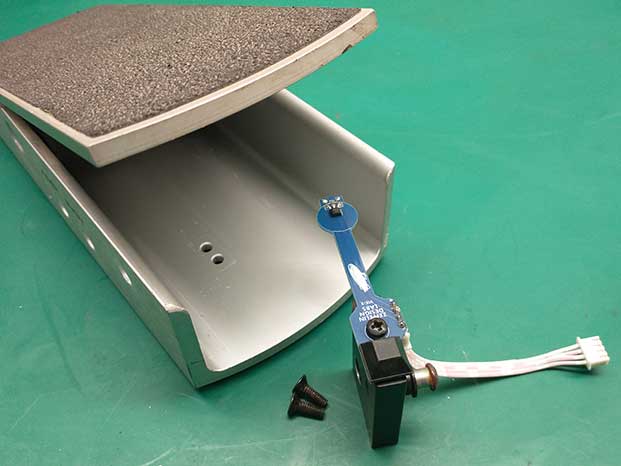
Out of the two methods of modifying the vintage EB volume pedals, I’m going to demonstrate the method which requires no mechanical modifications first. But for both methods the first step is to remove the potentiometer block. It’s not necessary to remove the jacks or other components that are on the side of the pedal, but you may need to cut the potentiometer wires so you can fully remove the potentiometer block. For this particular pedal, I did want to remove the jacks and potentiometer from the side of the pedal so that I could clean the dust and dirt from the inside of the chassis better…my pedal was very dirty.

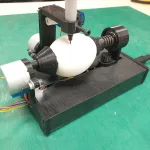
Then I installed the sensor board on the potentiometer block followed by the magnet on the bottom of the treadle. The details for these steps can be found in the VPM-1 assembly manual.

I noticed on this vintage pedal was that the treadle string eyelet was in a slightly different place than the modern versions of the pedal. In this position, the eyelet bumped against the rubber stop on the sensor board. I ended up using a “stubby” (very short) screwdriver to remove it. Otherwise, I could have used some pliers to rotate it, or even bend it up out of the way.

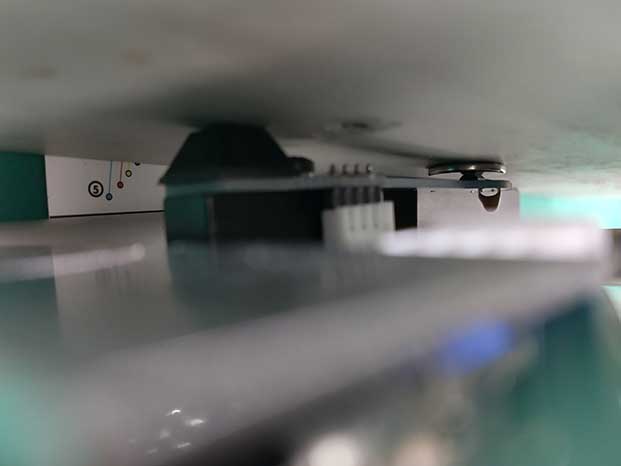
Another thing that I noticed that on this vintage pedal the potentiometer block was slightly taller than on the more modern pedals, causing the magnet to bump into the hall effect sensor and the board to bend down slightly.
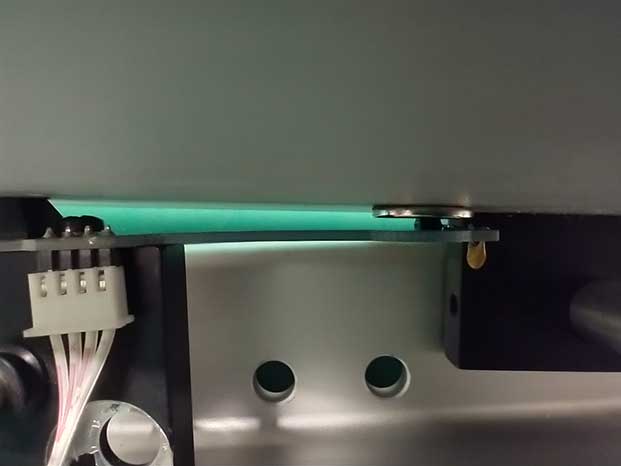
This amount of deflection is fine and will probably hold up for many years of use, but the more ideal solution would be to reduce the height of the potentiometer block by milling down about 1mm. Another possible solution would be to use a thinner magnet, although I’ve never tried this, it theoretically should work. Or another/better solution would be to in-set/recess the magnet to the bottom of the treadle, by removing the treadle and drilling a 15mm wide by 1mm deep hole for the magnet to fit into. For this pedal, I’ll just leave the magnet as it is.
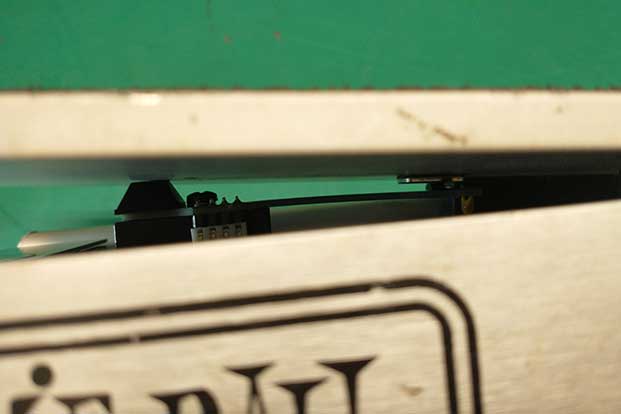
Another effect of the potentiometer block being taller than the modern pedals is that the rubber bumper keeps the treadle from laying completely flat (horizontal). This doesn’t cause the pedal to function any differently, it just slightly reduces the treadle sweep, which is fine by me.
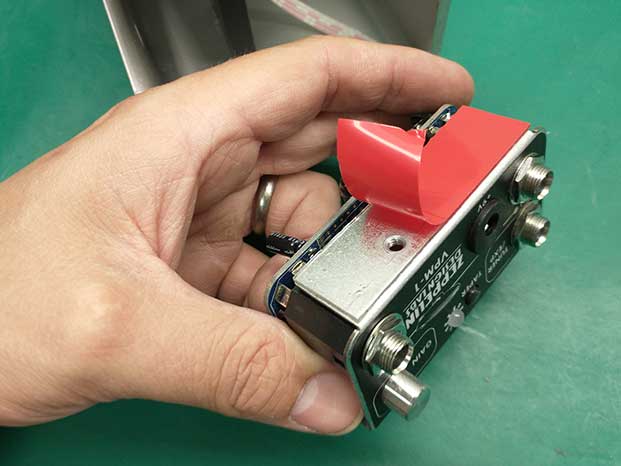
For this first method of attaching the VPM-1 module to the pedal chassis I didn’t want to make any mechanical modifications. Instead, I wanted to try to use double sided adhesive to affix the two parts together. I ended up using VHB (very high bond) double sided adhesive which is a 3M product. The kind of adhesive I used had a 1mm clear base made from some sort of rubbery material. I didn’t want to use a foam-based adhesive (which some VHB models use) because under stress, the foam can often rip while the adhesive still holds.
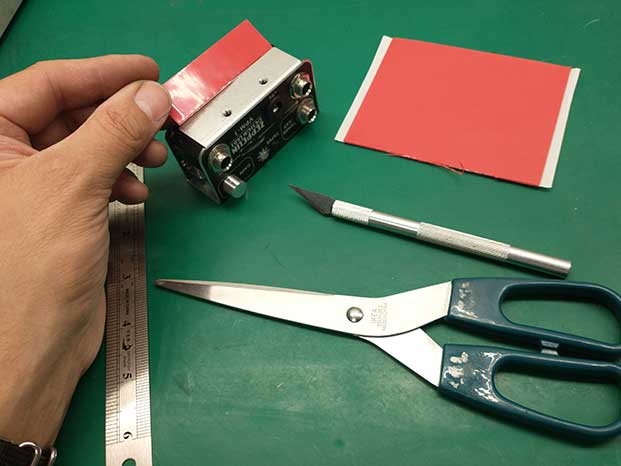
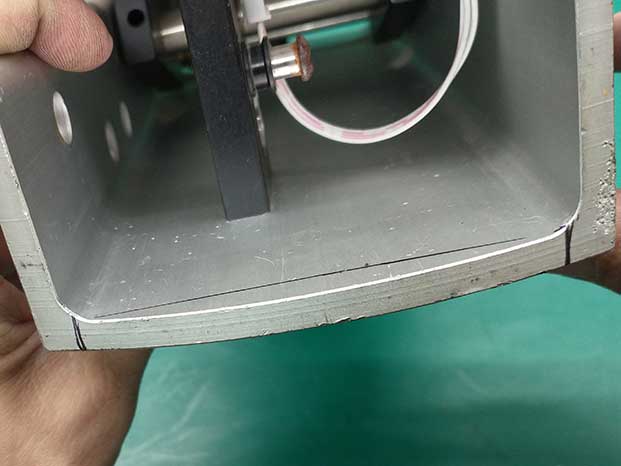
I thoroughly cleaned both surfaces with high octane (99%) rubbing alcohol. I applied a piece of adhesive to the bottom of the VPM-1 main board module. Before I peeled off the adhesive backing, I dry-fit the two parts together to get an idea of where the VPM-1 module should sit inside the pedal chassis. I wanted to make sure that no part of the circuit board (or components) touched the potentiometer block. I found a good place for it to sit and I marked the location on the chassis with a marker.
Then I peeled the backing and carefully aligned and attached the VPM-1 module to the chassis. This type of adhesive takes some time to set up, so I let it sit for 72 hours before using the pedal.
I wasn’t sure how this would turn out. I was worried that the adhesive wasn’t going to be strong enough to hold the parts together as the guitar cables were being inserted and removed from the jacks.
It turns out that I didn’t need to worry. The VPM-1 chassis was very thoroughly adhered to the volume pedal chassis. Inserting or removing the cable jacks didn’t affect it at all. In fact, when I was trying to remove the VPM-1 chassis, I found the chassis was more likely to bend than for the adhesive to release. I eventually had to use an Xacto knife to slowly cut through the adhesive so I could pry the chassis’ apart with a flat head screwdriver. I was able to pick the rest of the adhesive off the two parts with the help of some acetone.
To me, this was a success. It proves that the VPM-1 chassis can easily be secured to the Ernie Ball chassis without any mechanical mods like drilling or screws. The only downside to this attachment method is that if you ever need to access the back of the VPM-1 chassis (for adjusting stereo or expression mod settings), it might be difficult. But if you just use the mono version of the mod and don’t anticipate needing to access any of the other features of the VPM-1, this method is a great option. If you’d like to try this mod, we offer the double-sided adhesive I used in this project on our website store.
Modding the Vintage Ernie Ball Method 2:
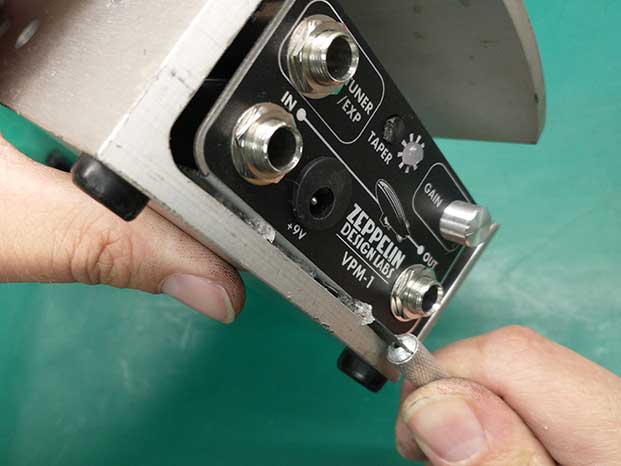
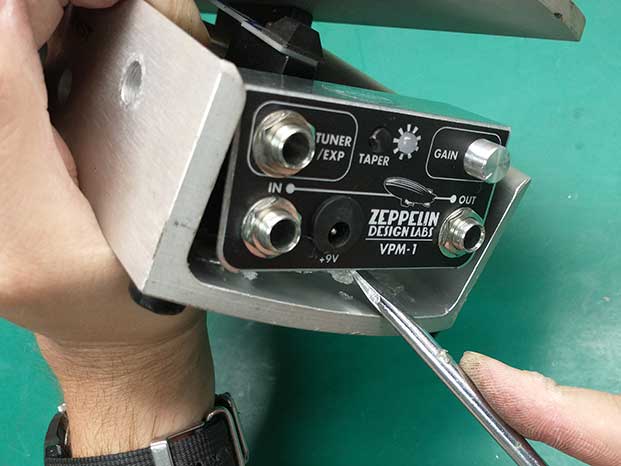
The other method I wanted to try for attaching the VPM-1 module to the Ernie Ball chassis was using the traditional method of screws by way of our Large Format VPM-1 Adapter. The vintage Ernie Ball pedals don’t have any screw holes in the front their chassis, so it is necessary to drill the properly sized holes in the aluminum chassis to mount the adapter/VPM-1 module. It should be a pretty straight forward process to drill the holes to allow the adapter to fit.
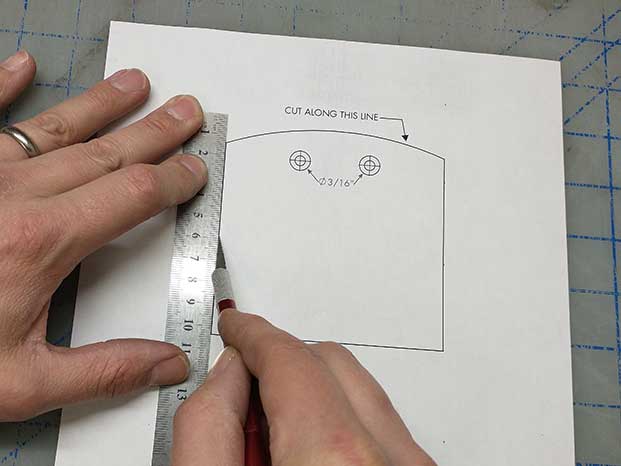
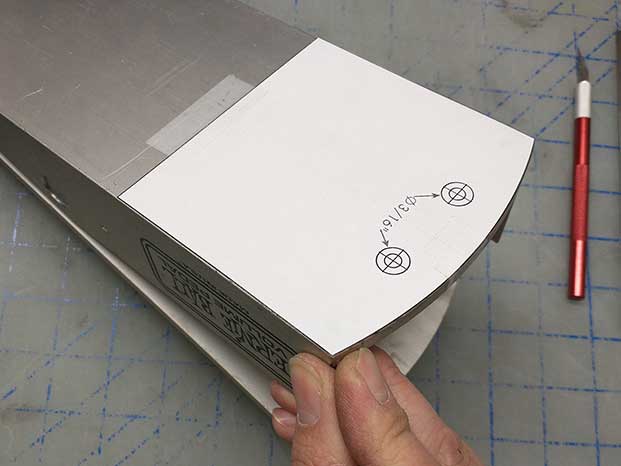
To help with this task, I’ll use this paper template, which shows the proper hole spacing. Be forewarned, these holes need to be pretty accurately placed because the adapter is precisely sized to fit in the chassis. Just take your time to cut out the template precisely and make sure the template is lined up and placed properly before you mark any holes. The best/most accurate way that I’ve found to place the template is to make sure the front 2 corners are lined up to the chassis, then tape 2 sides of the template down to the pedal to hold it in place.
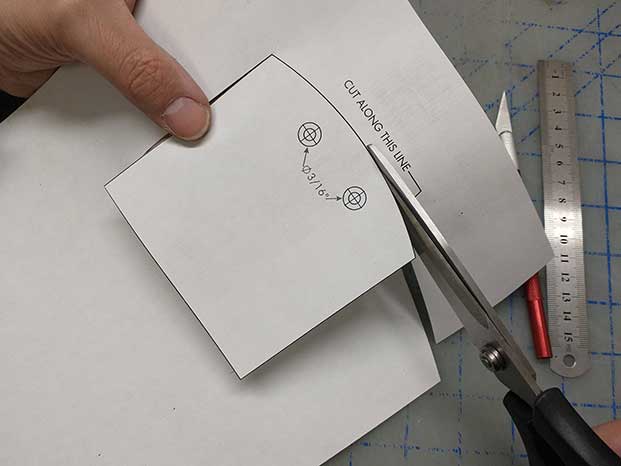
I cut around the outline of the pedal (using an X-acto knife to cut the straight lines and scissors to cut the curve) and taped the template in place.
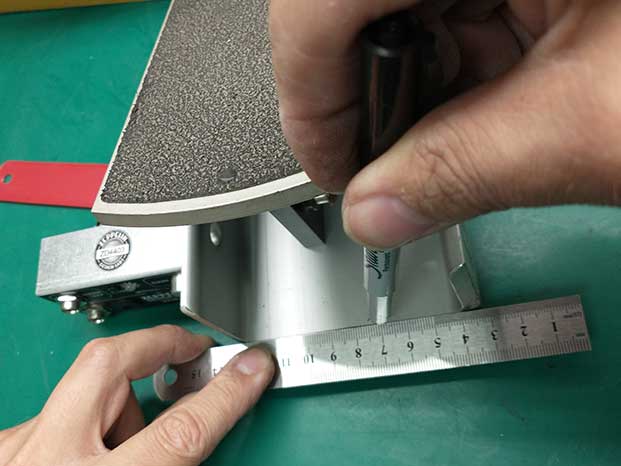
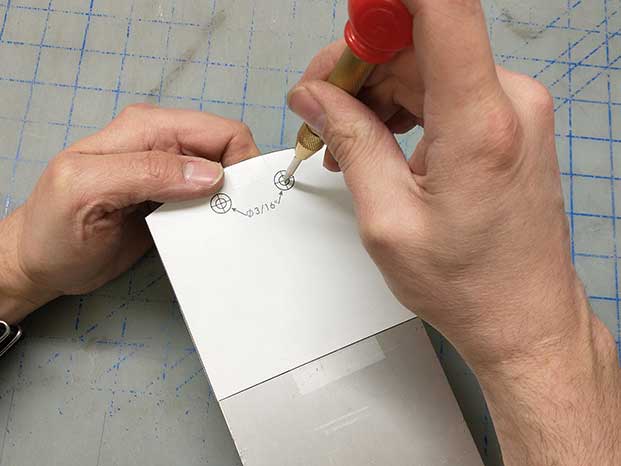
Then I very carefully lined up the template and taped it in place on the bottom of the chassis.
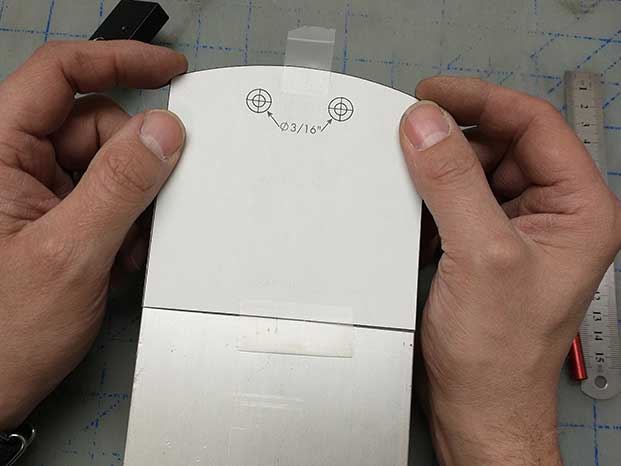
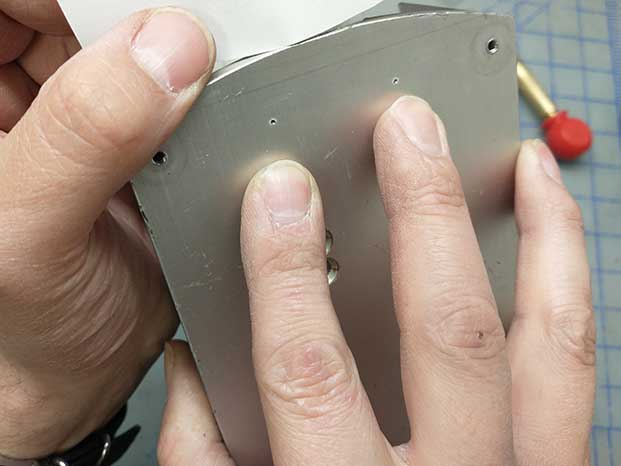
I used a center punch to mark the chassis where the holes should be drilled.
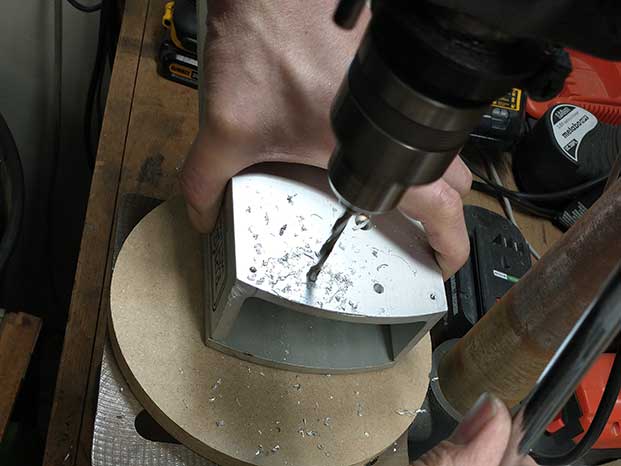
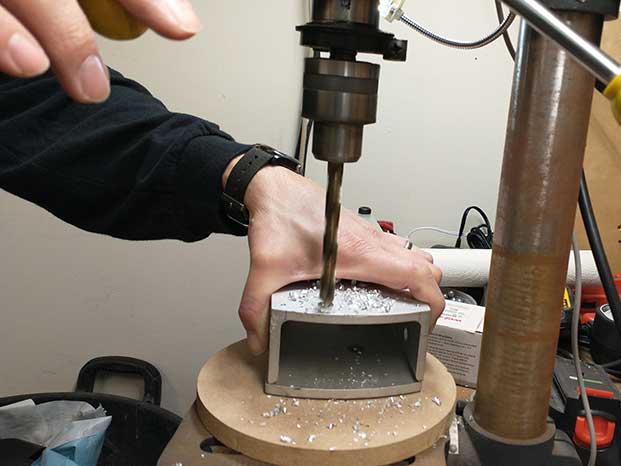
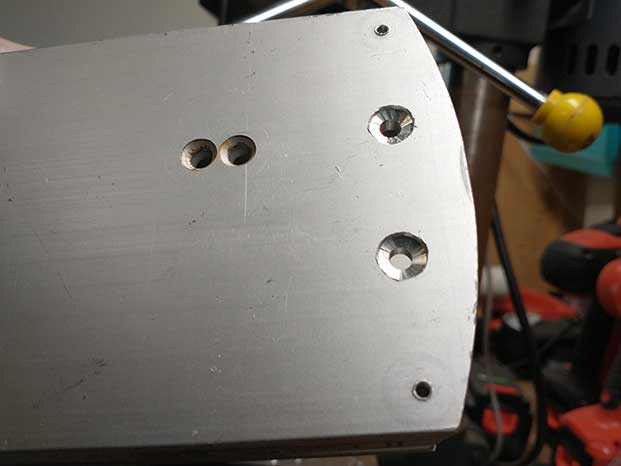
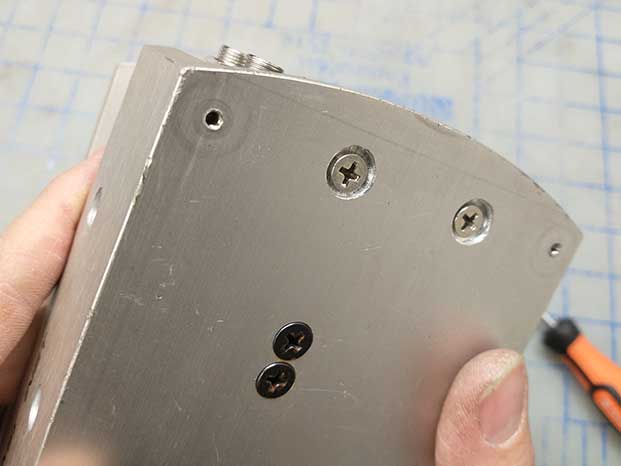
I removed the paper template and I used a drill press to drill the two 3/16” holes in the proper places. I then counter sunk these holes with a [larger] drill bit so the flat head screws wouldn’t protrude from the bottom of the chassis. In this case I used a 25/64” bit, but it could basically be any size drill larger than the screw head. If you misalign the holes, you can always use a slightly larger drill bit to expand the holes so the screws line up to the adapter holes.
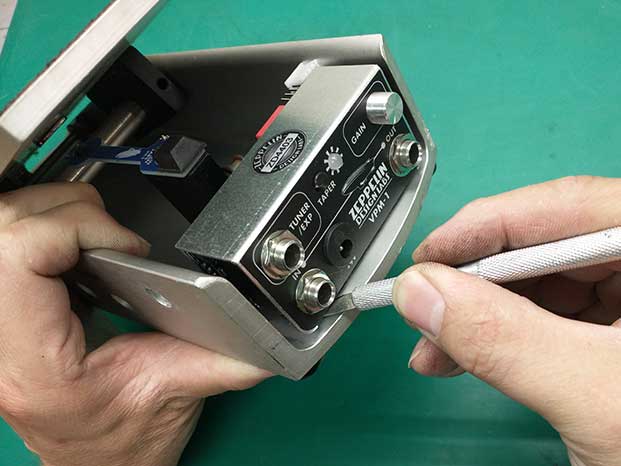
After this, I just followed the steps given in the VPM-1 assembly instructions to finish assembling the pedal.

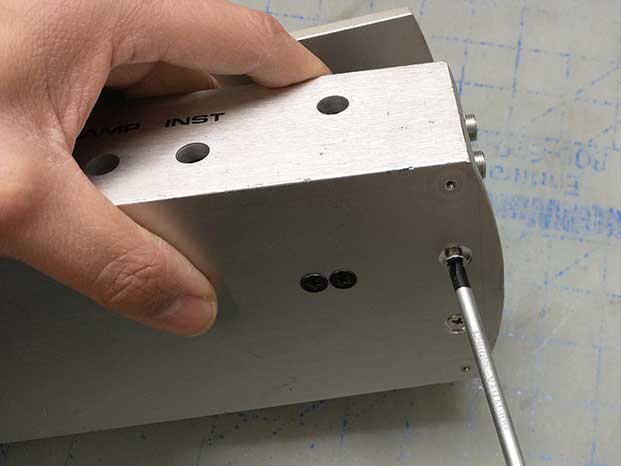

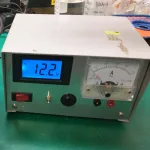
I calibrated the pedal and was able to start using it. I ended up using the green calibration line because of how the treadle sits on the pedal. The mod works great!

Conclusions:
Overall, I was very impressed with how the VPM-1 interfaced with the vintage Ernie Ball volume pedals. I would say it is a very viable option for someone who has an old volume pedal sitting around that they don’t use anymore because the string has broken or the pot is dirty and noisy in the signal path. I was especially impressed with how well the adhesive tape method worked for mounting the VPM-1 module because it was so easy and simple.
I personally think it looks a little nicer and more professional to have the large format adapter installed along with the VPM-1 module, but mechanically modifying the chassis by drilling holes in it might be a little daunting for some people who aren’t very handy (or not an option because they don’t have the tools). But that’s why it’s always good to have options with mods like this.
I hope this has been informative and gives you some inspiration to mod your own volume pedal!