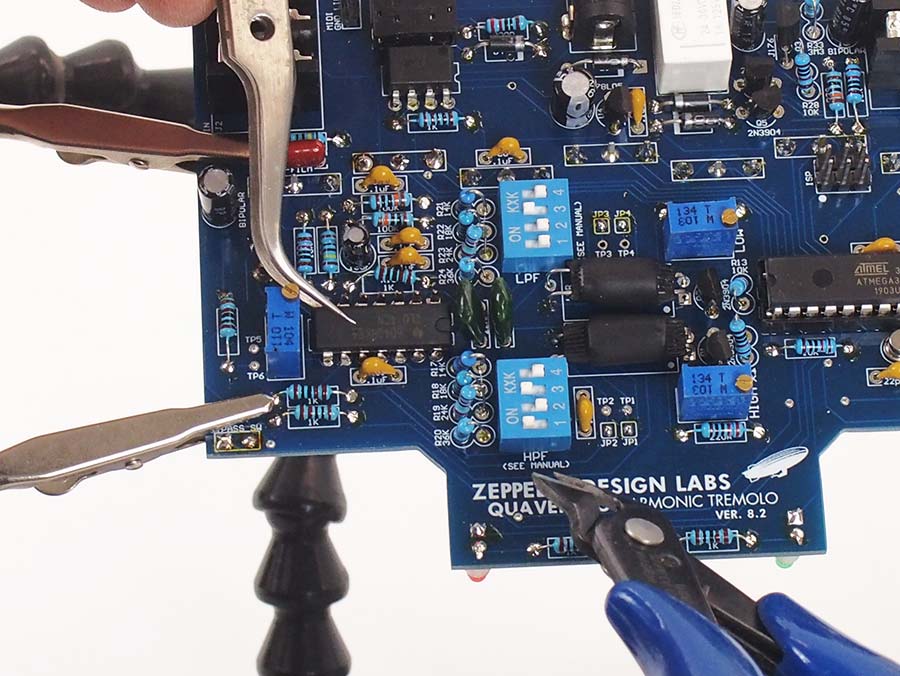
One way to not destroy your PCB while removing components.
It can be tricky to successfully remove a dual inline package (“DIP” for short) integrated circuit from a PCB without damaging the board. To remove hole-through components, most professionals use an automatic vacuum soldering iron that heats up the solder joint and then sucks off the solder at the same time. But if you don’t have one of these tools, the next best technique is to clip the leads. The only down-side to this process is that you end up destroying the component. But that shouldn’t matter much, assuming the reason it needs to be removed is because it is bad. This technique can even work on several types of surface mounted packages…but in that case you usually need to use a blade to cut the leads instead of snips.
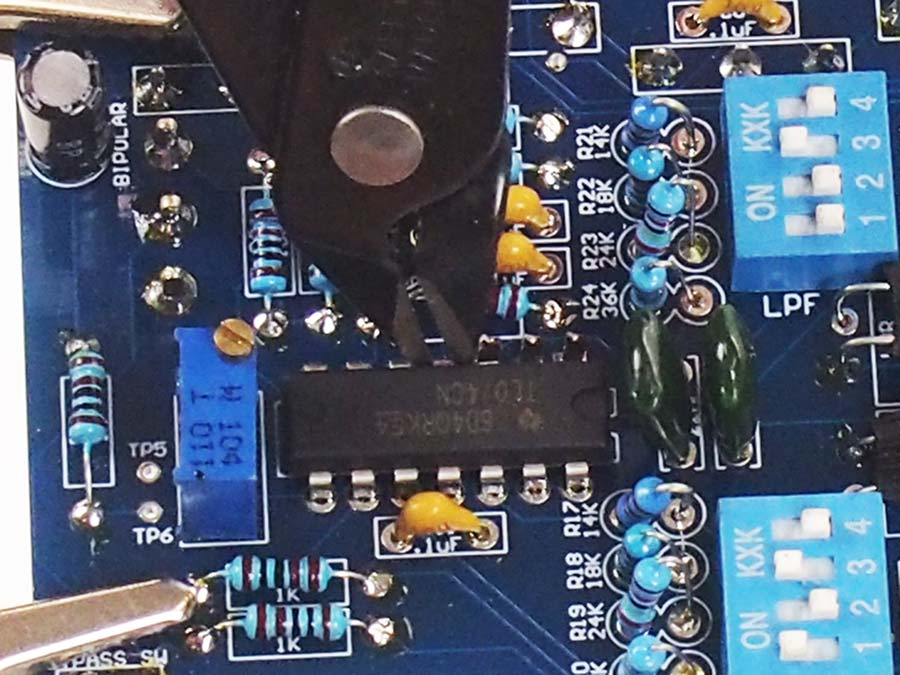
1.It’s pretty simple…just start snipping the leads of the IC you want to remove. It’s best to clip them off right at the body of the component. That way the severed lead is big enough to easily grab with tweezers in the next step. Remove the body of the component once it is disconnected.


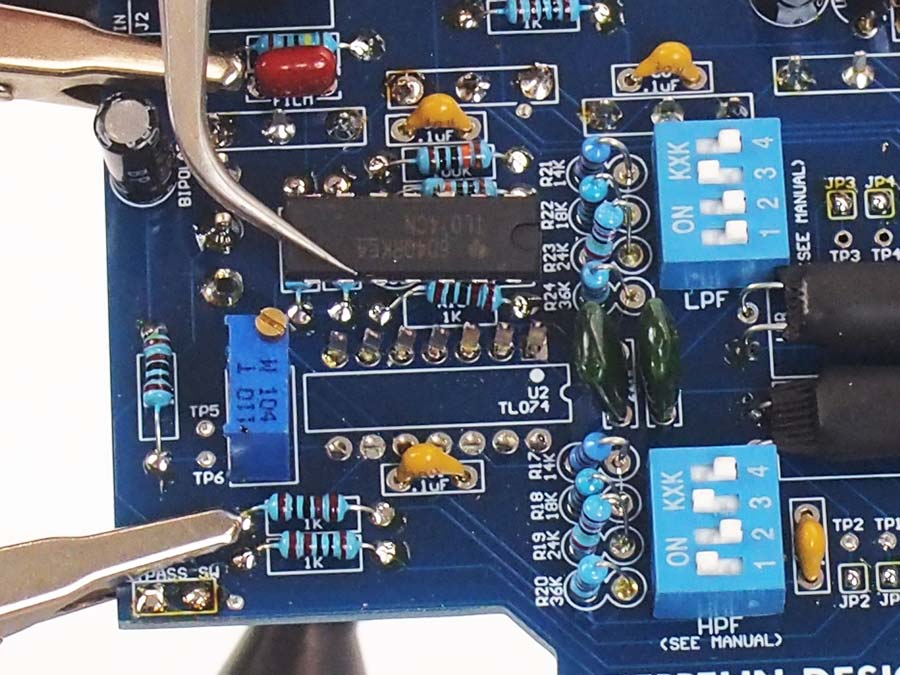
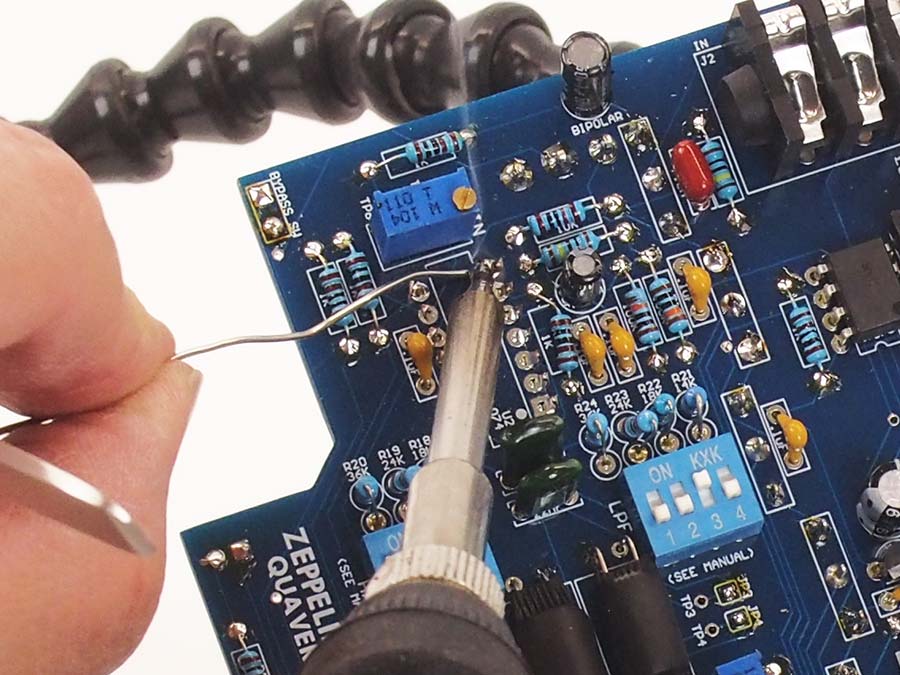
2. Use your tweezers to extract each lead as you heat up it’s solder joint. In this case, I added a little bit of solder to each joint before I extracted each lead. The extra solder helps the heat get distributed around the solder joint.


3. Once all the leads are removed, remove the solder from each pad/hole with your solder sucker. Heat the hole from one side of the board while sucking the solder from the other side of the board. Try not to heat up each pad excessively (like no more than 7 or 8 seconds) otherwise the copper pad could start lifting off of the board. If you see that start to happen let the board cool off and then try heating the board from the opposite side.


4. (Optional…)When the hole is cleaned out, you can use some flux cleaner and Q-tip or an old tooth brush to remove the excess flux from the board. I make the flux cleaner I use by mixing acetone and rubbing alcohol in a ratio of about 1:1.


That’s about all there is to it! Good luck!

