- Your cart is empty
- Continue Shopping
Forum Replies Created
-
AuthorPosts
-
zdlAdmin
ParticipantParticipantSonicState.com: “Build Your Own Hand-Held Digital Synth”
ParticipantFACTmag.com: “Tiny, hackable and under $40”
ParticipantWe migrated all the source code and setup files to a new Github repository. Detailed instructions are right there in the README file, which is automatically displayed at the bottom of the page. You can download source code, binaries, and all the setup files you need to get Arduino to compile for the ATmega644PA in your synth.
If you make some headway with the software, please apply to make a branch on the github repository and we will work on it together.
ParticipantDecent-quality, well-shielded cable, neatly soldered, should do well up to about 6′.
ParticipantThe sketch on your synth was compiled with Arduino 1.0.5r2 and Mozzi v1.0.2 That may seem pretty old, but boy was that build fast! This version is optimized to compile for speed, which is very important for the Mozzi sound synthesis library to run effectively. After v1.0.5 Arduino defaults to optimize for smallest compile size. Subsequent releases of Mozzi have tried to resolve this. The Mozzi github page describes some small configuration tweaks you can make to newer Arduino installs to force it to compile for speed, but we have not tested these other combinations of Mozzi and Arduino.
We discuss this in detail in the README file on our own github page. If you get Macchiato to compile and run with a different version of Arduino and/or Mozzi, PLEASE LET US KNOW!
December 13, 2016 at 11:28 am in reply to: How Are You Using Your Cortado Balanced Contact Mic? #1563ParticipantThis letter arrived from Cody in downstate Illinois. Check out his amazing video of floppy drives singing the theme from Doom!
Floporchestra!“I learned about you guys from researching piezo preamps. I’ve been trying to find a good solution for recording with them on a budget and haven’t had much success. The overall sound was always terrible, and they were always unusable recordings. The pickups are always cheap but it’s all about the preamp, and I’ve had no success with home built ones and the $15 to $20 ones are always terribly made or offer tons of things I don’t need, or are just lacking what I actually need. Then there are others that are hundreds of dollars which I just don’t need at all.
“After doing some research into building a piezo preamp myself I found an article which hosts schematics created by Alex Rice for making a fantastic one designed to fit into an XLR shell. The publisher of the article referred to you guys saying the Cortado has a very similar preamp if you are interested in an already assembled version. Once I saw the price I was sold.
“I could probably buy all of the components myself to build the one made by Alex Rice for less but I would also need a phantom supply. Once I saw you guys also had one of those I figured I’d rather support you guys than try to make one myself and no doubt run into even more problems. Biggest problem with my current piezo setup has been hum and noise or just not working in general.
“I mostly am just tired of messing around and not getting any usable results. I’ve tried making other preamps but kept running into similar issues with noise and hum regardless of what I do. Could just be the way I’m recording them as its far from what you would call professional (hooking right into a line input on a computer, heresy I know).
“I’m intending to use these for a hobby I started back in March. With some electronics and programming and musical prowess I have managed to make old computer floppy drives play music. They do this by making the motors vibrate at the right frequencies to generate each pitch. They sound awesome, and I’ve been using a Tascam recorder to capture them but I know there’s more detail I’m missing out on. Plus I don’t have anything close to a sound studio for low noise recording, and my house is generally noisy.
“My hope is to use the Cortado to not only capture these things and have great, usable audio to use in tandem with the Tascam when mixing, but also establish an accurate real time monitoring solution. I’ve been having to make any music changes and then record them before I can even hear how it might sound, which as you can imagine eats up a ton of time.
“If you wanna see what I’m talking about I have a few videos of them in action. It’s pretty cool stuff.
“Thanks for asking and if you read this, thanks for reading! If you have any suggestions on how I can improve this without breaking the bank I’m open to suggestions.”
September 16, 2016 at 2:05 pm in reply to: How Are You Using Your Cortado Balanced Contact Mic? #1490Participant“One is going on the piano, one on the harp, one is going onto a piece of aluminum foil in the mouth of a bass clarinet, two go on the thunder plate and one on the gong.” — Nick Tipp, Soniferous Inc, Altadena, CA
Participant“I am a sound designer looking into doing more field recording and I really wanted a contact mic for my work. I did a lot of research and decided I wanted one with an amp and found the cortado in that search! It seemed like the best option especially for the price 😀 ”
— Zach W, OregonParticipantNice build, solarbird! Nice instrument, cool band! Brach responded to the issues you raise in your build review personally, and on the forum here. Thanks for the beautiful photo!
January 28, 2016 at 3:25 pm in reply to: Question about Cortado assembly instructions, also about temporary attachment. #1053ParticipantBrach here, product designer.
Thanks for the post and the excellent build blog on your site.It’s true: the instructions are not very clear about which path to follow at that point. In our next revision of the manual I’ll make sure to clarify. Thank you for your honest feedback.
To be clear now: Step 1 on Page 13 applies ONLY if you intend to mount the PCB and the piezo together into a grounded shield container, like the Tin Can Microphone, or a garbage can. Step 1 directs you to wrap the piezo in electrical tape, then add the double-stick tape for mounting. AND YOU ARE DONE! SKIP STEP 2. If you are making the standard contact mic in the Altoids can, SKIP STEP 1; GO TO STEP 2, which instructs you to wrap the Piezo in electrical tape, THEN copper tape to shield it, THEN double-stick as one possible mounting method.
As far as the low-end issues you are having, coupling is everything (as you’ve found out). The painters tape method works for some applications, like a banjo or art installation or something that doesn’t have much low end anyway…but like you, I’m discovering that it usually just does not provide adequate coupling to pick up enough bass. (On our video when I mic’ed the bass and acoustic with the Cortados, I had to eq the low end up.) When we fitted a customer’s acoustic guitar with a Cortado pickup, we fitted the truss with a custom clamp to press the piezo against the inside of the guitar top. I also adjusted some component values in the circuitry to emphasize the low end a bit more. You can simply change C1 and C3 to 22nF to allow more low end to pass through. (In some applications, increasing the low end can really make the signal muddy and unclear, but it doesn’t sound like that’s a problem you’ll have.)
The bias mod you performed has virtually no effect on the frequency response. Please enjoy that high s/n in the best of health.
Let me know if you have more questions/comments.
Participant“Looks great, sounds great, and it won’t bother your spouse or neighbor.”
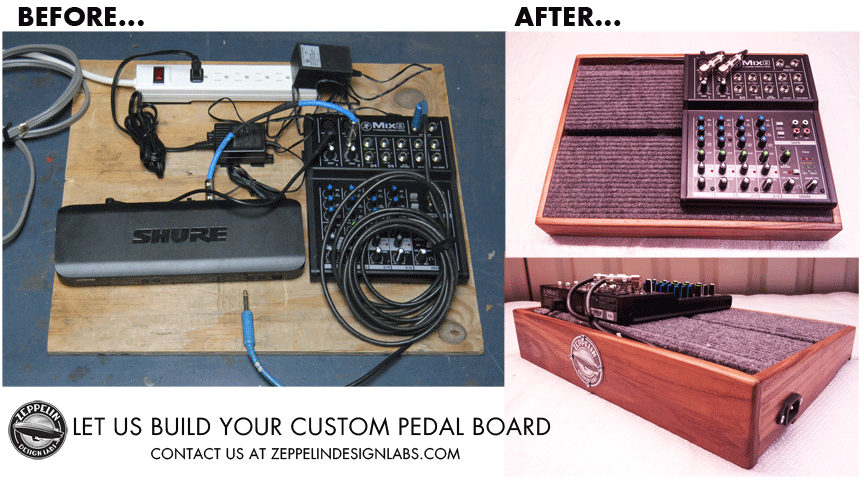
Here’s a terrific demo video Reverb produced about the Percolator. Nice job!ParticipantWe got this job from a professional Balloon Twister. He needed some serious help with his pedal board. We replaced the chunk of plywood with a custom solid walnut frame. We hid all the power supplies and wireless receiver underneath. An improvement.
 Participant
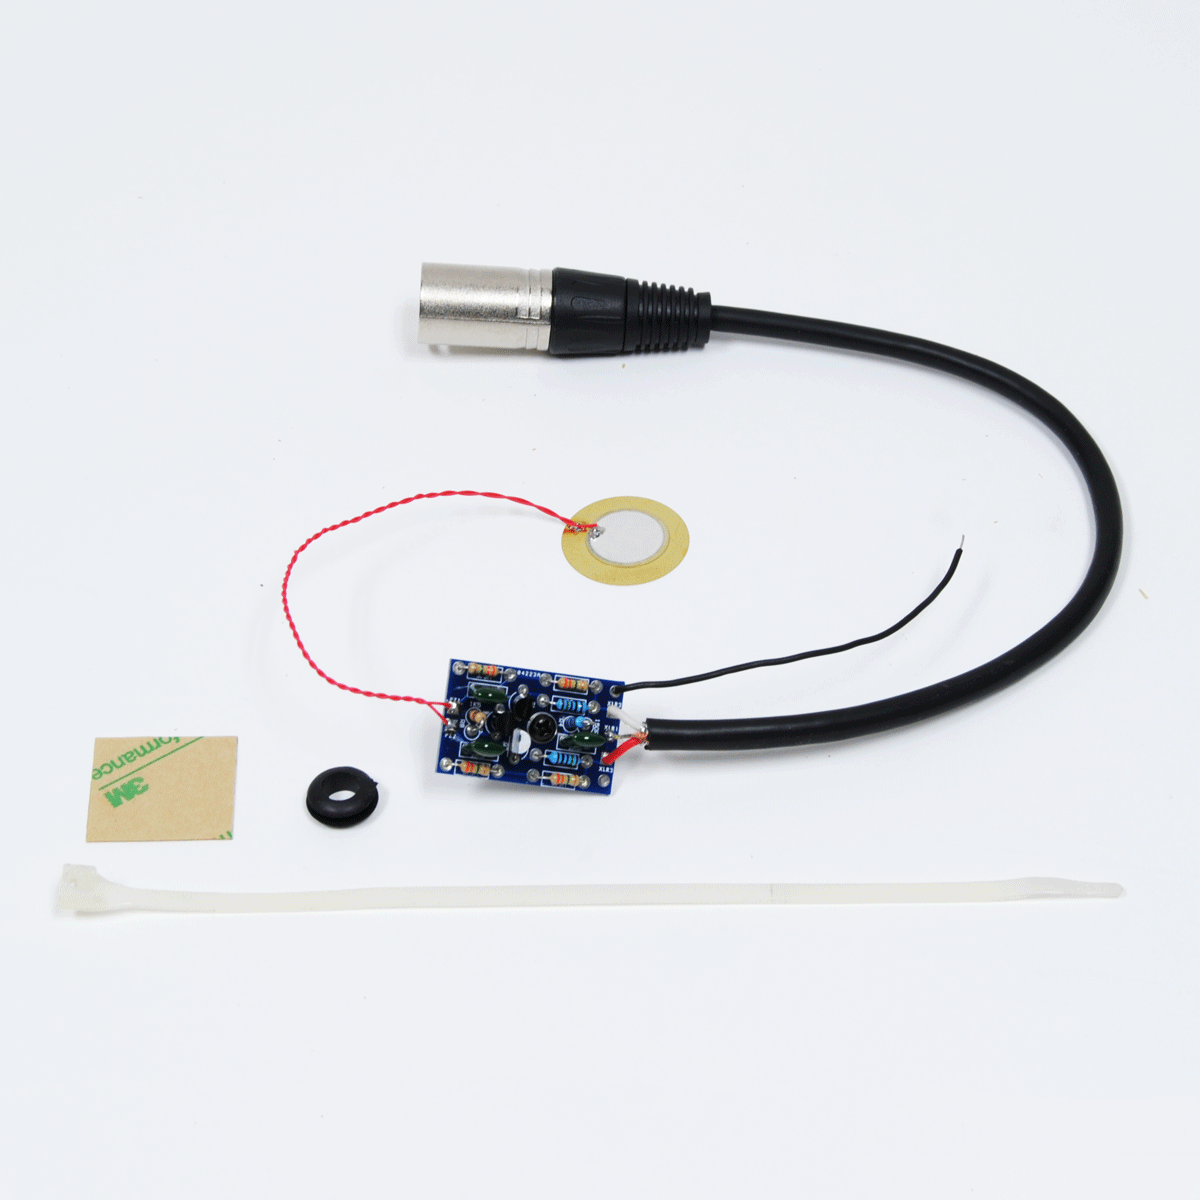
Tin Can Mic Preview
We will soon release The Cortado, a balanced-out Piezo contact mic kit. Here’s the Basic Product, ready to install into a shielded environment, such as the bottom of a steel can:
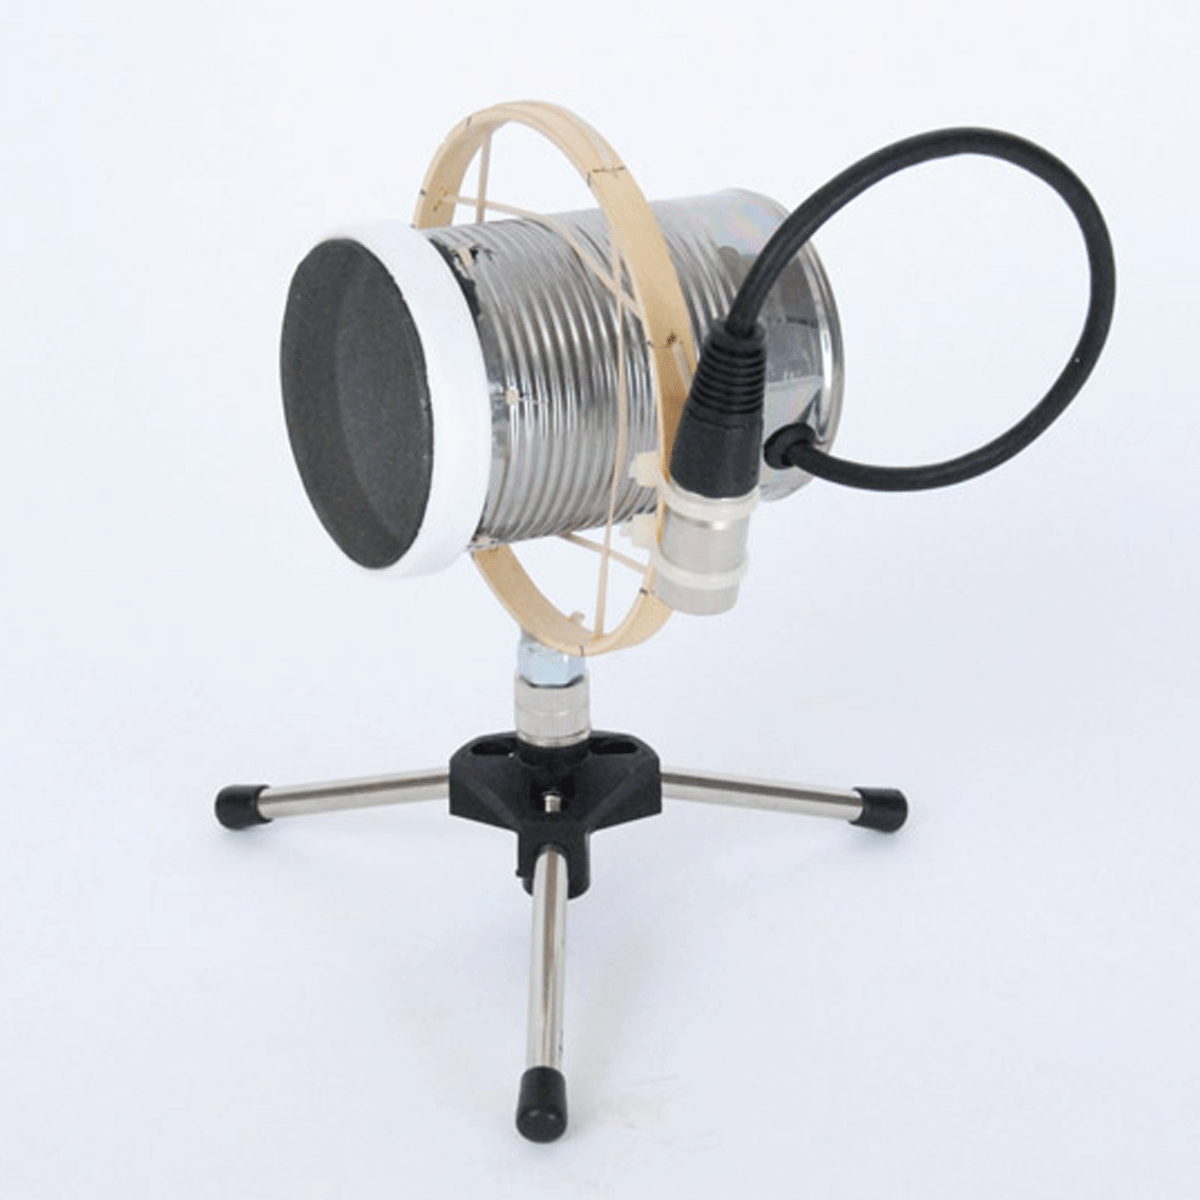
And here is that same mic incorporated into a classic Tin Can Microphone!
-
This reply was modified 10 years, 10 months ago by
zdlAdmin.
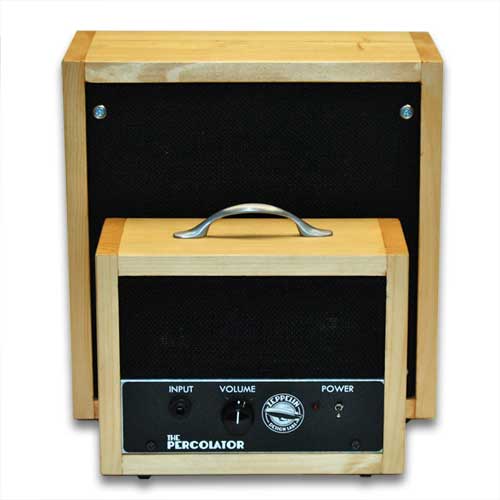
ParticipantI Prefer Blondes
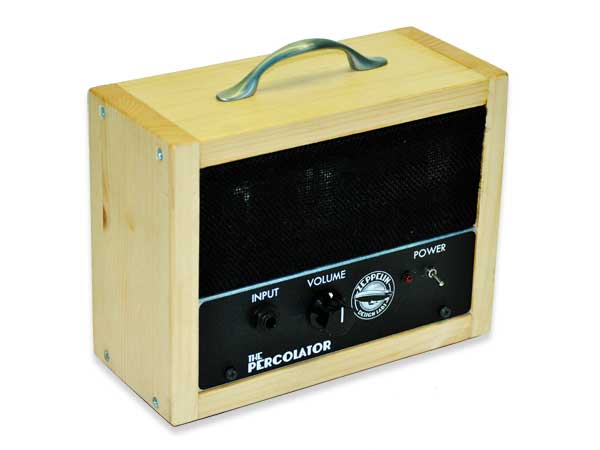
Here is a great example of how the finish and other simple details can greatly change the character and style of your amp. Pictured is the Percolator and 1×8 cabinet with a few simple custom variations:
- No Outside edge detail; the wood remains square
- Golden Oak stain
- Black Burlap grill cloth
- Custom handle, appropriated from a drawer somewhere in the attic
-
This reply was modified 10 years, 10 months ago by
-
AuthorPosts