- Your cart is empty
- Continue Shopping
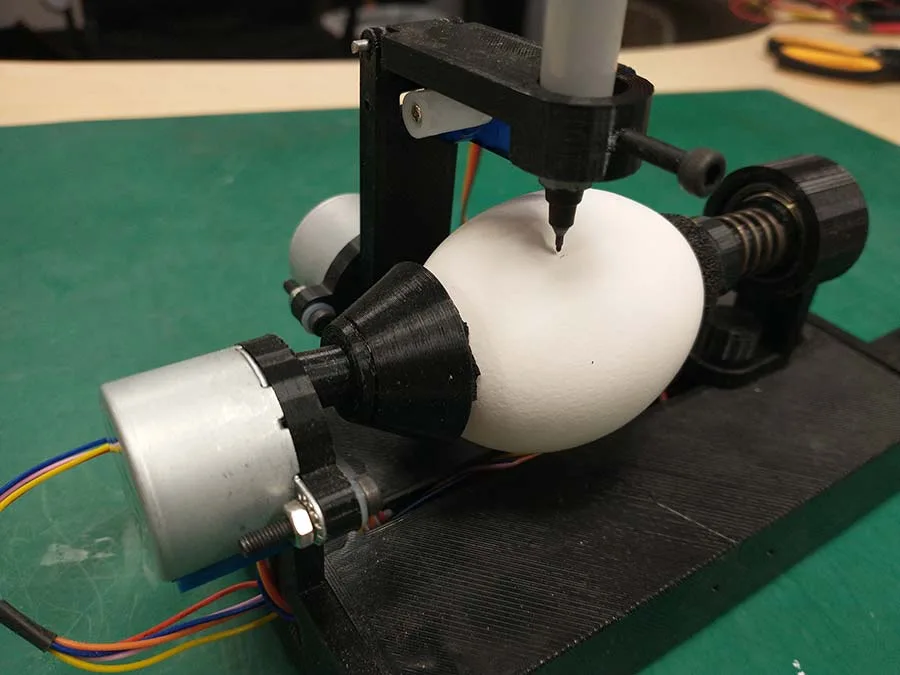
Building an Eggbot
A fun way to decorate eggs!
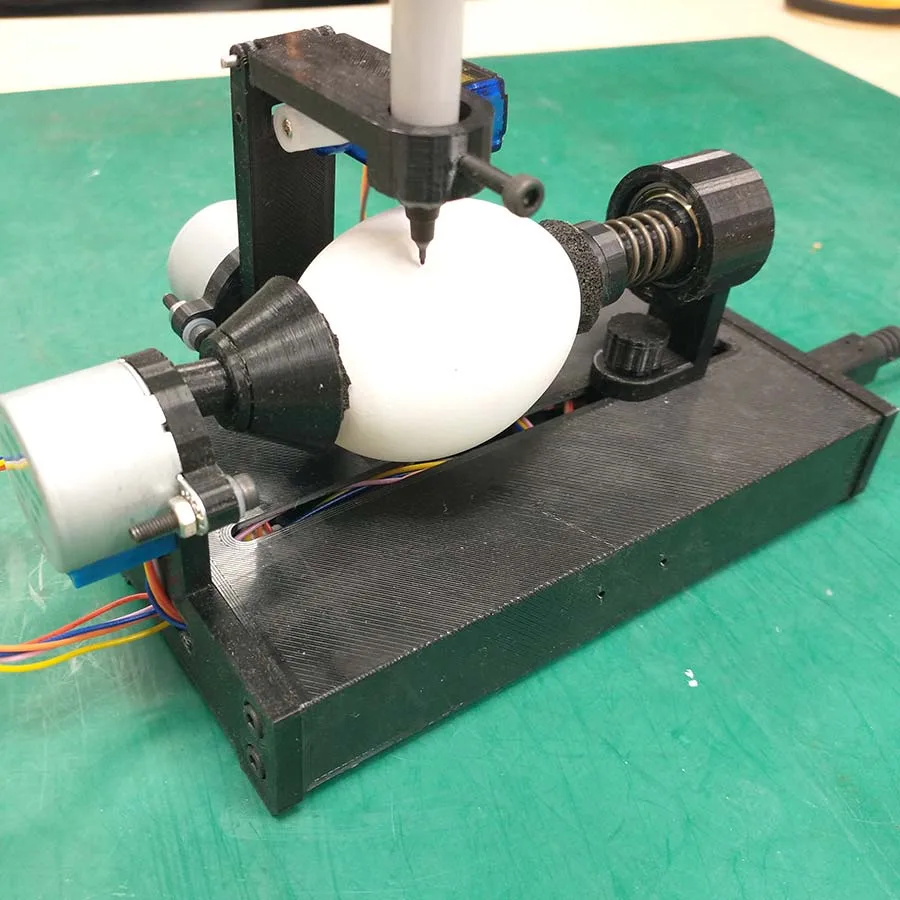
I recently found this 3D printed egg drawing machine project online somewhere and I thought it was a really cool idea. Since Easter was coming up soon, I thought it would be a fun project to do with my 8 year old daughter. I did some research around the web and noticed that there were several versions of “Eggbots” that people were building. They all seem to be modified versions of the original egg painting device by Bruce Shapiro. and later adapted into a kit by Evil Mad Scientist). I ended up deciding to build this version of the eggbot. The things that attracted me to this particular version were the helpful build documentation (a pdf and video), the minimal parts count, and minimal financial investment. I also like the idea of 3D printing the parts rather than buying many of the parts pre-built.

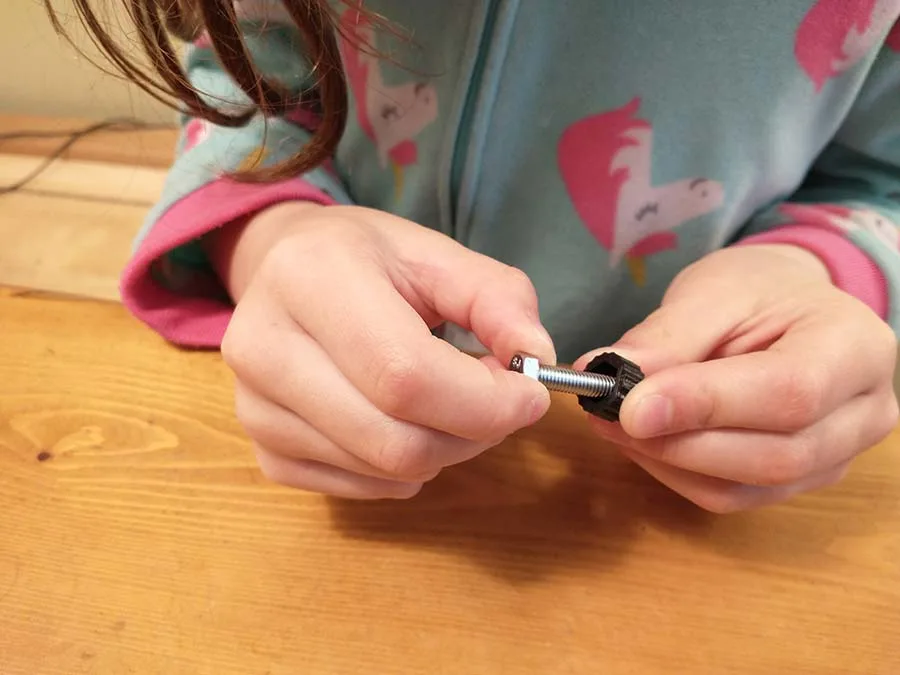
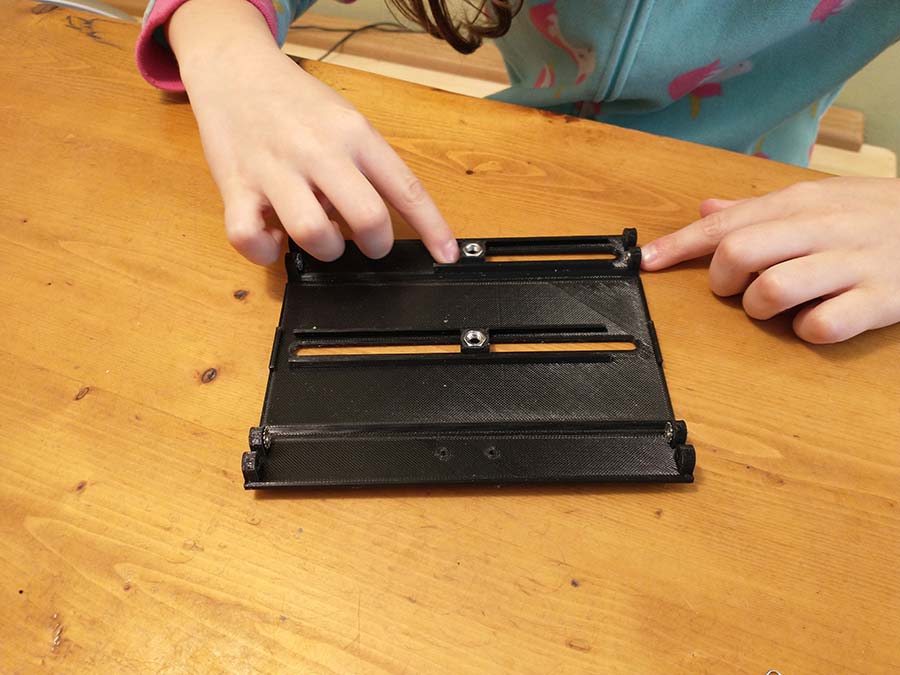
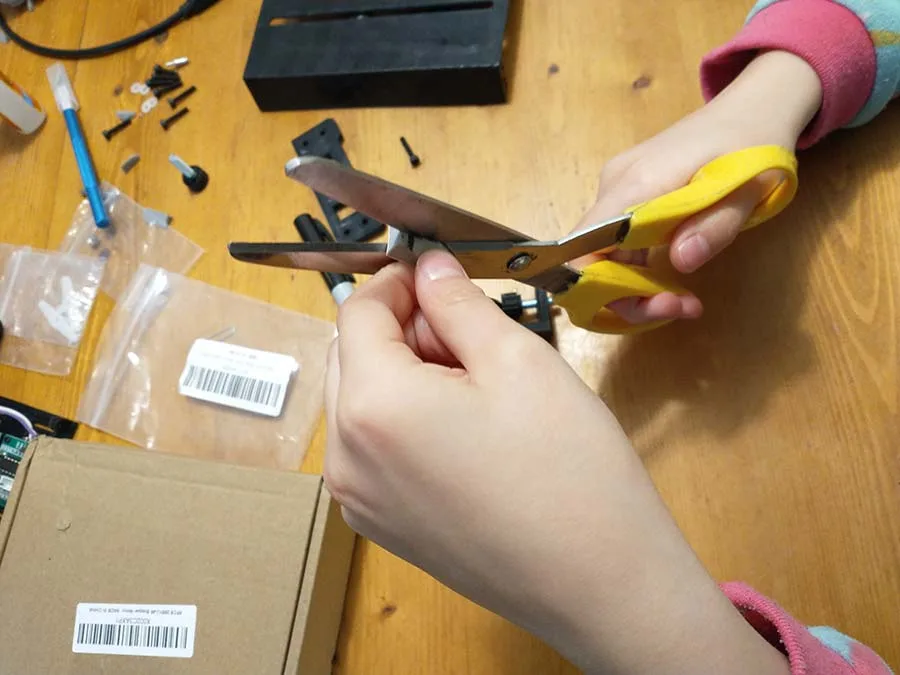
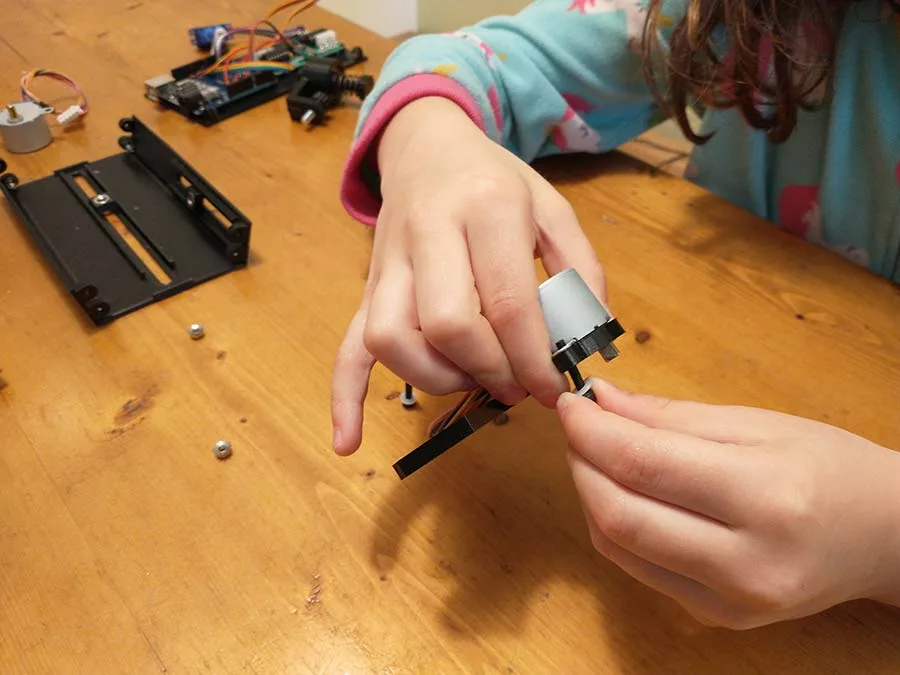
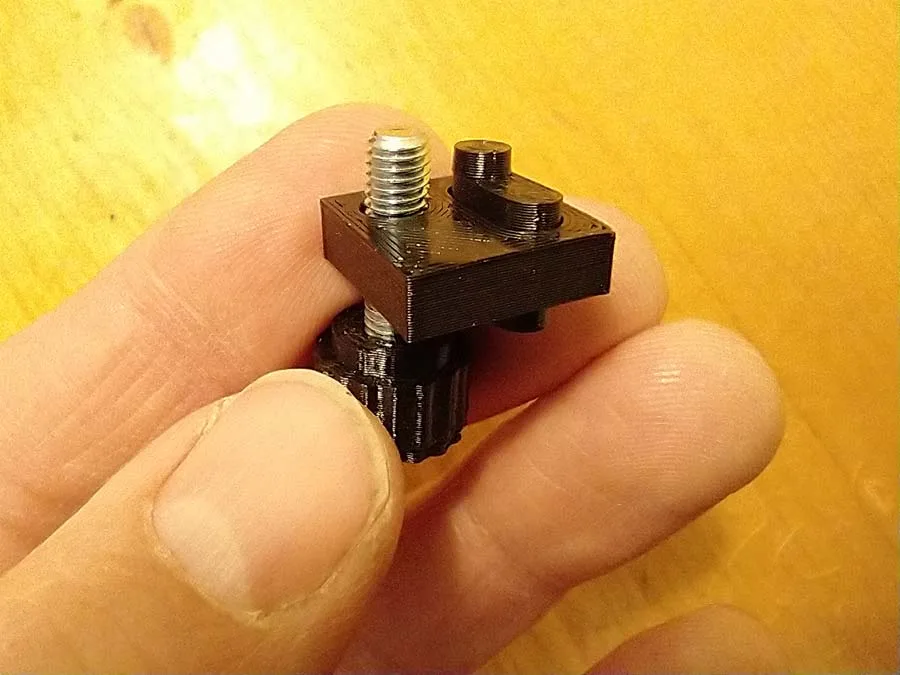
The first thing I did was print all the parts. I made 2 different files to print, one with the case top and the other with everything else. I printed them in PETG with 10% infill and .2mm layer height. It took about 9 hours to print both files. While those were printing I got on Amazon and ordered all the parts that I didn’t have in stock. Mostly, I needed the stepper motors, motor drivers, and servo. I also didn’t have some of the M3 and M5 screws and nuts but I got those at the hardware store. The store I went to had a limited supply of M3 hardware. All they had were M3x16mm cap head screws. Fortunately, I could make this length work for all the screws (except for one that I ended up cutting down with my Dremel).


I wasn’t able to find any rubber grommets that would work for the egg holders, so I used some neoprene door jam sealer. I was able to acquire all the parts that I didn’t have on hand within a day.


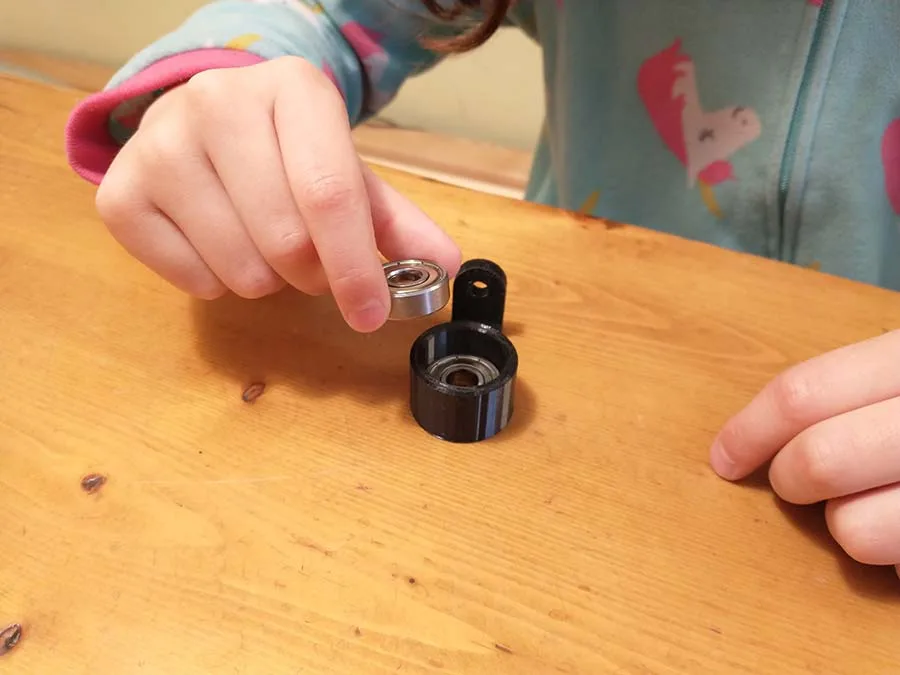
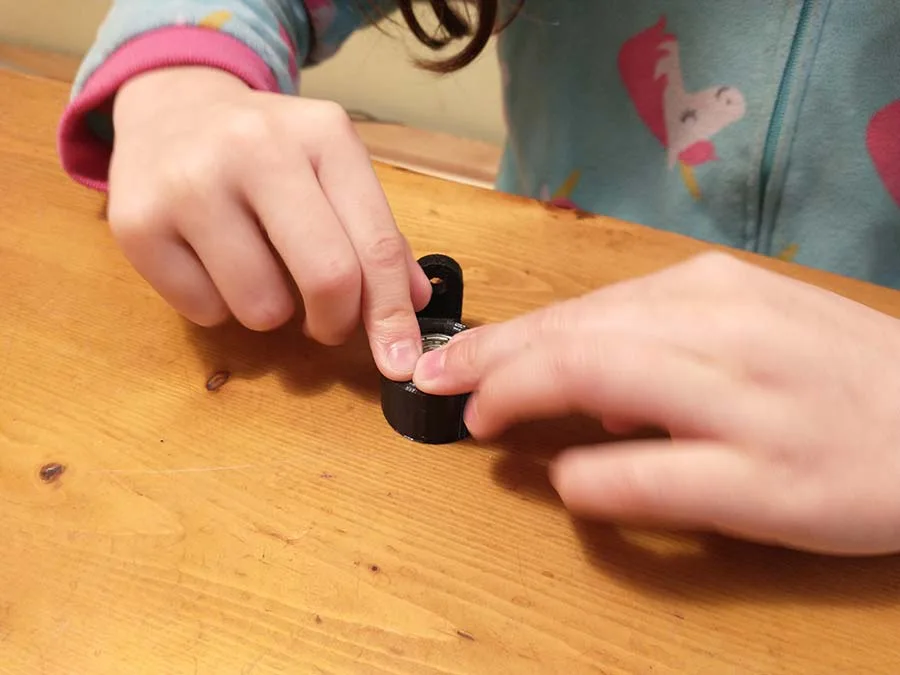
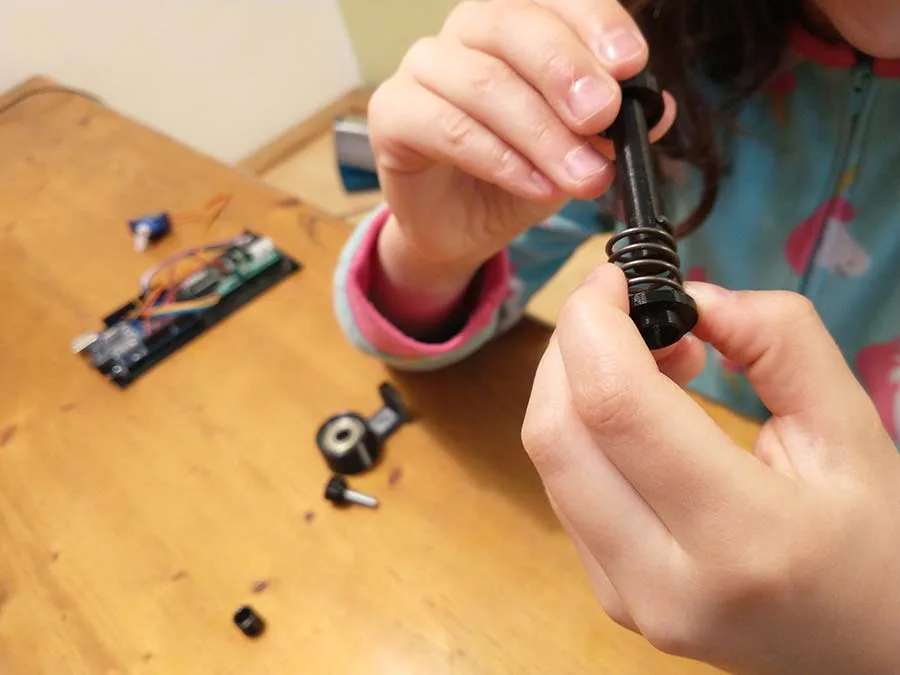
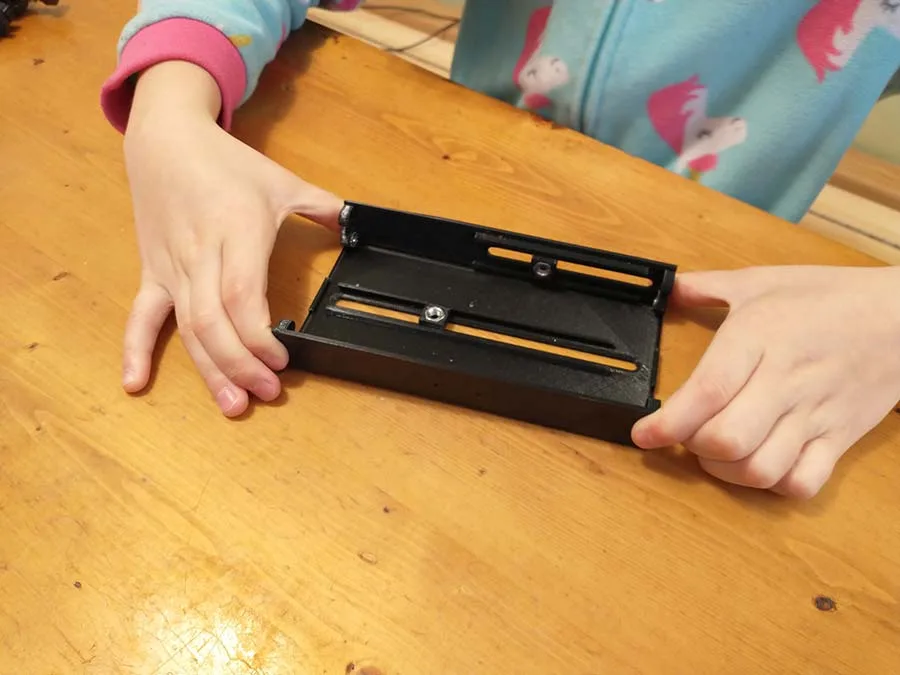
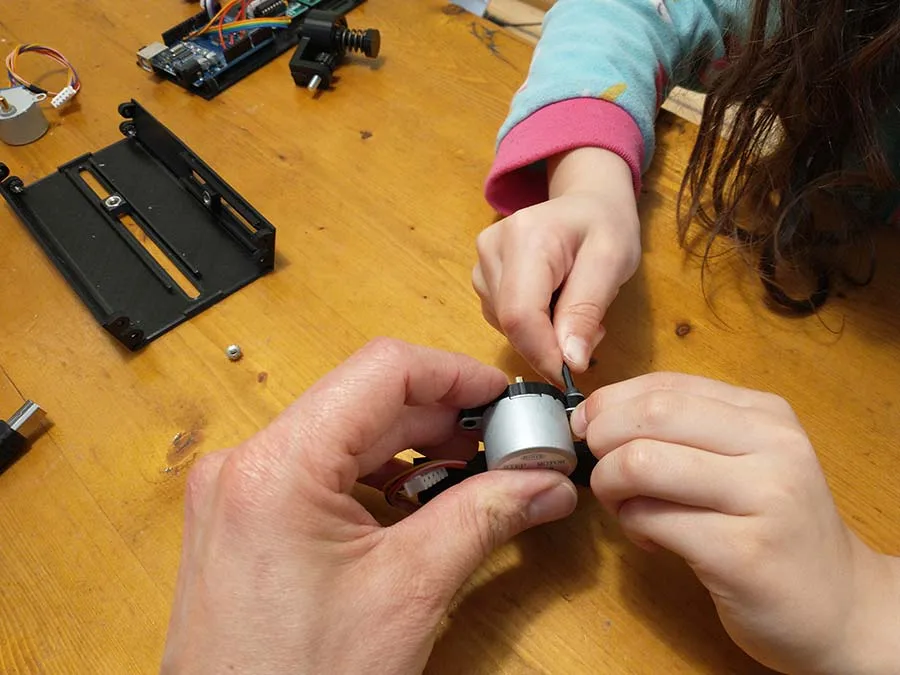
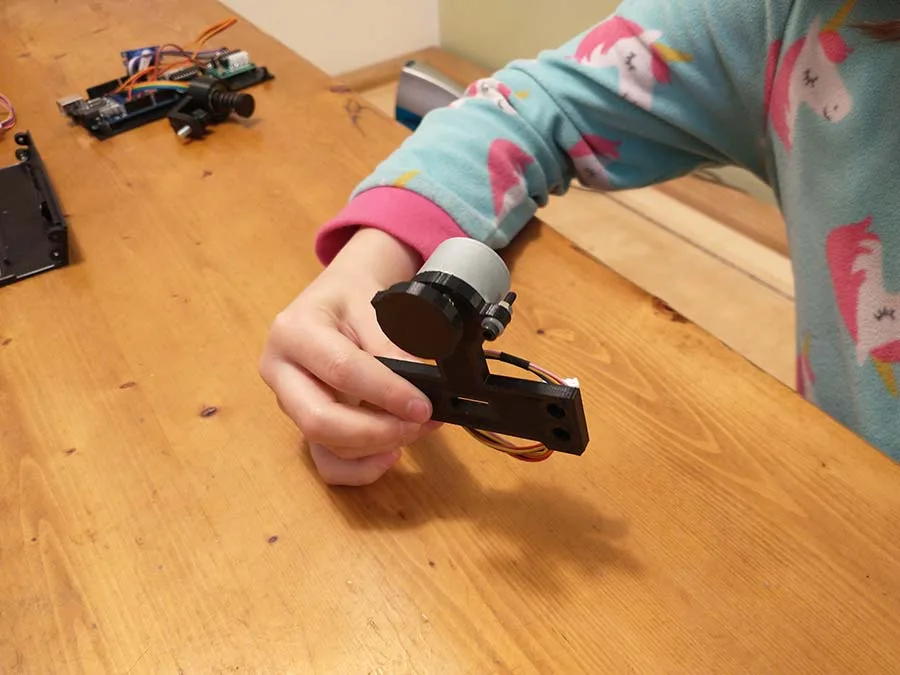
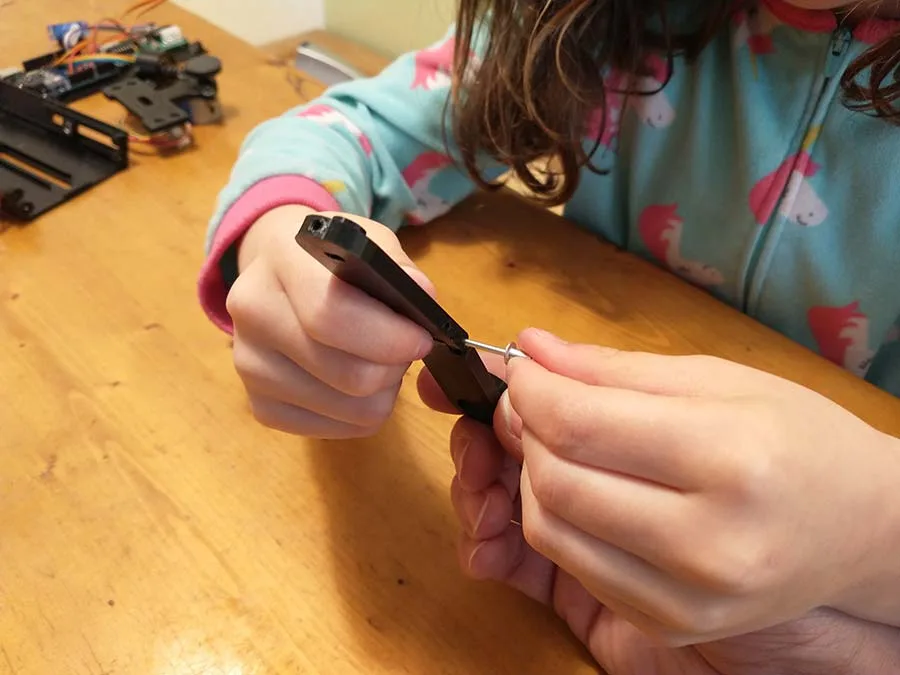
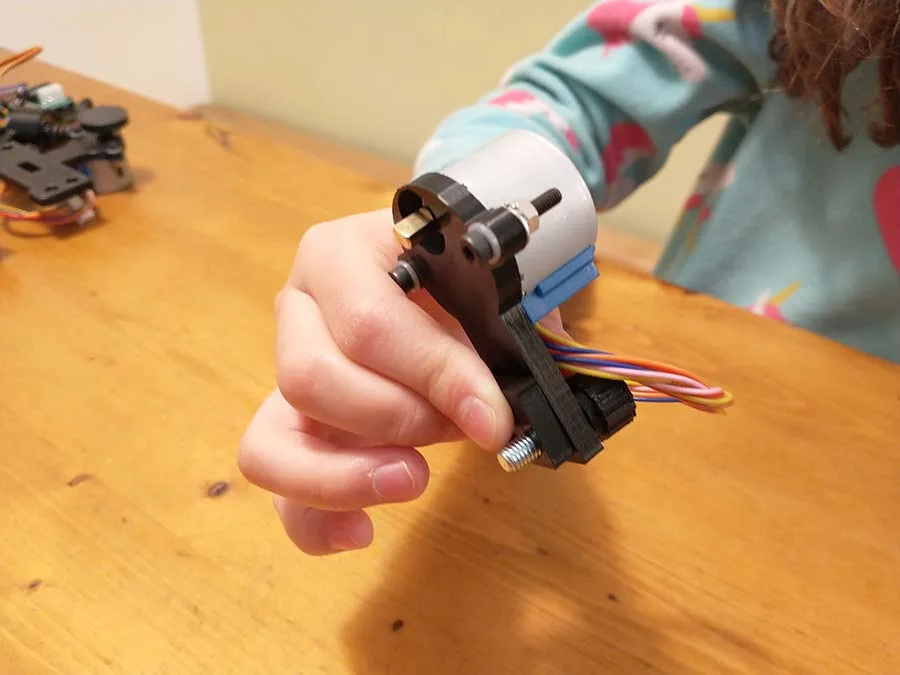
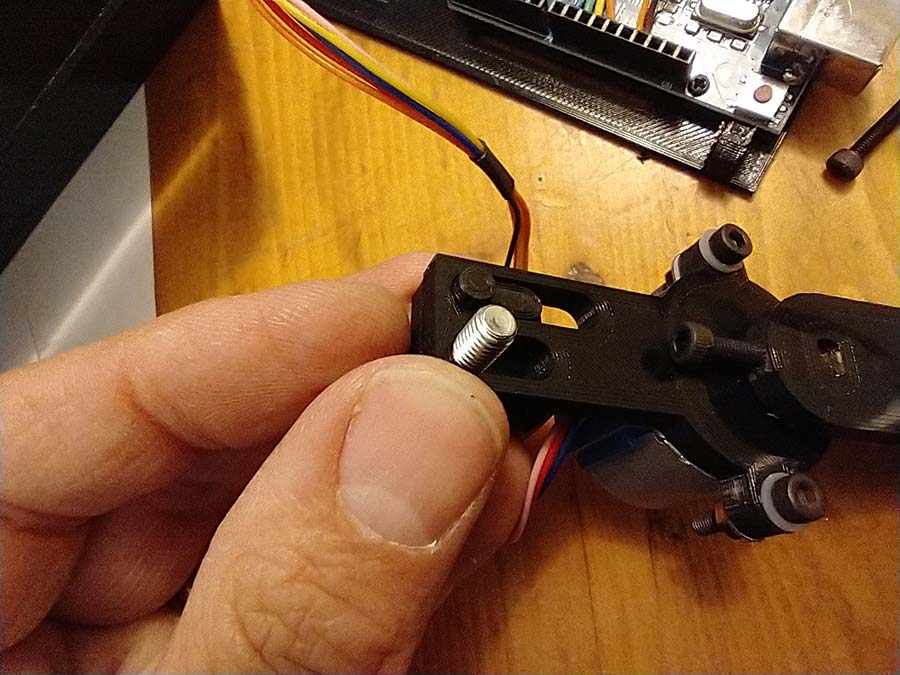
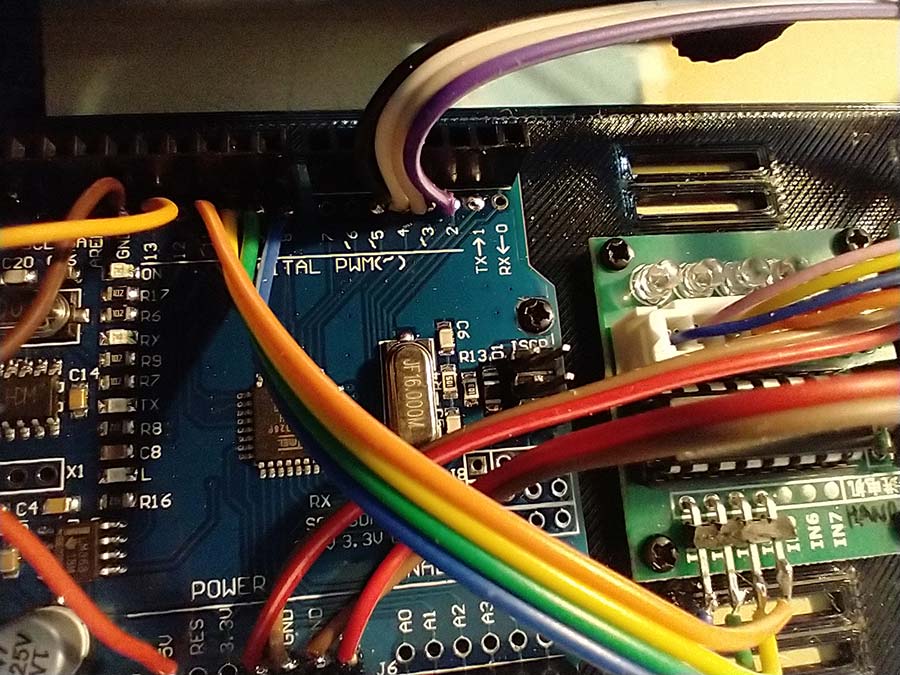
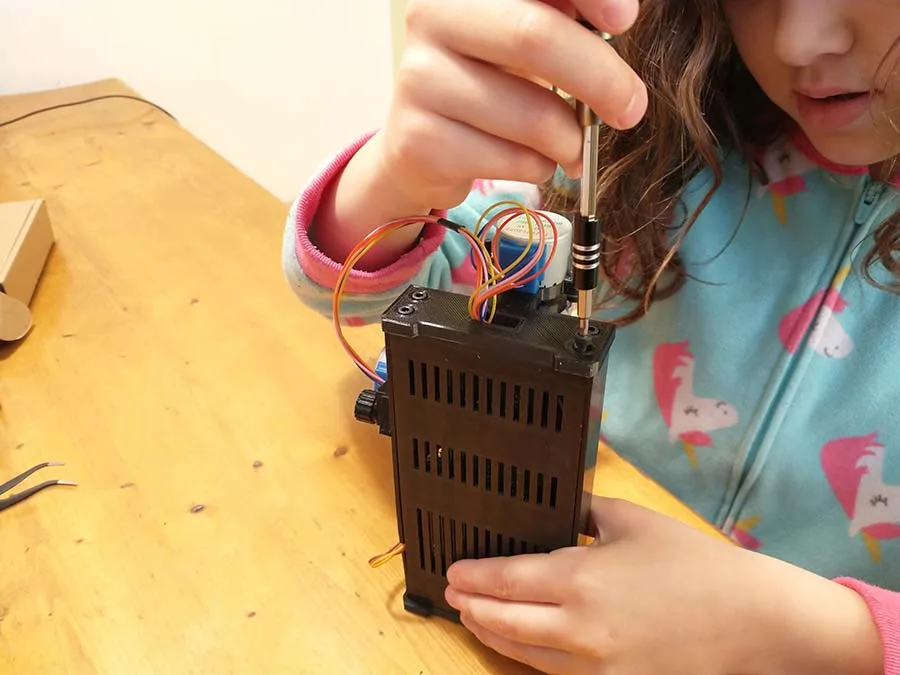
My daughter had a lot of fun helping to assemble the parts. It was pretty easy to put together, we did it all in one afternoon. To make the process easier for my daughter, I had the Arduino and stepper motor drivers already soldered together before we started assembling the plastic parts. I choose to solder everything together instead of using jumper connecters because I don’t trust that jumper wires make good, robust connections (especially when supplying a reasonable amount of electrical current to the motors).

I have to say, as one who designs a lot of kits and writes a lot of assembly documentation, the people at Probot (whoever they may be) did a really good job of presenting this assembly information. They put together a really nice pdf document with Ikea-style assembly drawings that clearly and concisely show how everything fits together. They also have a time-lapse video of the whole assembly process, although in this video they seem to be assembling a slightly earlier version of what I have parts for…but it is still very helpful. It really couldn’t be much easier for anyone to put this thing together. But more than that, the design of the eggbot is very well thought out and executed. They make it as inexpensive and easy for someone to make their own eggbot.

Overall, it took my daughter and I about 2.5 hours to finish building it (including the soldering). And it took that long only because I didn’t pay attention to the documentation as closely as I should have and we put some parts together backwards (be mindful of polarized parts!). It only cost about $22 for the parts that I didn’t have laying around the lab.
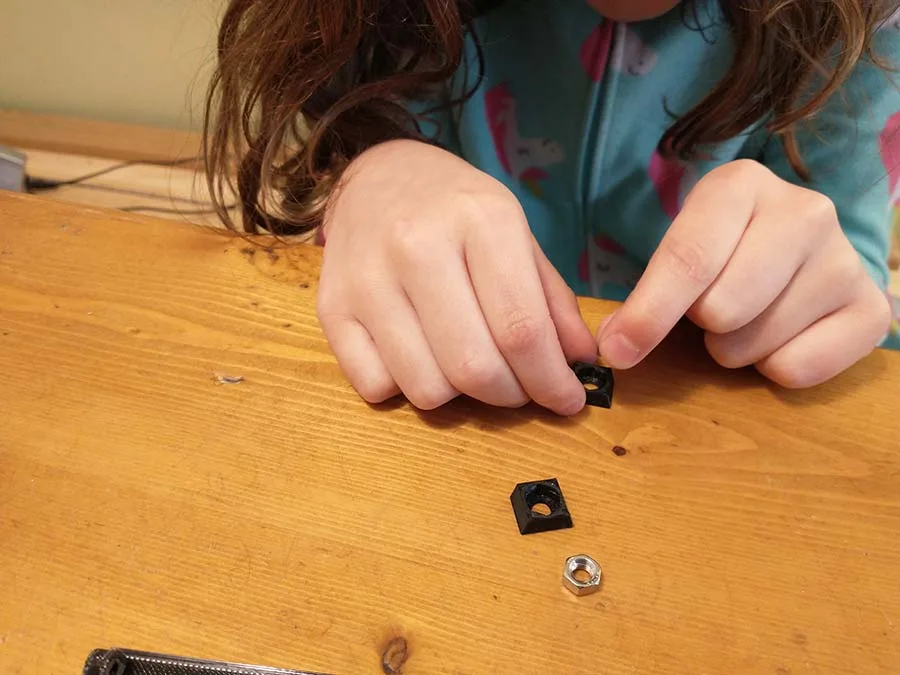
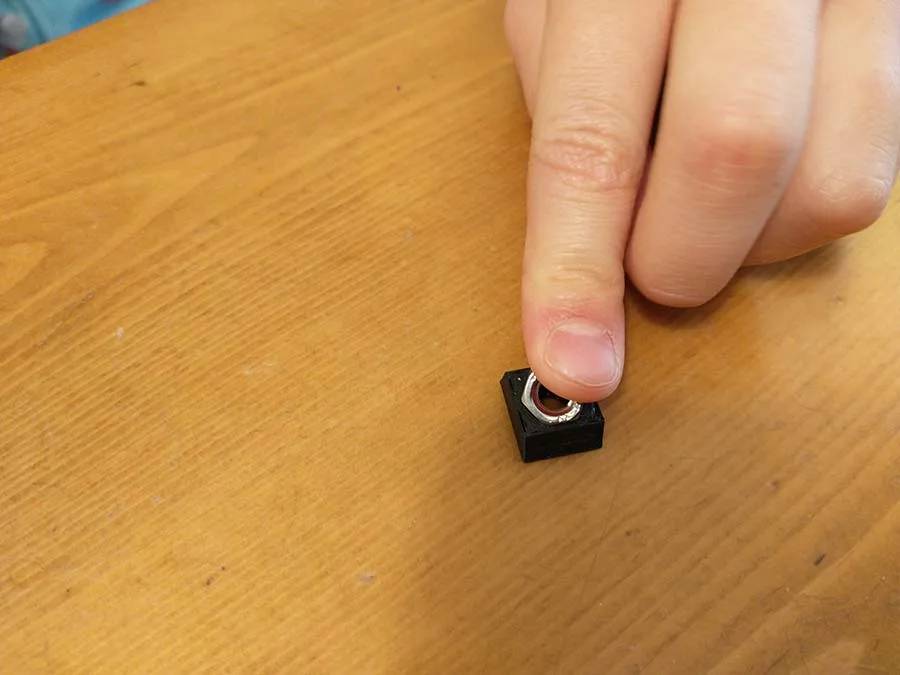
We did do a few things slightly different from the documentation. We used a M3x6 screw to hold the “Axis_L” part to the stepper motor. I also had to shorten the screw that holds the “Hand_V” part to the other stepper motor because the 16mm screw was so long that it was bumping into some of the other hardware and keeping the motor from rotating. I ended up just cutting the 16mm screw shorter (to around 12mm) with my Dremel. It worked find after that. All of the M3 nuts we used were keps nuts, which have the built-in lock washer on them. They all fit fine, we just had to install the lock washer side out-wards on the case inserts.
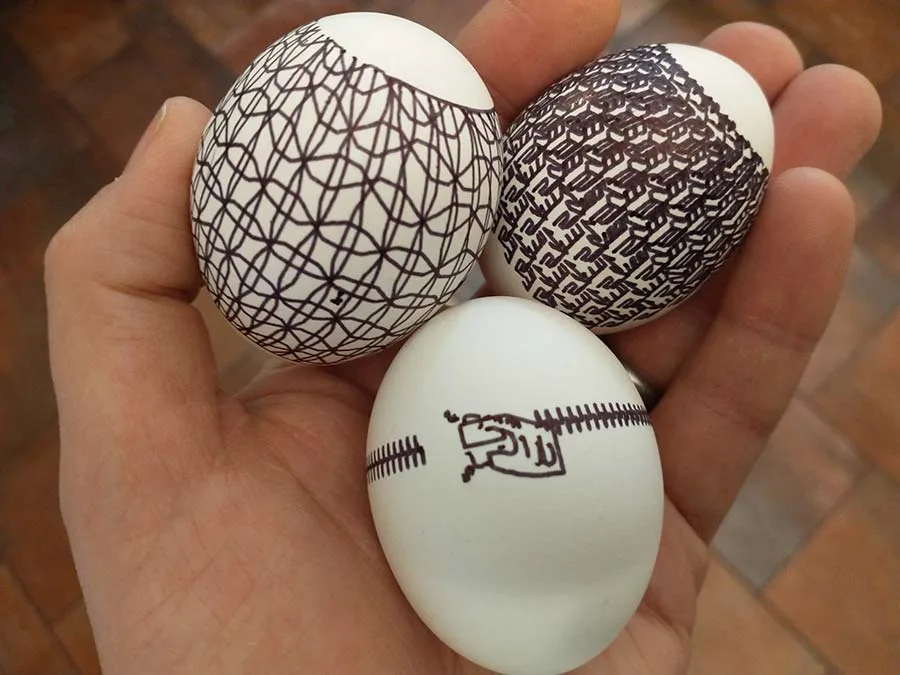
Once we had it all put together, I had to figure out how to use the thing. The Probot Thingverse page had all the relevant links and instructions. I also did some reading on the official Eggbot wiki (which is the support documentation for the Evil Mad Scientist version of the Eggbot). The main difference between the Evil Mad Scientist version and the Probot version is that this version uses an Arduino as the control device, whereas the EMS version uses its own proprietary control circuitry. So I wasn’t able to use the official Eggbot software/drivers, but the Probot Github page had all the software I needed, including a modded version of Inkscape, which is the graphics program used make, edit, and export the egg artwork. Before long we were drawing on eggs, but it took a while before we were able to get our eggbot dialed in to work well. In fact, as of the writing of this blog, we are still trying to tweak it. The main issue we have is getting it to print evenly on all sides of the egg. A lot of it has to do with centering the egg properly. I have plans to print a cone shaped “egg holders” that can be used in place of the neoprene.

Overall, I would highly suggest this project for anyone who wants a kid-friendly, inexpensive and fun Easter project. Just don’t have too high of expectations of getting beautiful eggs right away. Realize it’s probably going to take some tweaking, which can be entertaining in itself. It’s been a lot of fun for us!