- Your cart is empty
- Continue Shopping

Making a Vacuum Footswitch
A Convenient, Hands-free Way to Turn on My Shop Vac
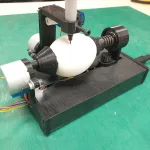
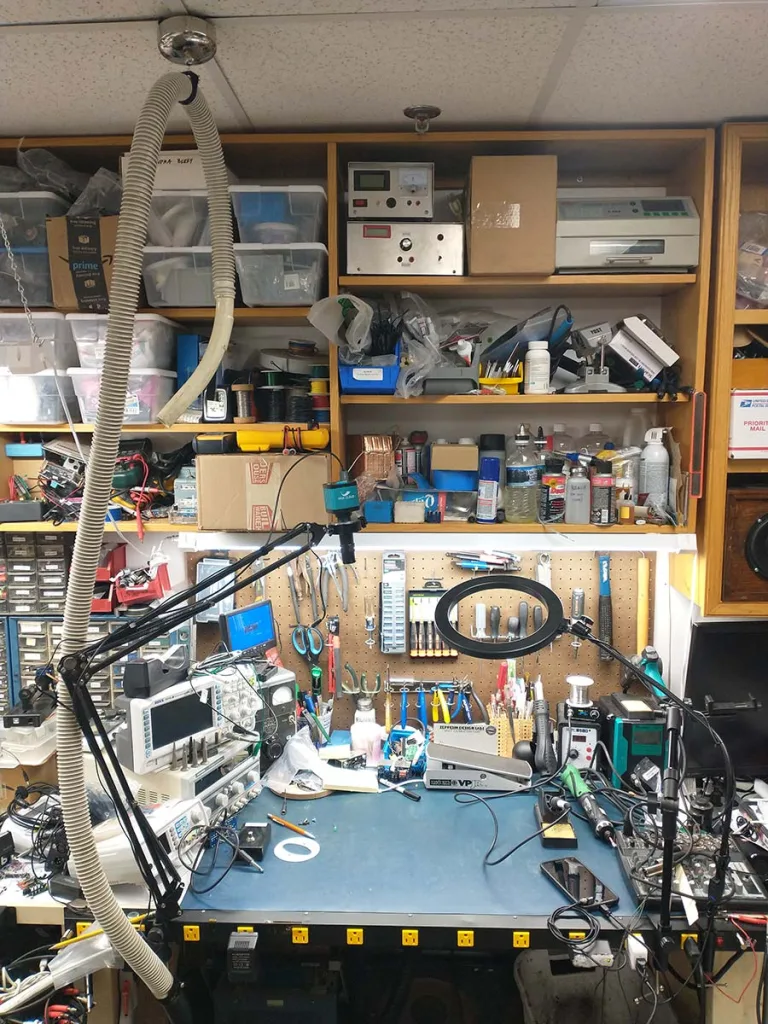
One very useful piece of equipment I like to have around my work bench is a shop vac. It’s a great tool for keeping my benchtop clean from tiny bits of solder and component leads. But it can be somewhat cumbersome to use. It is also annoyingly loud and it’s difficult to find a place to keep it where the vacuum and it’s hose are out of the way. These annoyances lead me to build a foot switch to be able to turn my shop vac on remotely, while the vacuum is actually tucked away under my bench. This helps keep the noise at a much more reasonable volume while also keeping the vacuum out of my way. I also used an extension hose and tied it to a retractable cable attached to the ceiling above my bench. This way, anytime I need to use the shop vac I just reach up and grab the hose and then press the foot switch. When I’m done vacuuming I just release the hose and it is retracted back up to the ceiling. It’s very convenient and even fun to use.
Warning: If you are going to try to make a switch box similar to this, do it at your own risk. I take no responsibility for any harm that may come to you or your property. Please don’t attempt building something like this unless you have adequate electrical knowledge and skills. High voltage is present and potentially lethal.
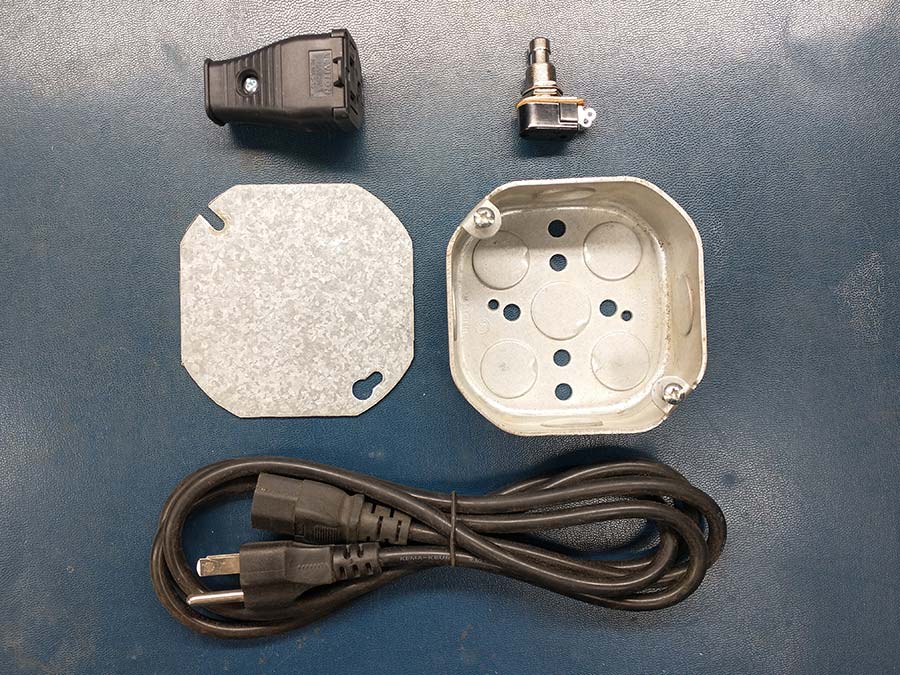
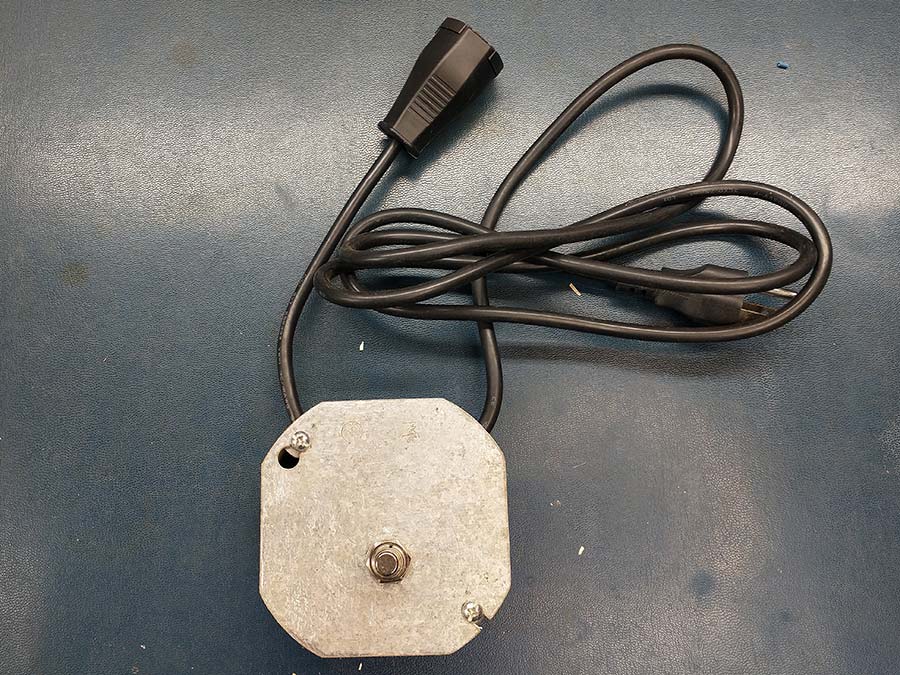
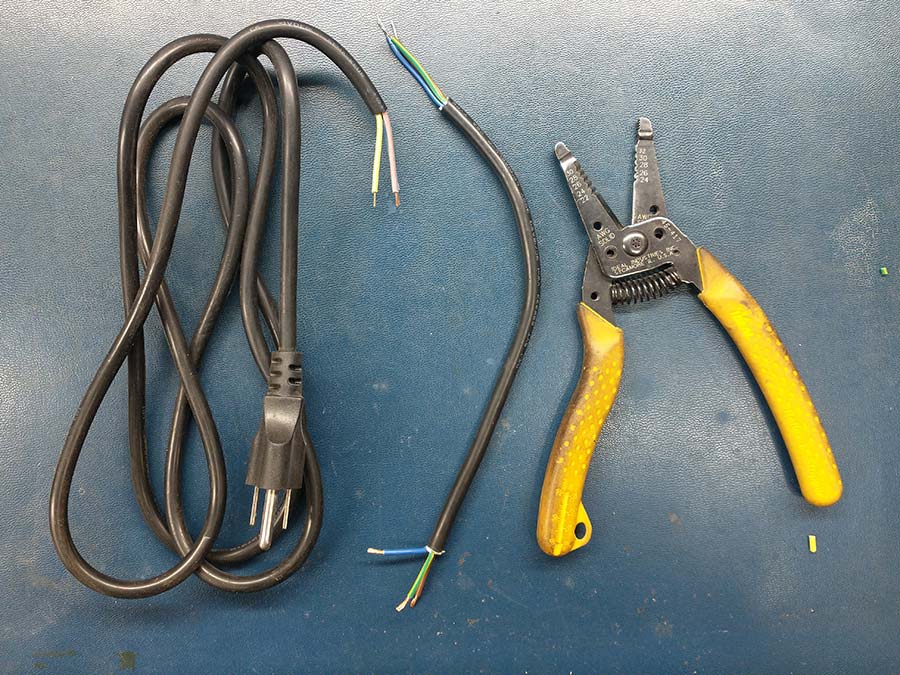
To make the foot switch I used an old unused electrical junction box that I found in my basement. I had a 6 foot long IEC power cable that I clipped the female end off of and used it for the switch’s power cable. I bought a female extension cord replacement socket to be used as the switch’s power output. And I used a momentary switch that we stock for our guitar pedals as the on/off switch. That’s basically all the parts I used, plus a few zip ties and grommets.
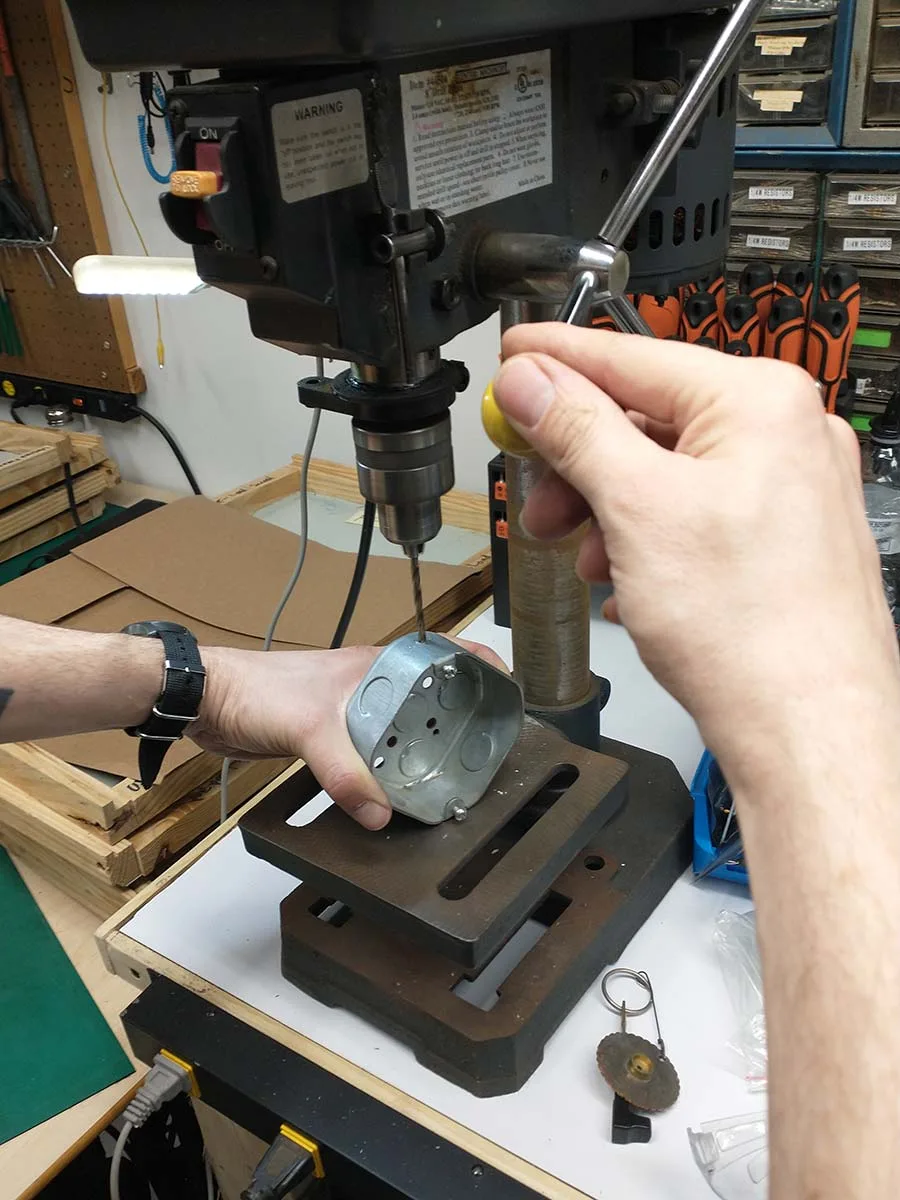
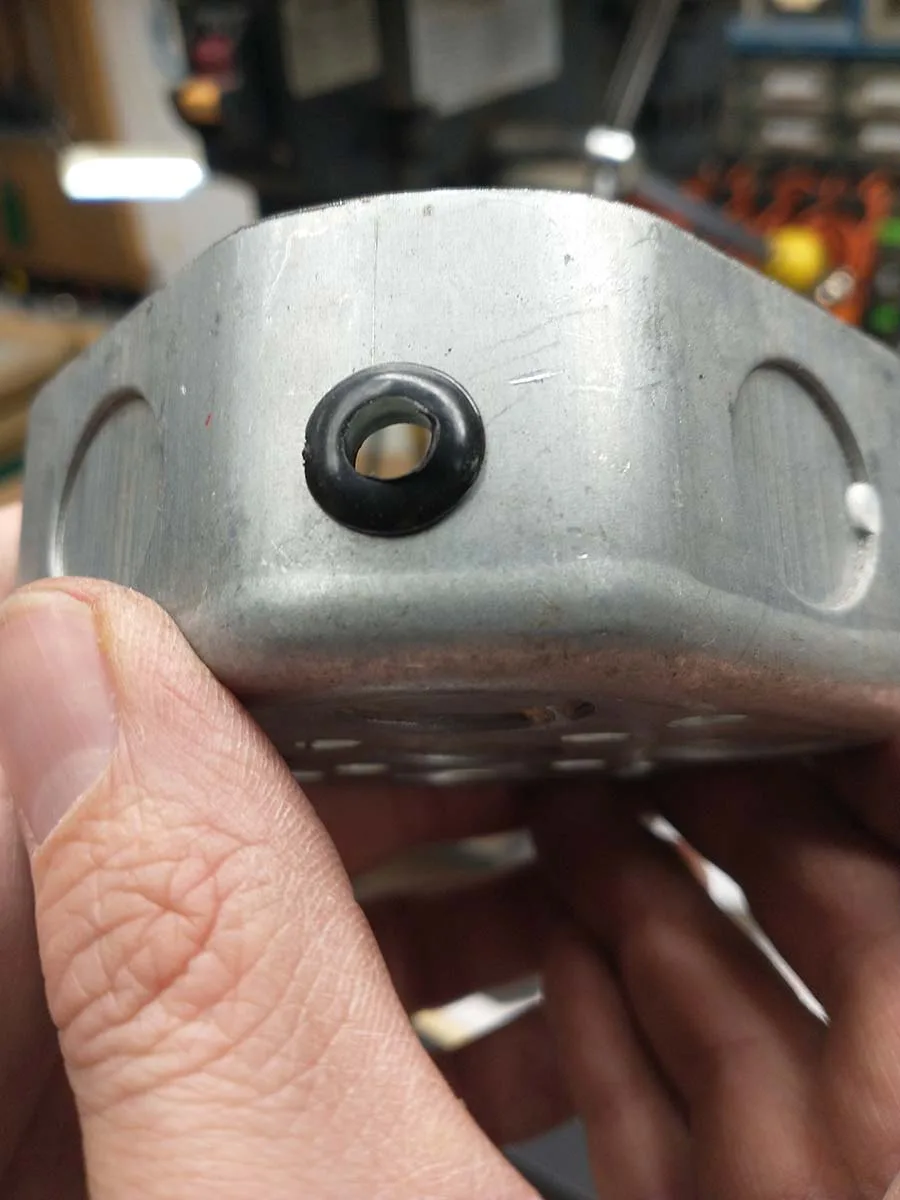
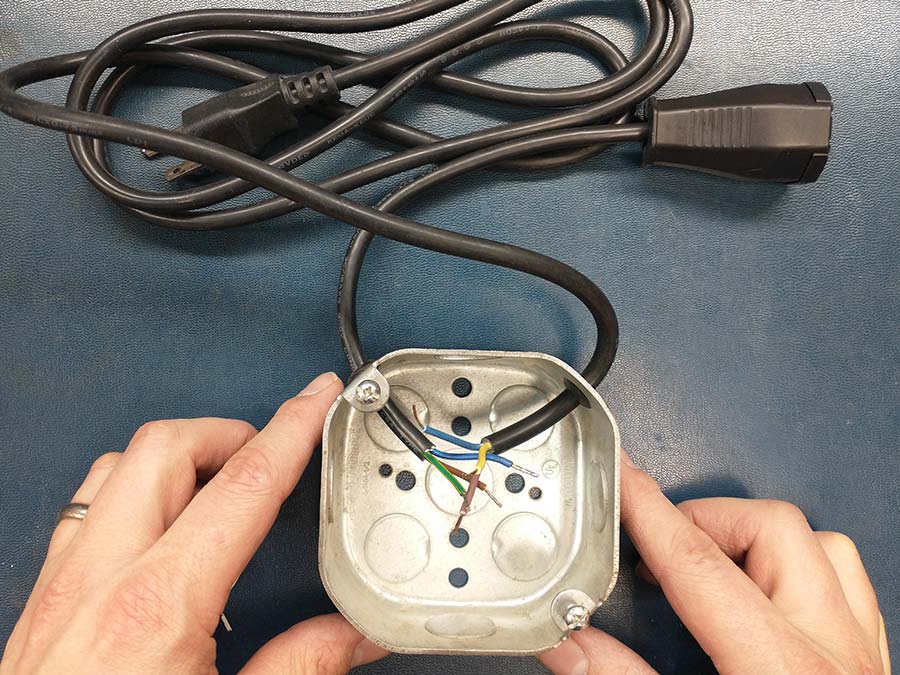
I started out by drilling the proper sized hole in the junction box. I had some grommets that fit into a 3/8” hole, so I drilled 2 of those holes in the corners of the box for each power cable and installed the grommets.
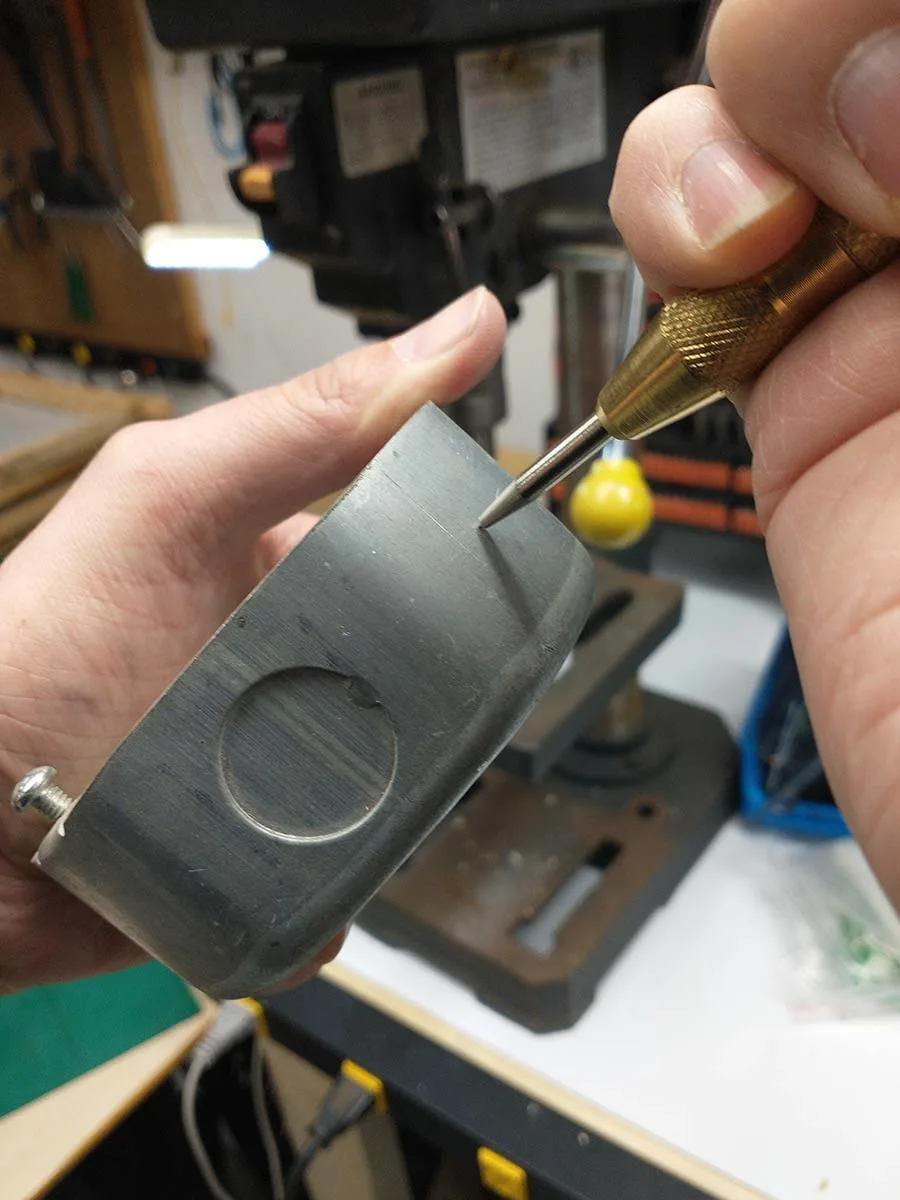
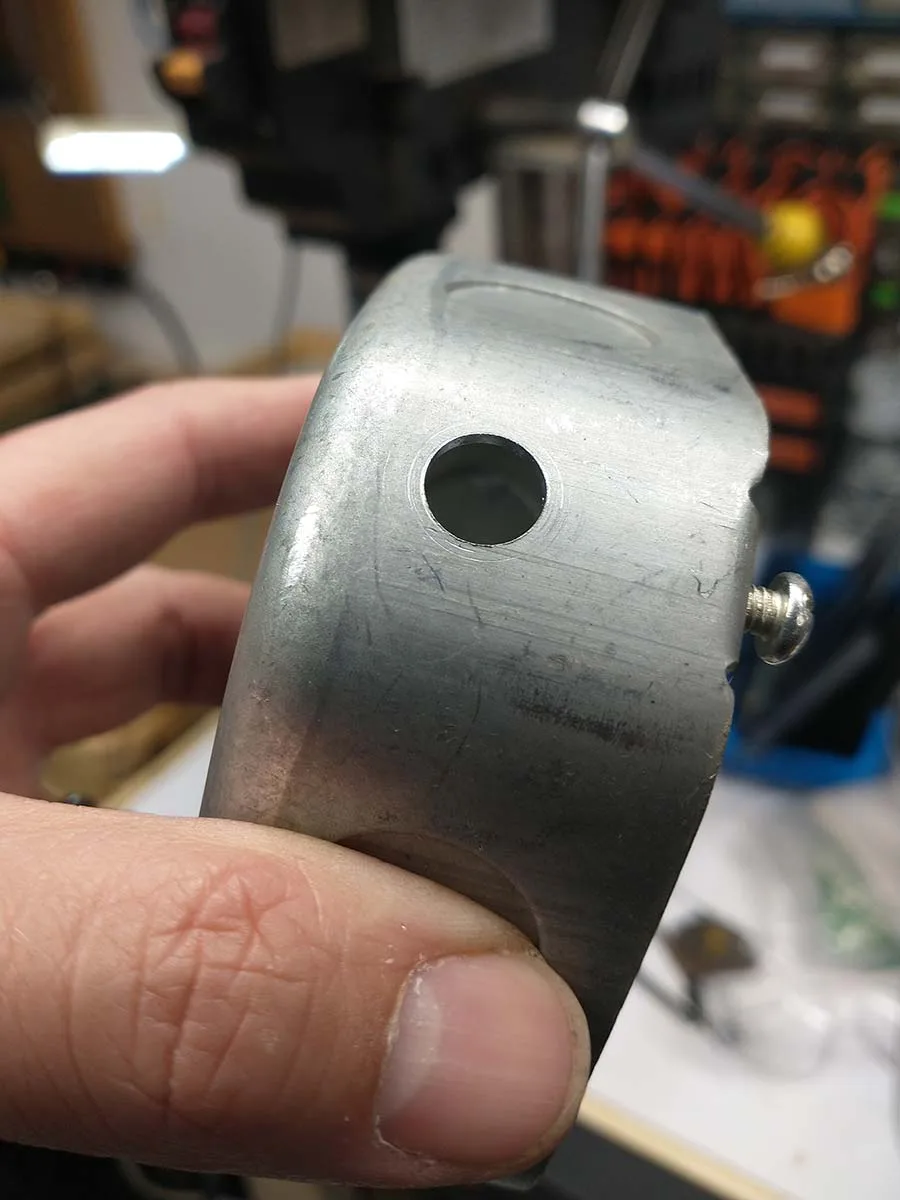
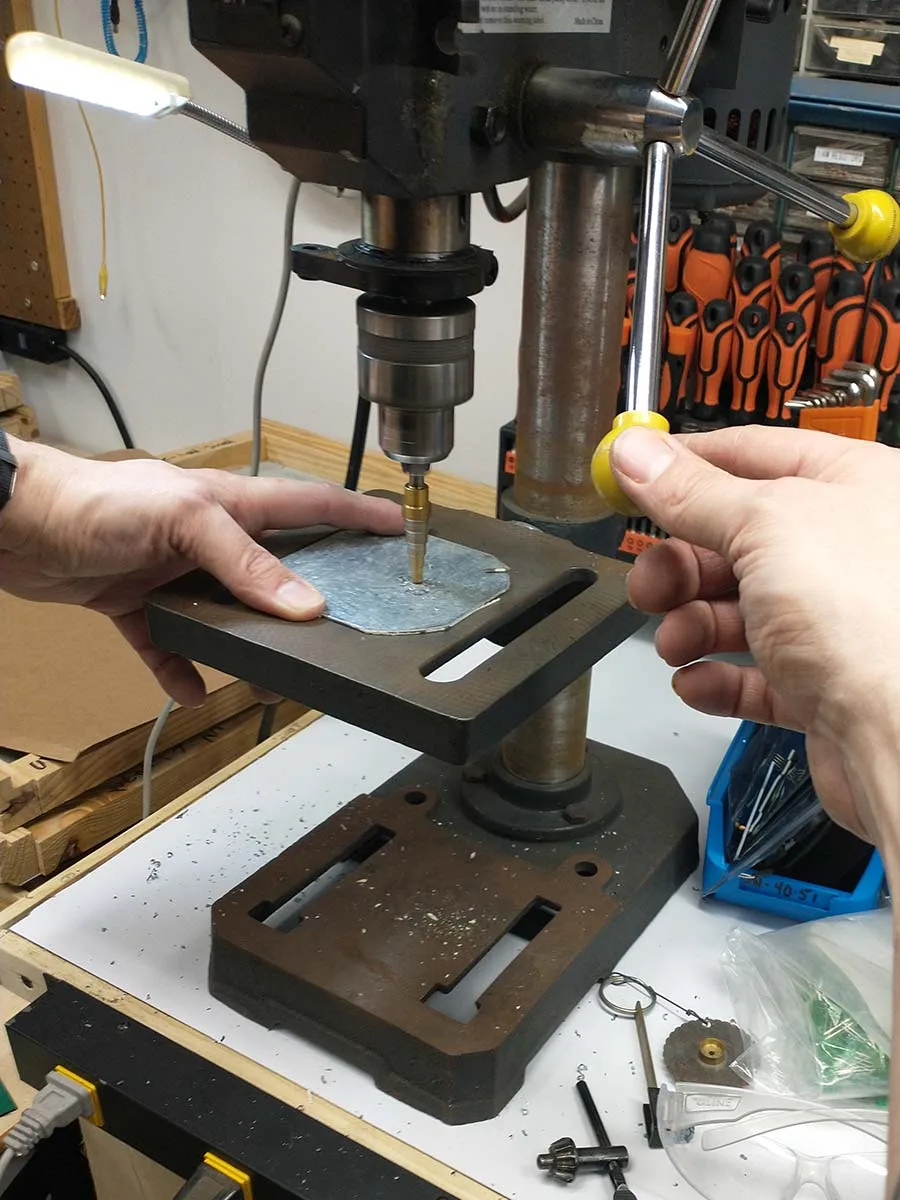
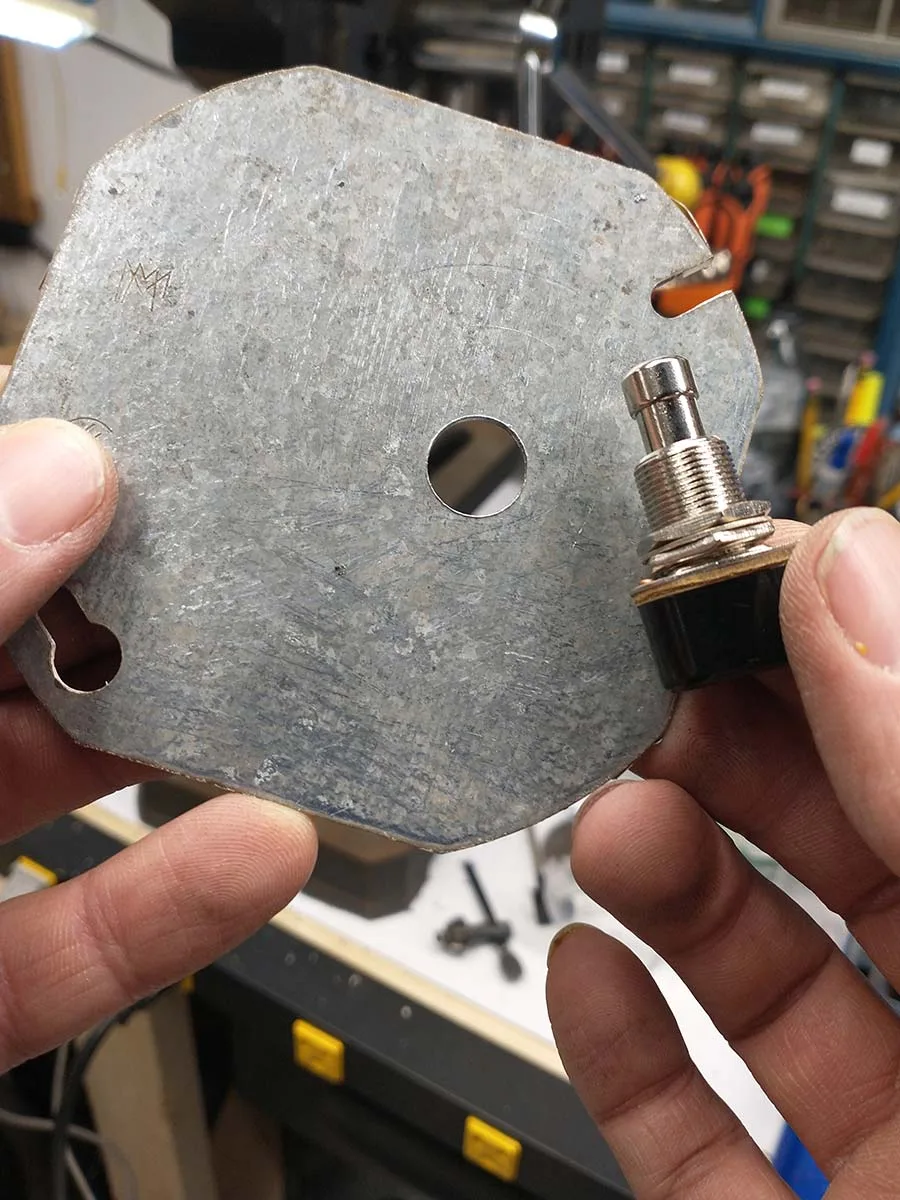
Then I drilled a ½” hole in the lid of the box for the switch.

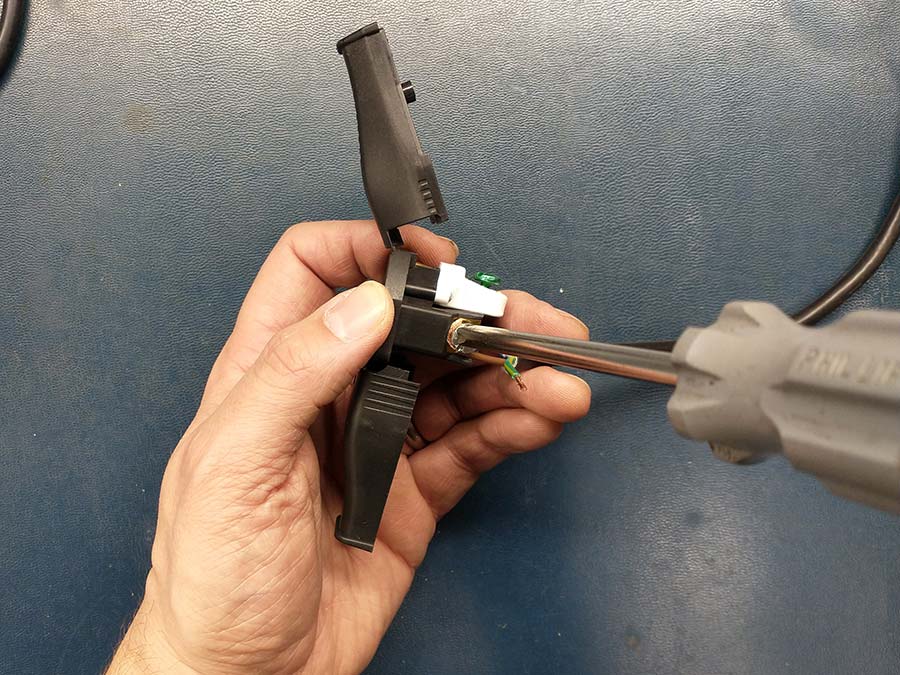
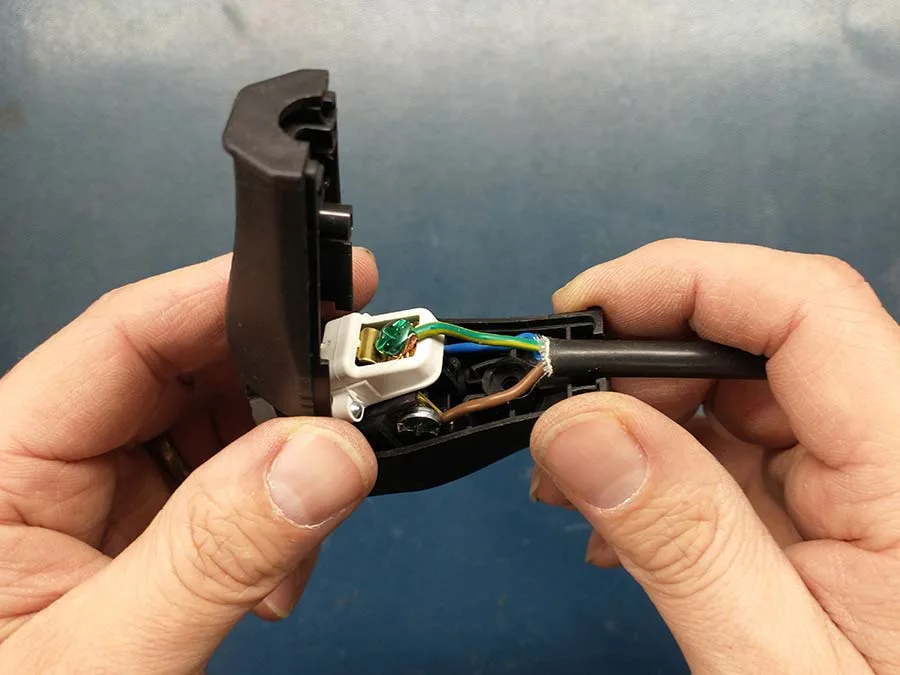
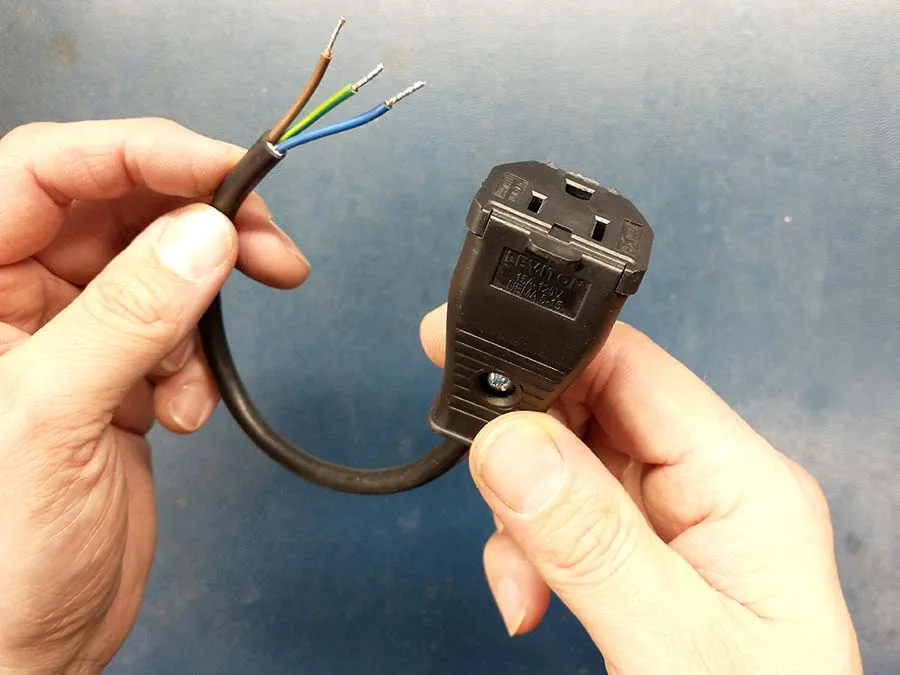
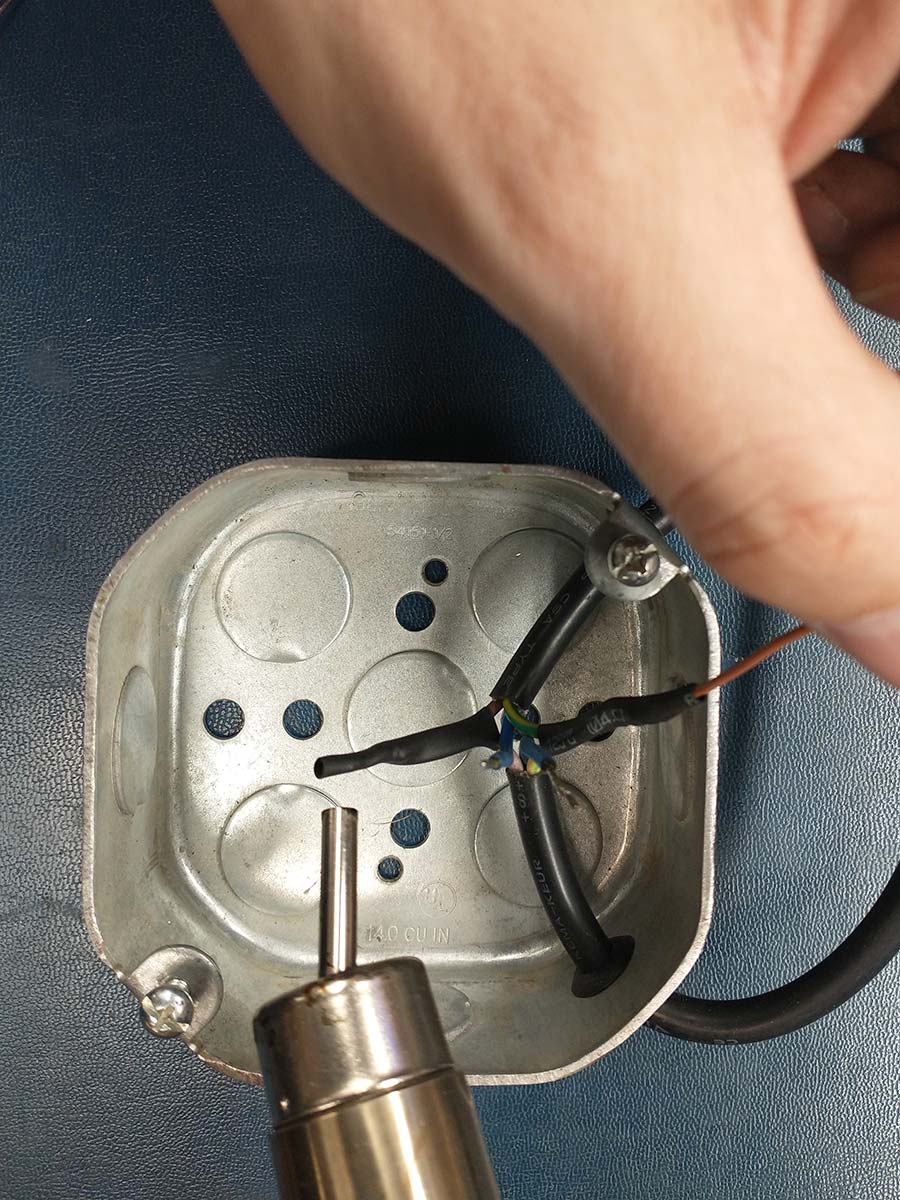
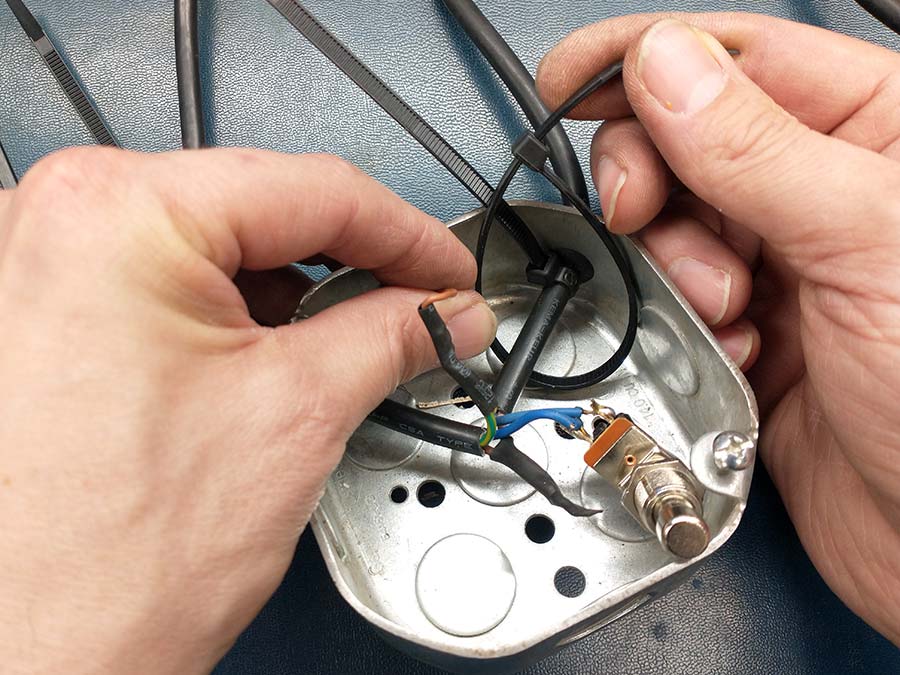
I stripped and tinned each of the 3 wires of the power cable. I used another shorter piece of an IEC power cable for the female power output jack. I stripped each of it’s 3 wires on both ends. I attached the female replacement socket on one end of the short cable, making sure the neutral and hot wires were in their proper place.
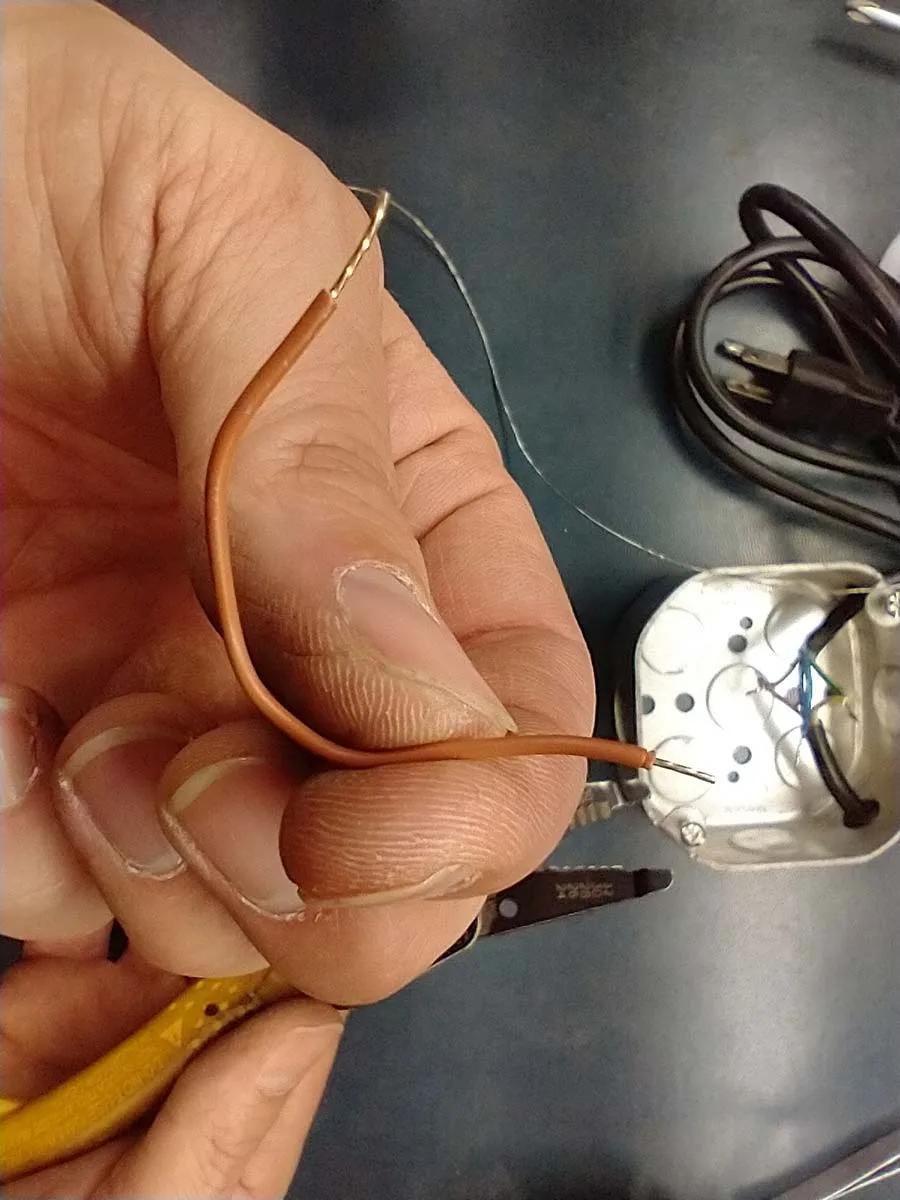
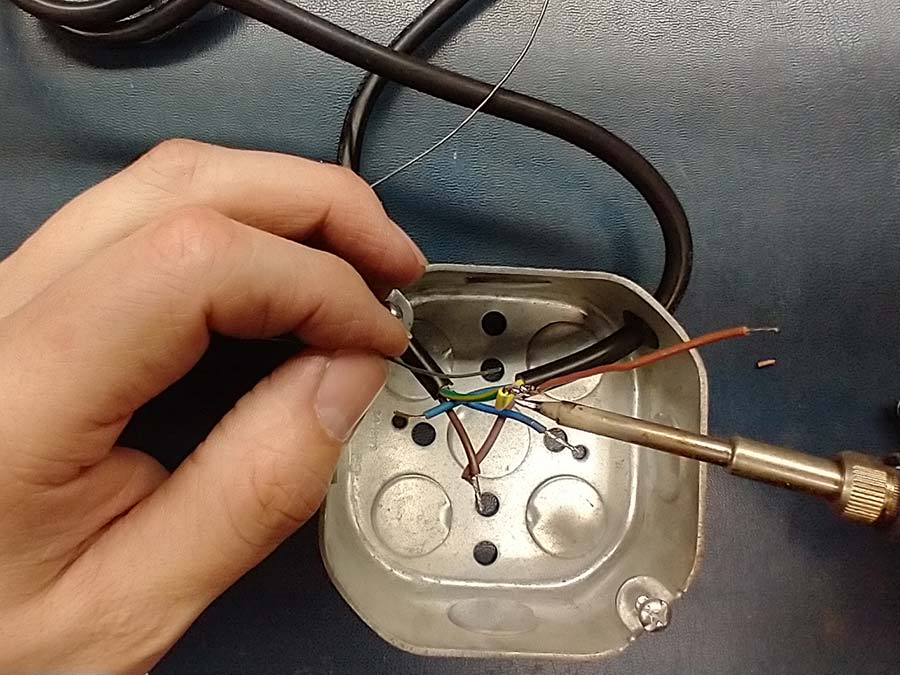
I ran both of these cables through the holes in the box that I drilled. I soldered the neutral wires from both cables together. I also soldered the ground wires from both cables together, along with a smaller wire that I could attach to the junction box to keep it at ground potential. This is very important in case the hot wire somehow got shorted to the box. In which case, the fuse or breaker would blow instead of allowing the box potential voltage to be at 120V, and possibly electrocuting someone. I used heat shrink around each of these solder joints. Then I soldered the hot wires to each leg of the switch. When the switch is pressed, the wires are connected together allowing the vacuum to turn on.
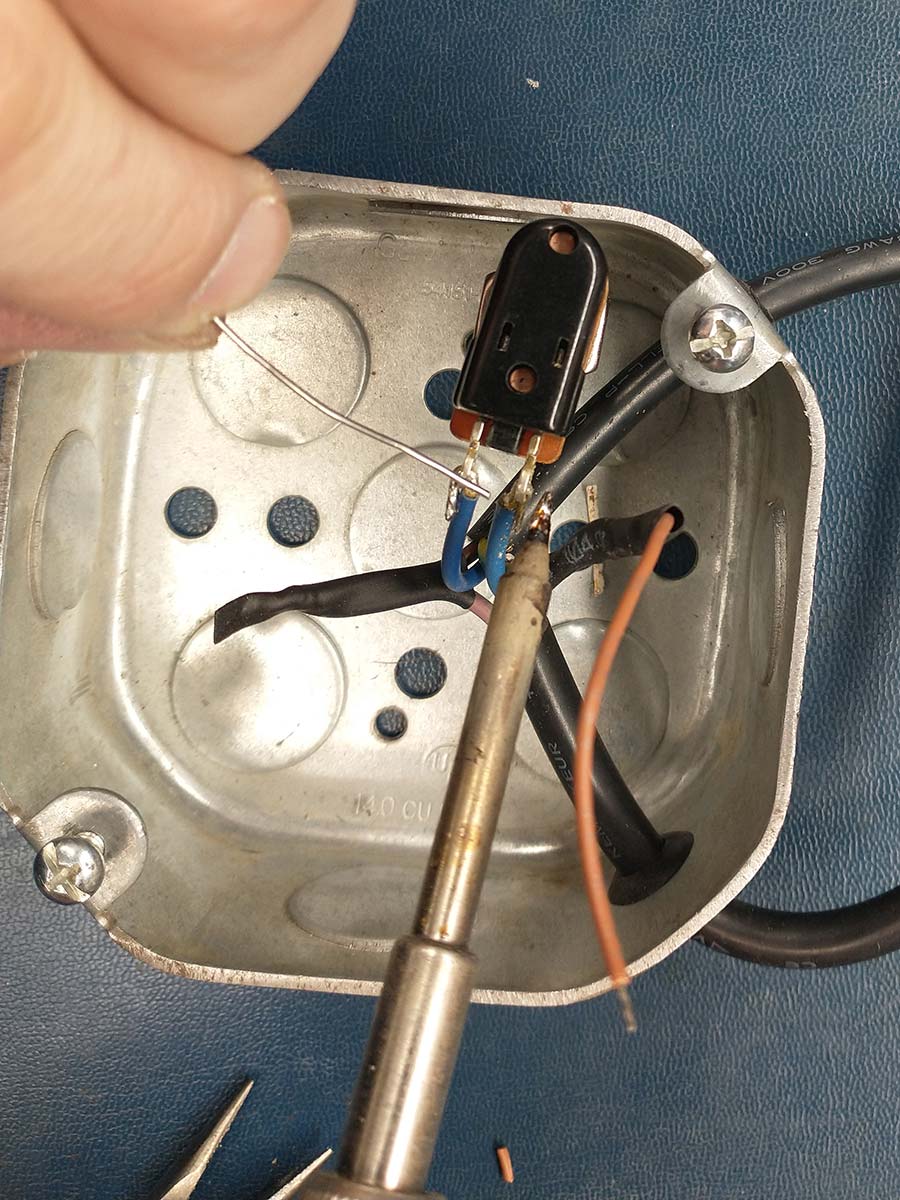
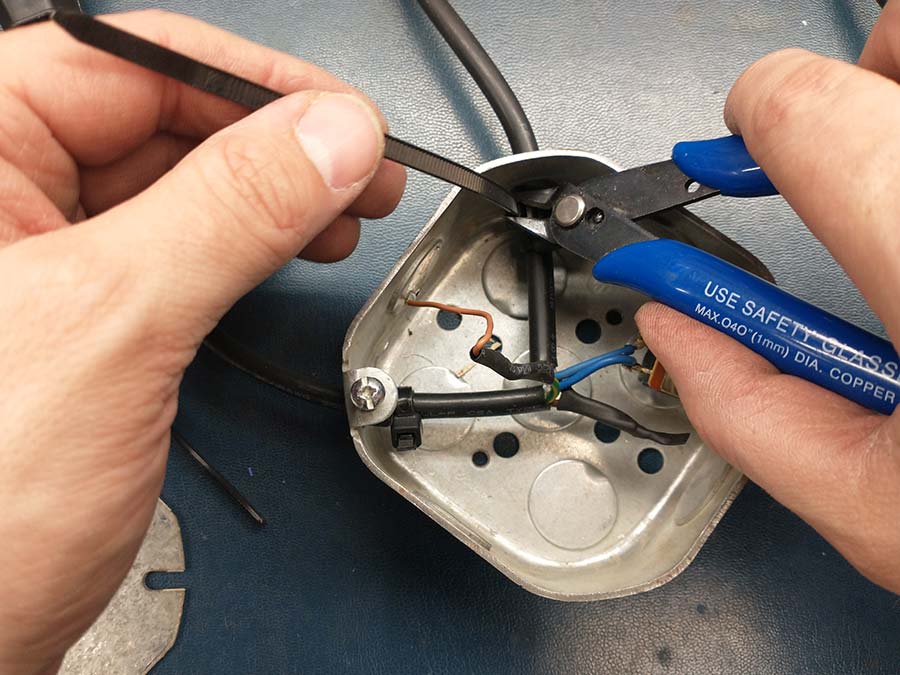
After all the wires were soldered, I attached zip ties to each of the cables on the inside of the box to help hold them in place and keep them from pulling against the solder joints.
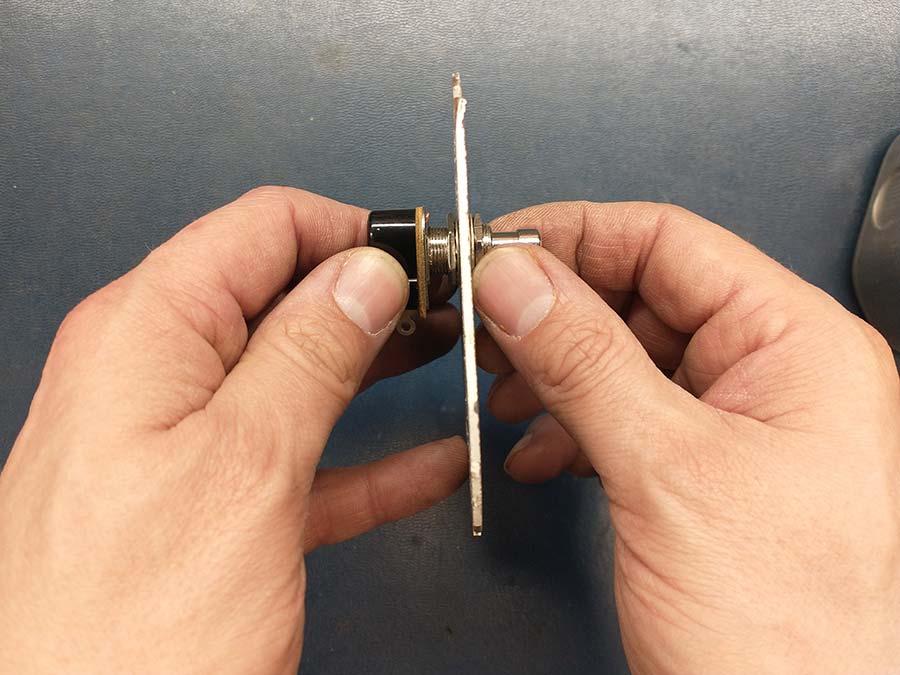
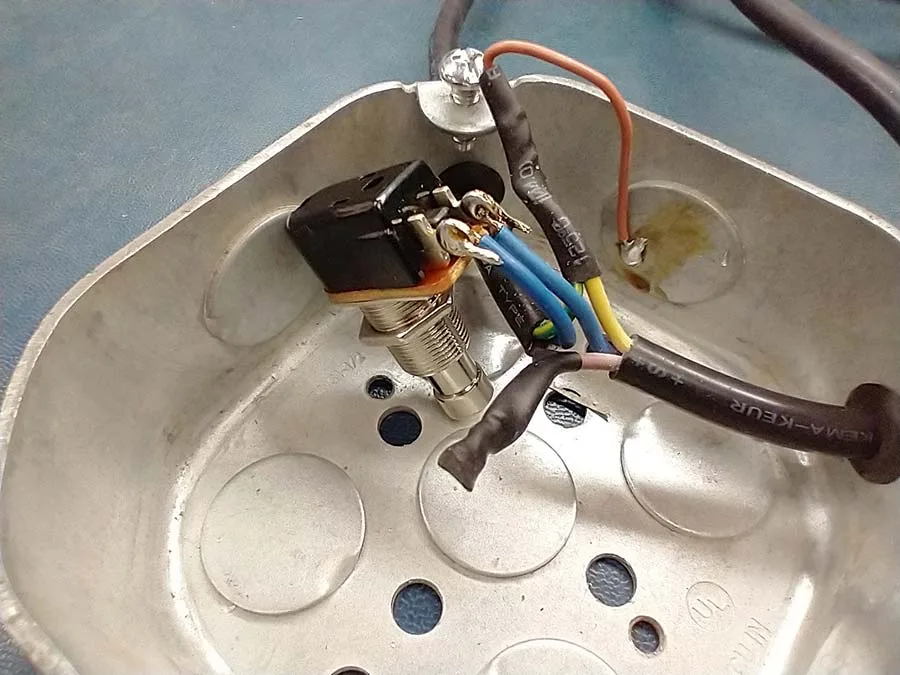
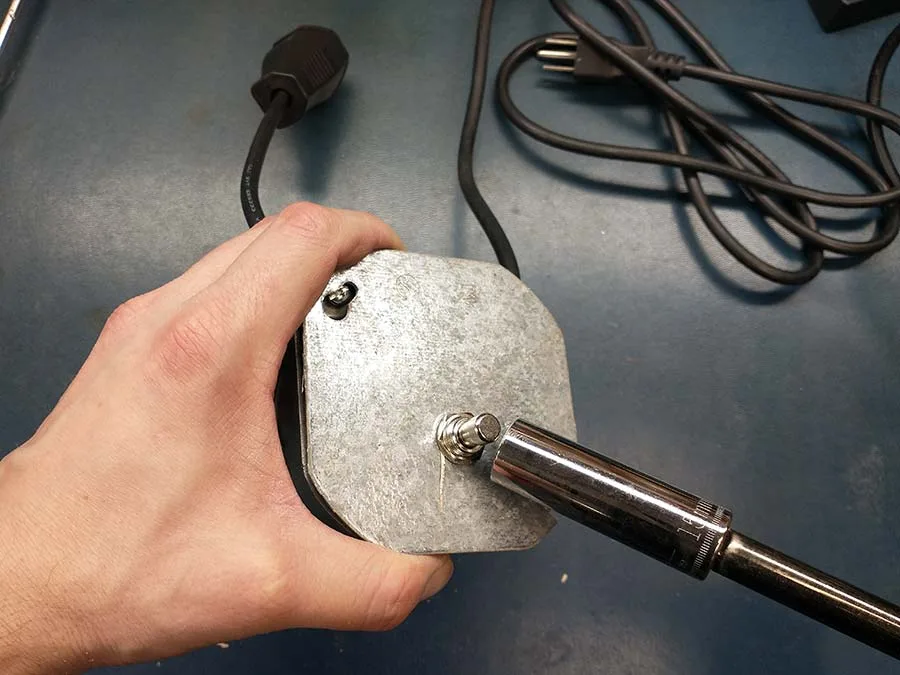
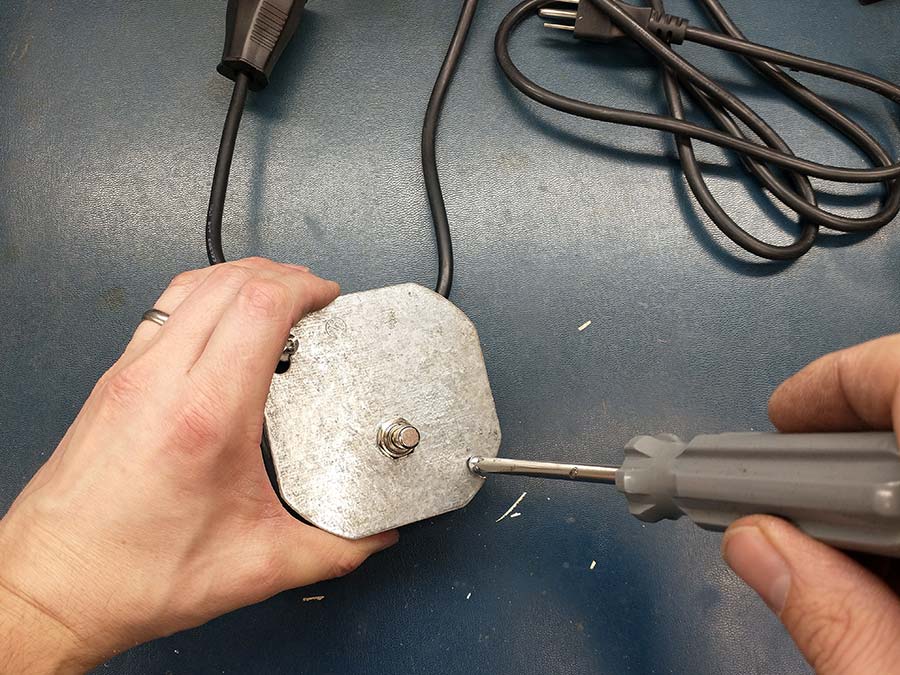
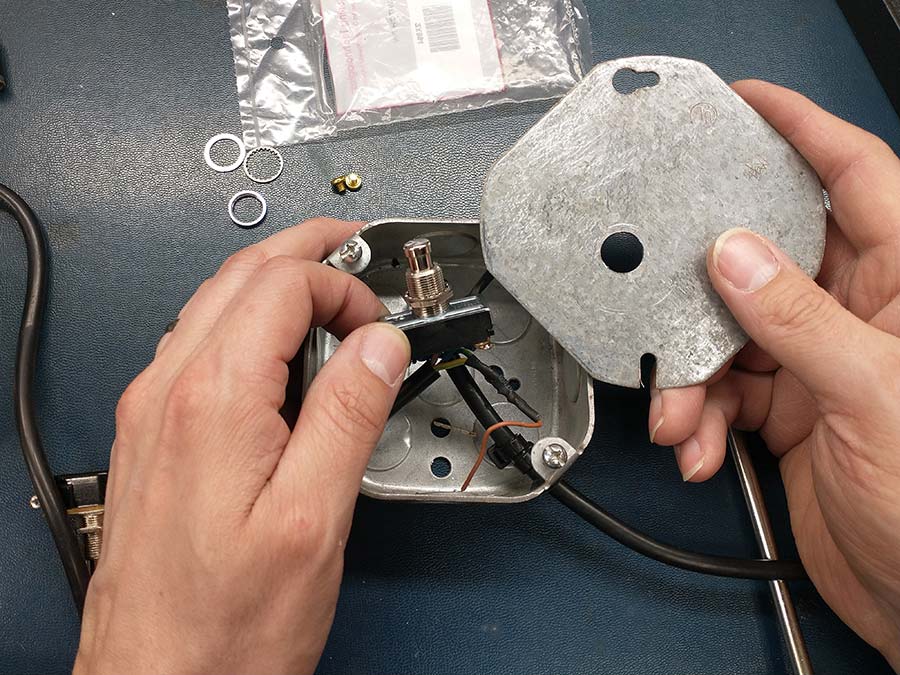
Once all the wires were soldered, I attached the switch to the lid of the box. I used lock washers on both sides of the box lid to help keep the switch from coming loose and rotating around in the box.
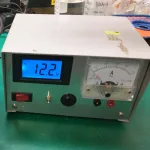
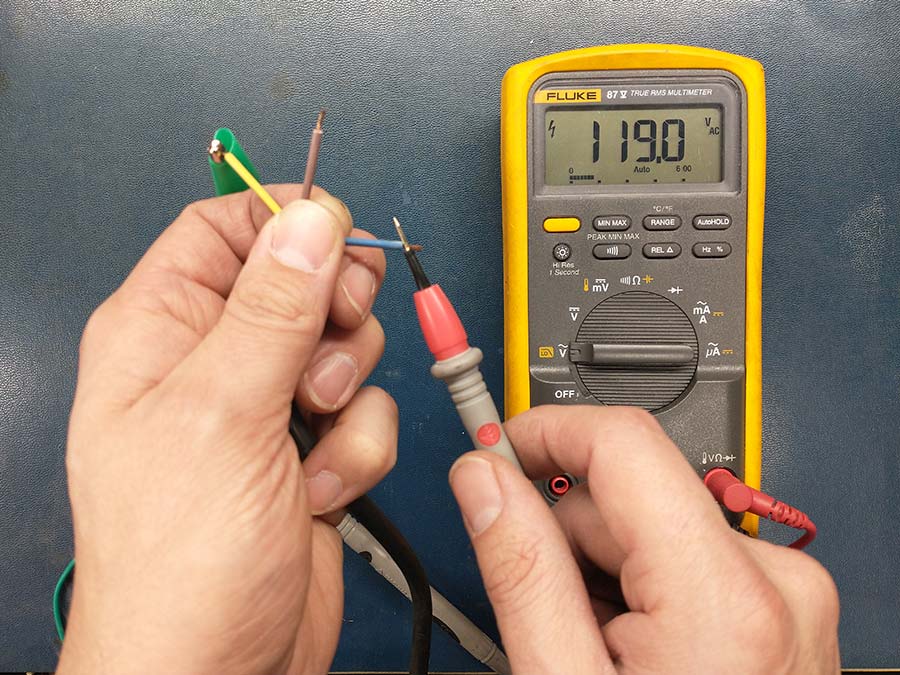
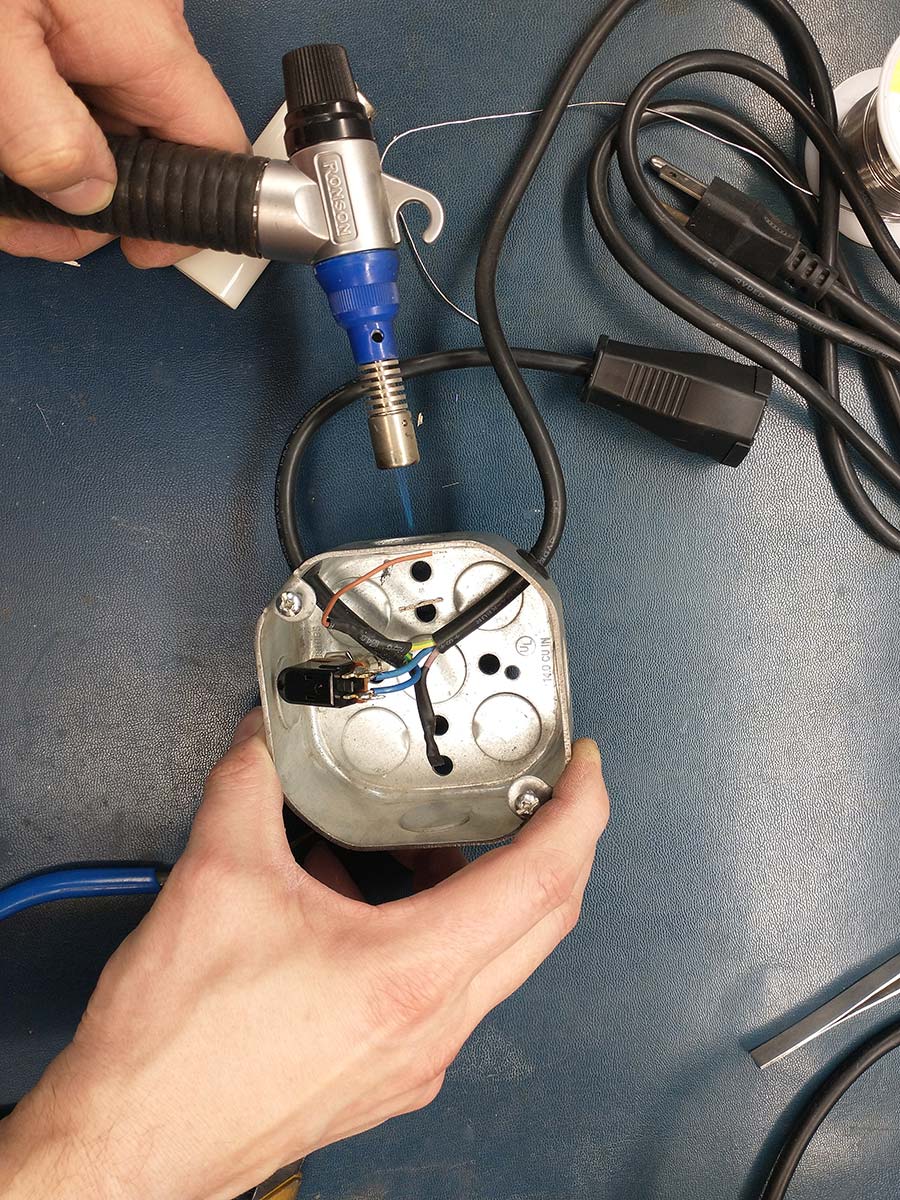
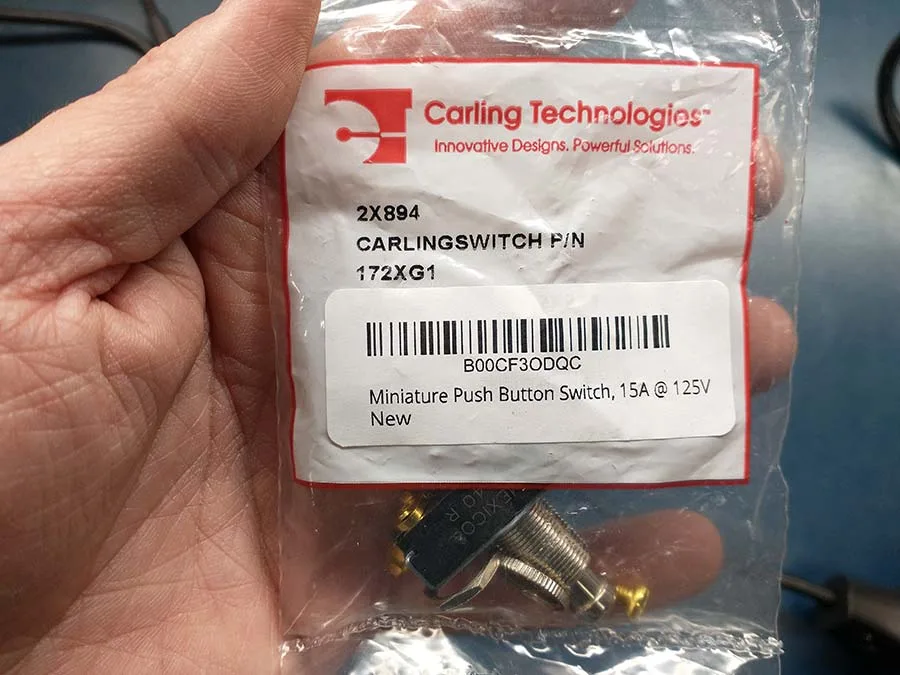
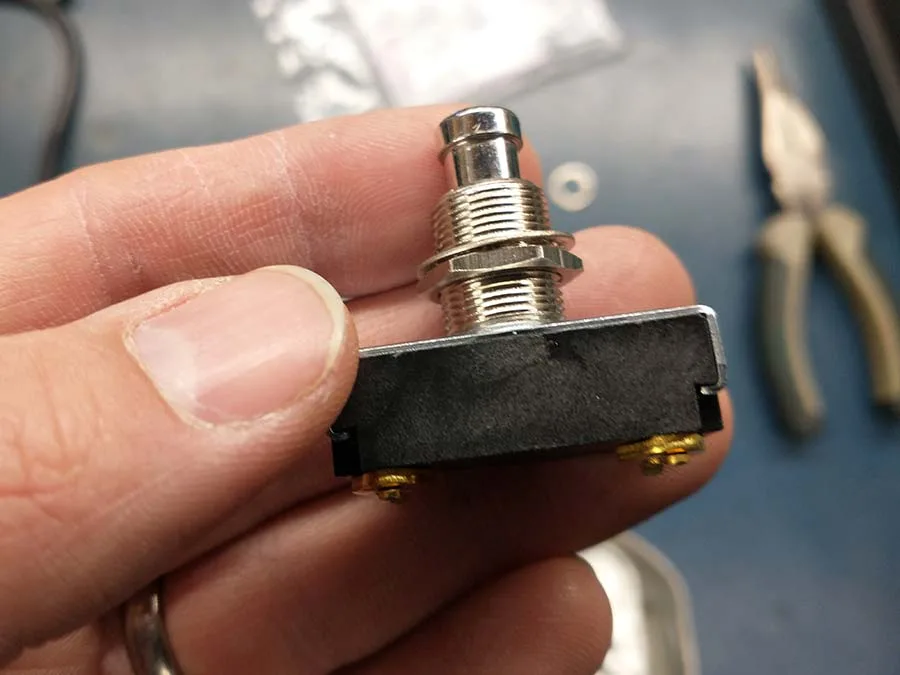
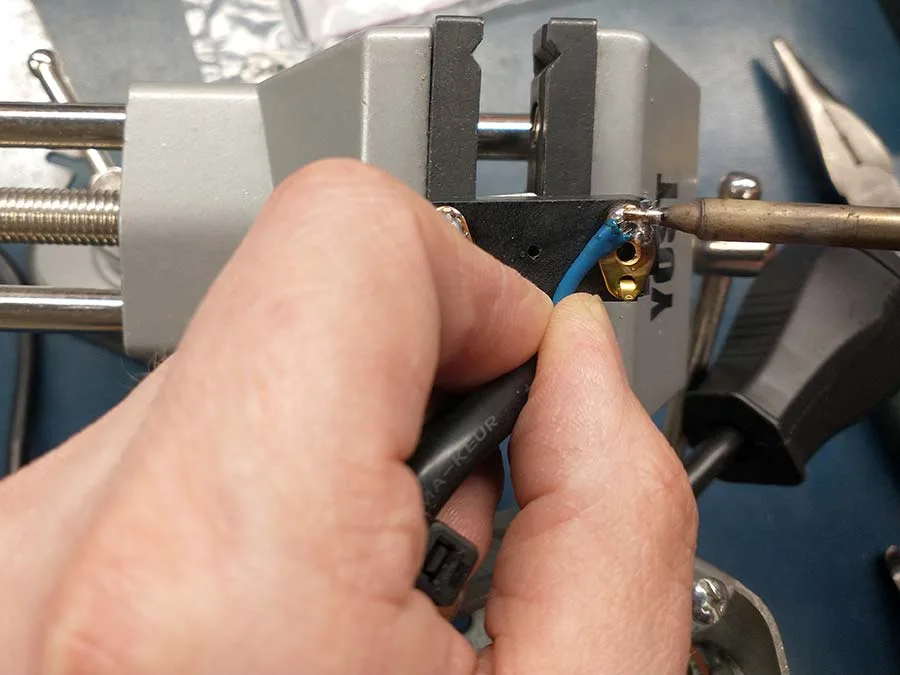
Once I got everything assembled I tried it out with my shop vac. I plugged it into my variac, which has fuses installed in case something was wired incorrectly. When I pressed the footswitch everything worked properly, except I noticed the current meter on my variac was maxed out beyond 5 amps! I realized that I forgot to consider how much current the shop vac would use and the foot switch I was using only had a current rating of 2 amps (at 220V, which is about 3.7 amps at 120V). This was no good! I quickly turned the vacuum off before it blew the variac’s fuse and stared searching online for a footswitch that would be suitable for this application. I ended up finding a footswitch on Amazon that was rated for 15 amps at 125V. Once it arrived in the mail I swapped it out with the original switch. I chose to solder the wires to the terminals instead of using the screw terminals because I really don’t want any wires to come loose inside this metal box. Everything worked very well once I got it installed.
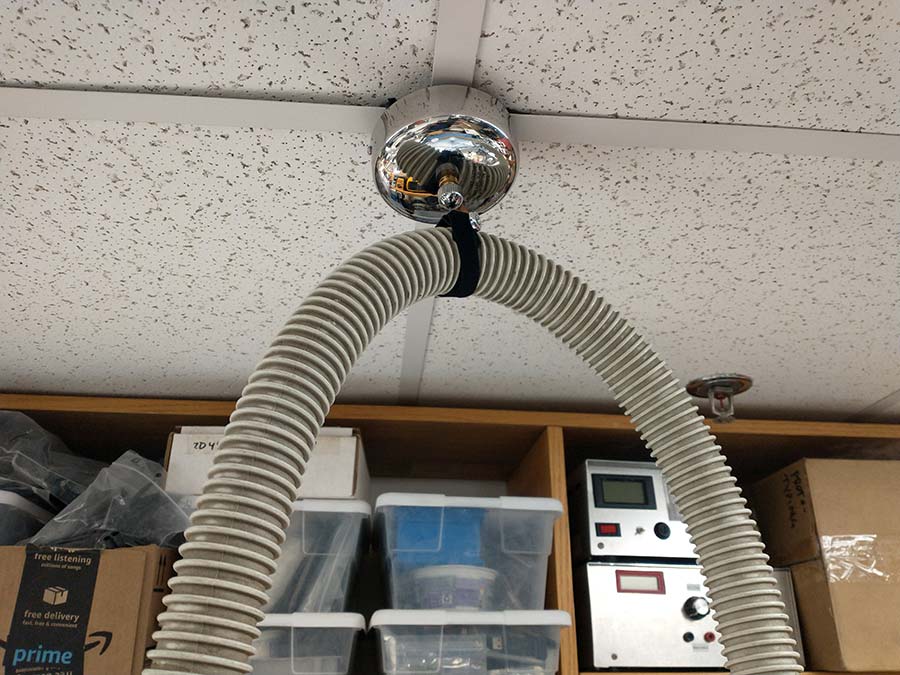
For convenience, I ended up using a retractable clothesline (also purchased on Amazon) to hand the vacuum hose from the ceiling. This way, when I need to use the vacuum, I can just pull the hose down and press the footswitch. When I release the hose it gets pulled back up to the ceiling.
This is a great tool for my bench to have and I’m very pleased with how it turned out. I’ll be using it a lot!