- Your cart is empty
- Continue Shopping
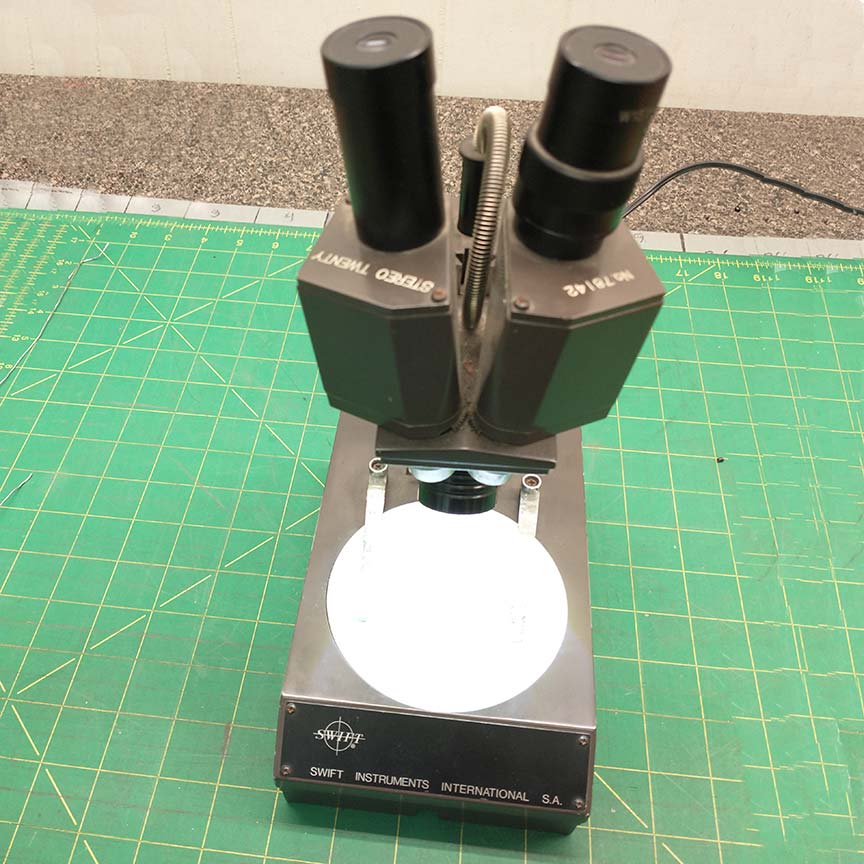
Observation Microscope LED mod
Adding more light to help me see small things.
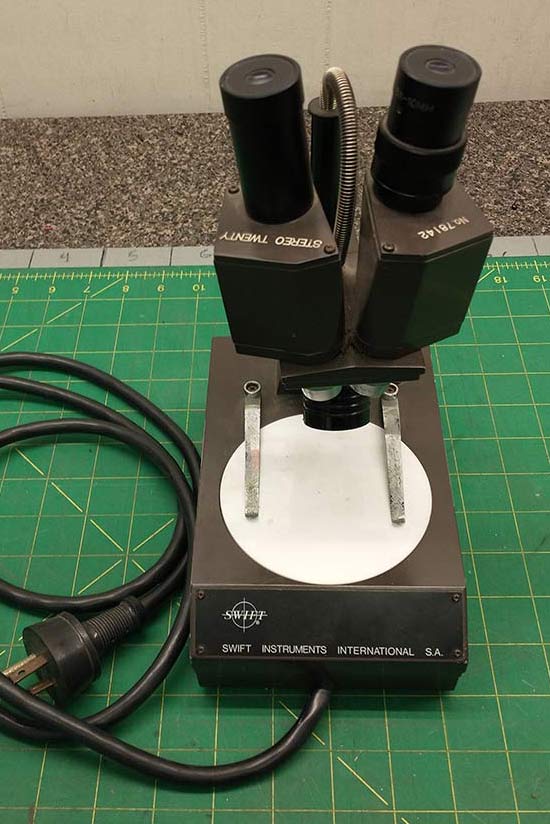
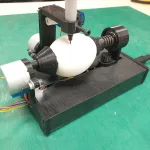
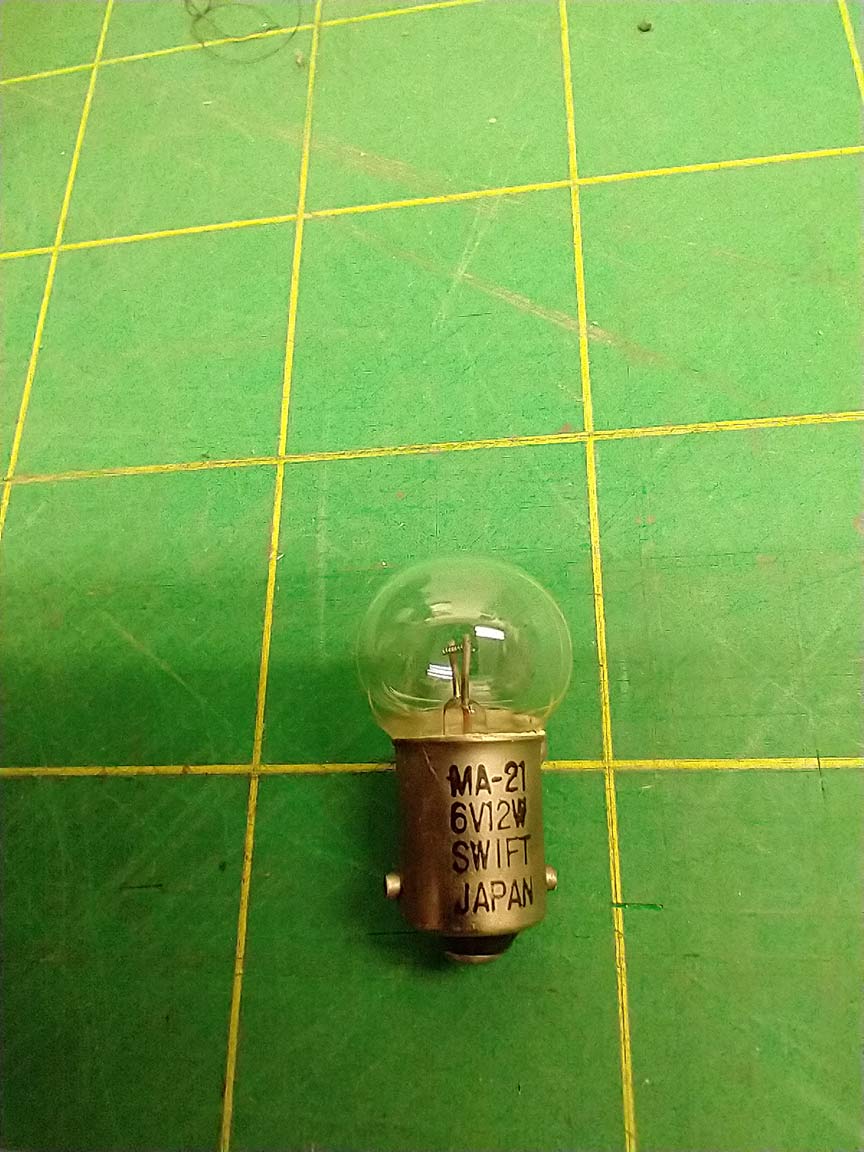
Someone recently gave me an old stereo observation microscope. These things are useful in working with small components and soldering tiny devices. The only problem with this one was that it’s light bulb burned out. It used a bayonet style BA9s 6V, 12W bulb. These types of bulbs are relatively inefficient, meaning that they use a lot of energy compared to how much light they actually put out. And at only 12 watts, this particular bulb doesn’t give much light…at least not enough for me. I like my light sources bright!
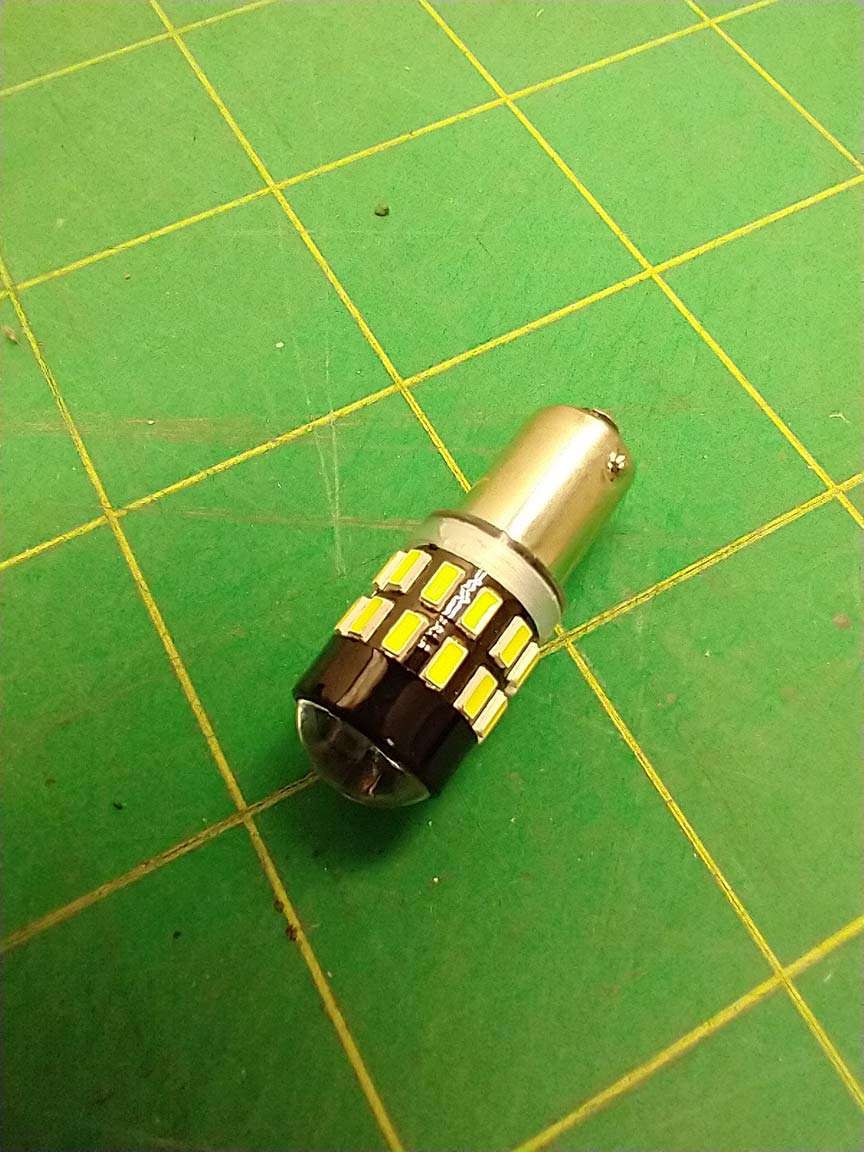
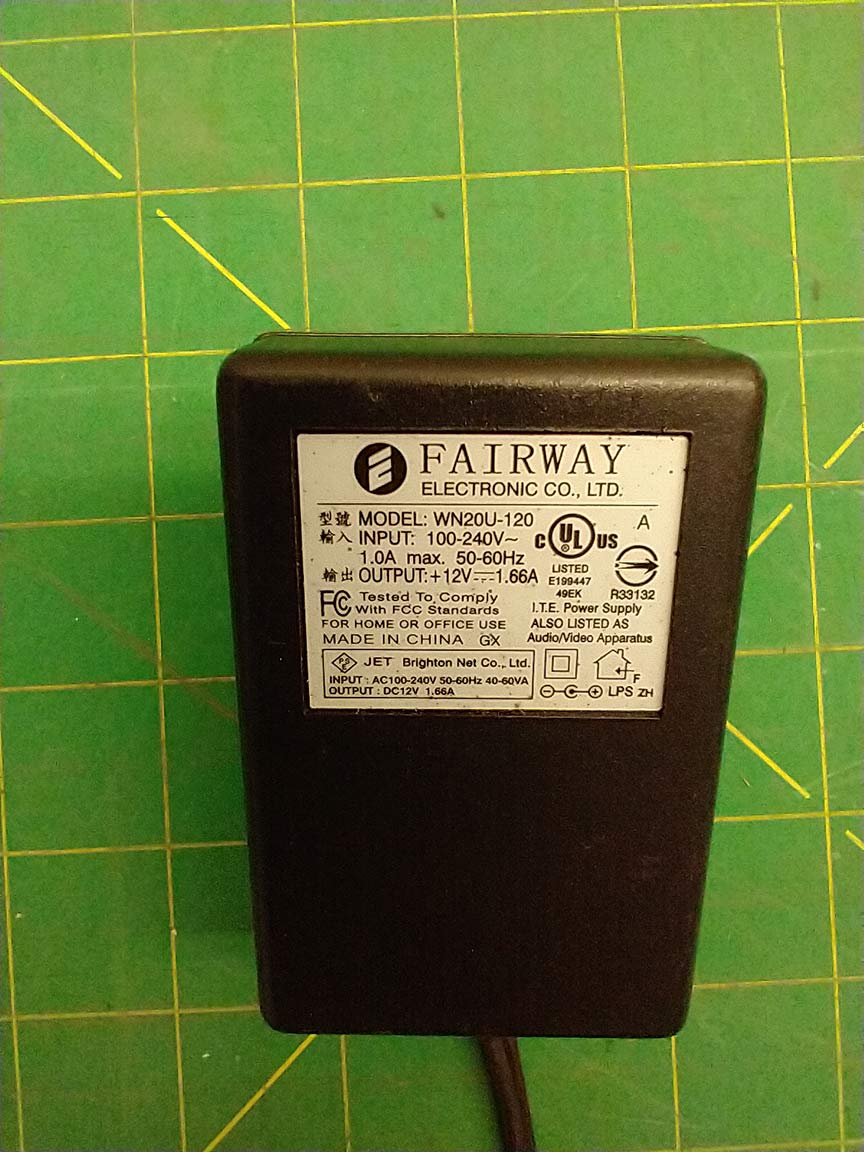
So I decided to modify this microscope with a much more efficient LED bulb. I found a BA9s type LED bulb on Amazon that could work well. It requires 12Vdc and uses 3.4W of power…which means it’s power supply has to provide 283mA of current (3.4W/12V=.283A). We could have used basically any type of LED bulb that would have fit in the bayonet base. I ended up with this bulb because it matched the 12/1.66A power supply (wall wart) that I happened to have and it seemed to be bright enough to use in this capacity.
The old incandescent bulb was powered from AC voltage, delivered by a 6V transformer. This new LED bulb will have to be powered from DC so we have to use an external 12Vdc wall wart power supply. So this mod will involve adding a power jack on the microscope to receive the DC power from the wall wart. The DC jack will be wired through the original power switch on top of the microscope body, and then connected to the bayonet bulb base.
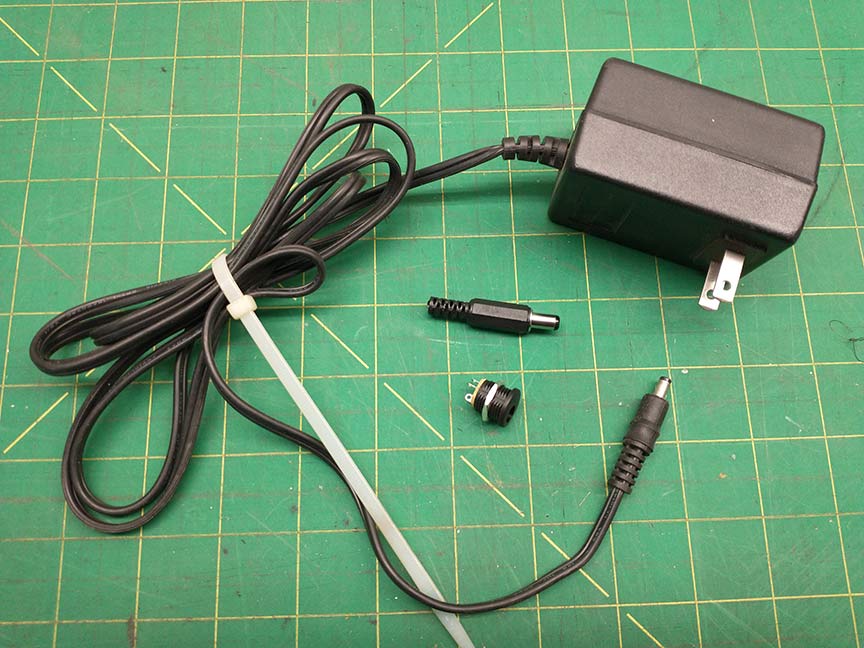
For this mod we’ll need a female barrel power jack and a wall wart for the power supply.
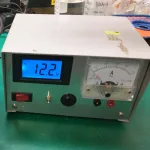
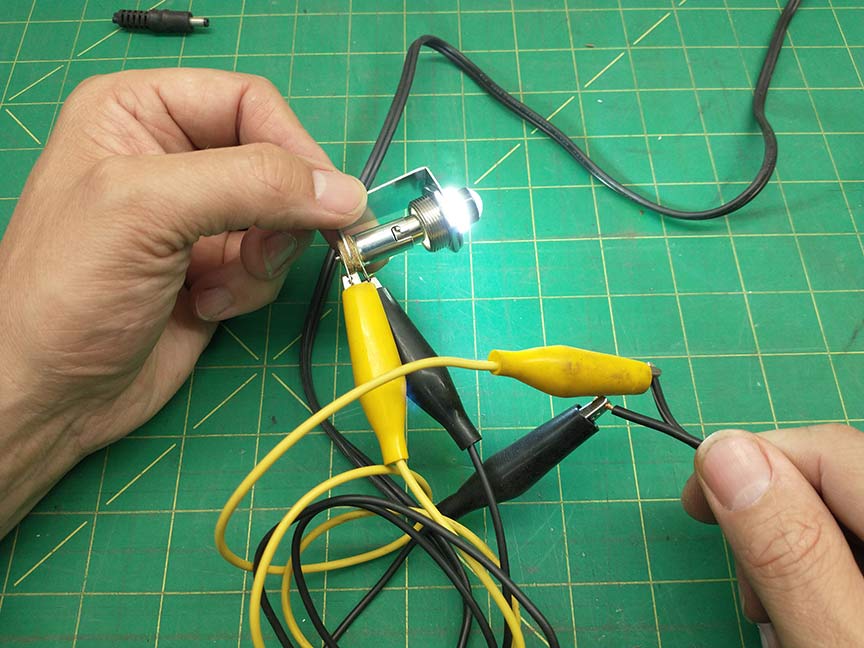
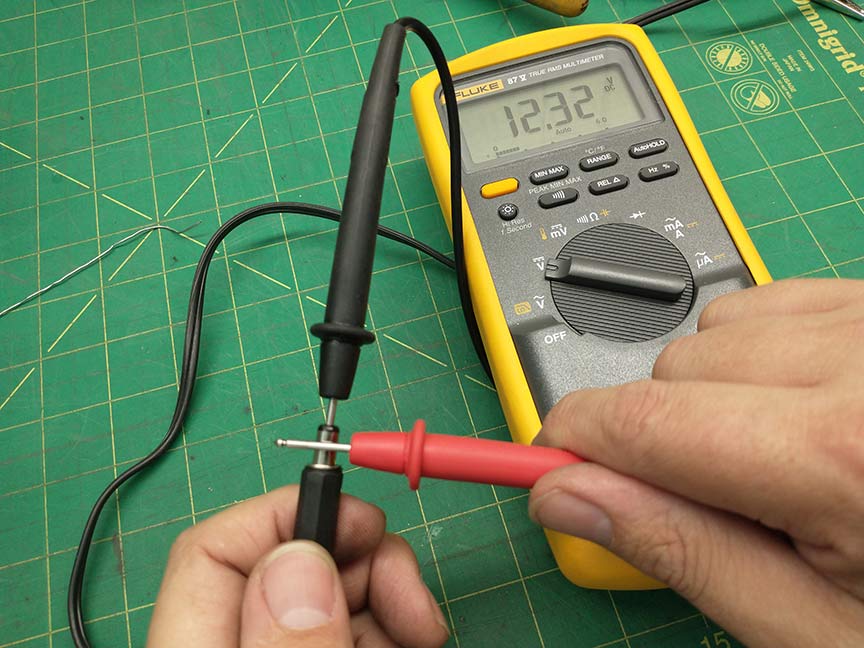
- The first thing I wanted to do do was test the LED bulb I got. I wanted to make sure I knew which terminal was positive and which was negative. I also wanted to make sure it would work with the wall wart I had. I plugged the LED bulb into a different bayonet bulb base and used the wall wart with jumper cables with alligator clips to power it…it worked!
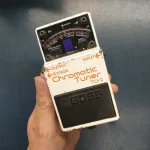
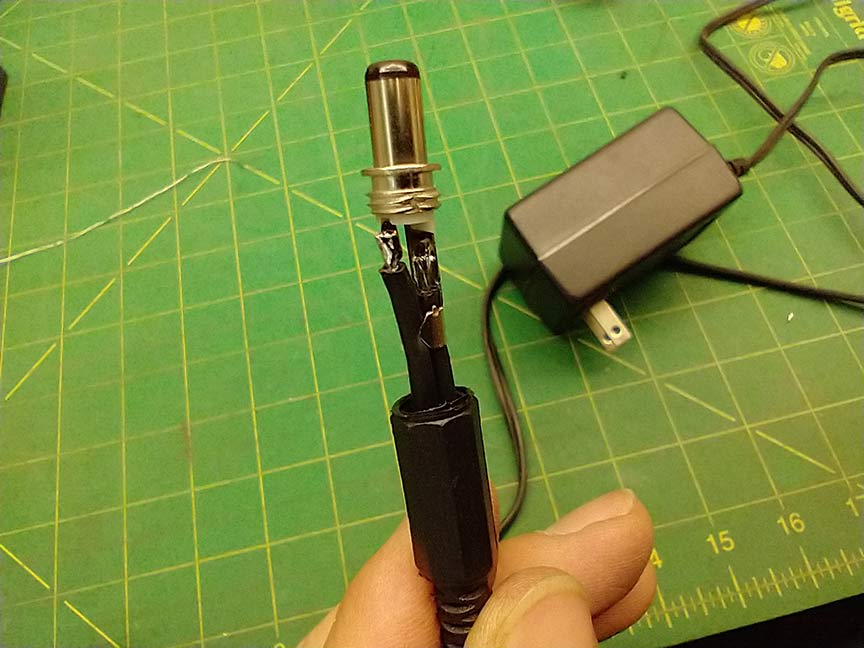
2. I needed to replace the barrel jack on the wall wart. The barrel jack that came with it didn’t fit in the panel mount female barrel jack I was planning on using. I clipped the old jack off and soldered on a new male jack. I want to use the same polarity standard as most guitar pedals….the inside tip is negative, the outside sleeve is positive. That way I could use a pedal power supply, if I lost my other wall wart.
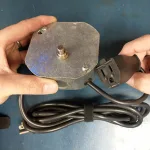
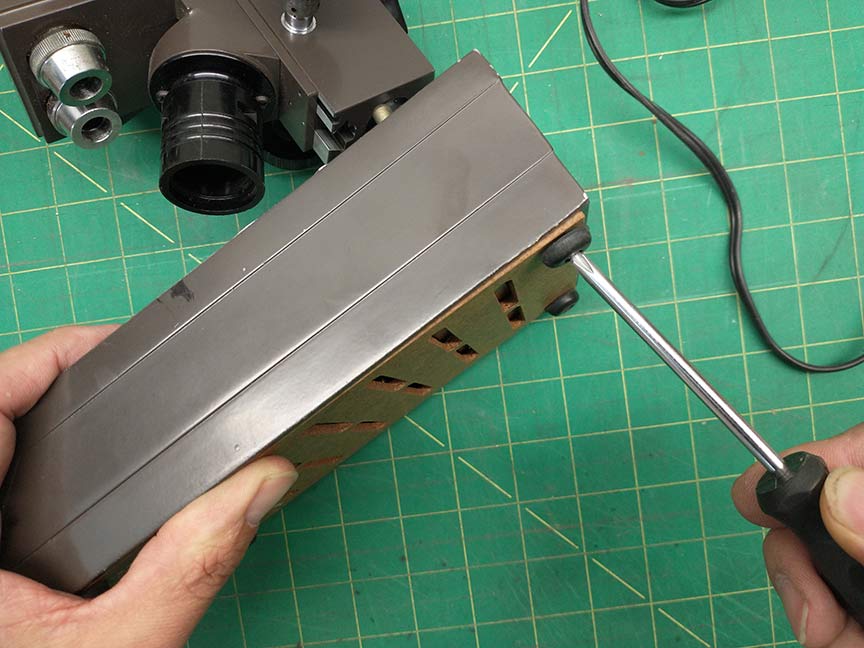
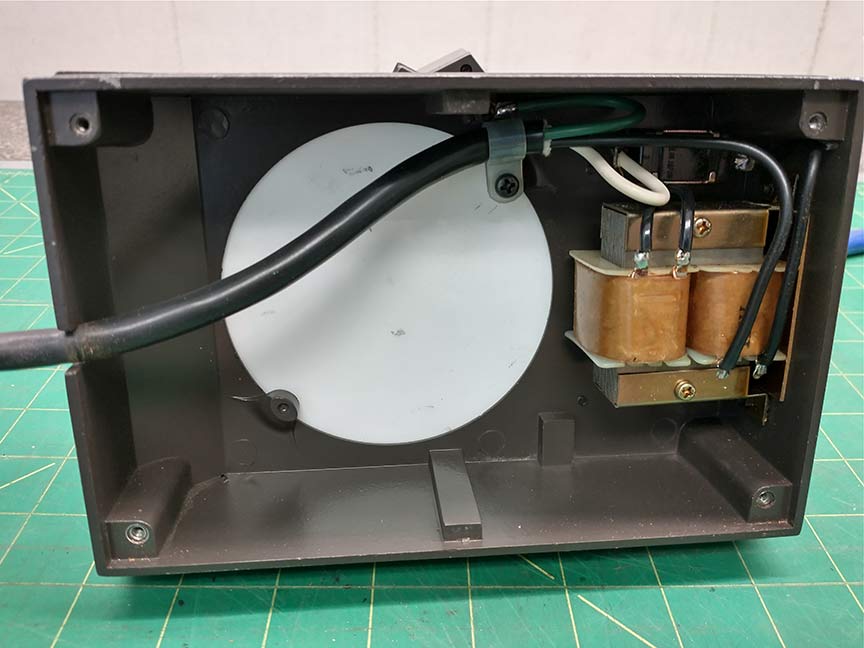
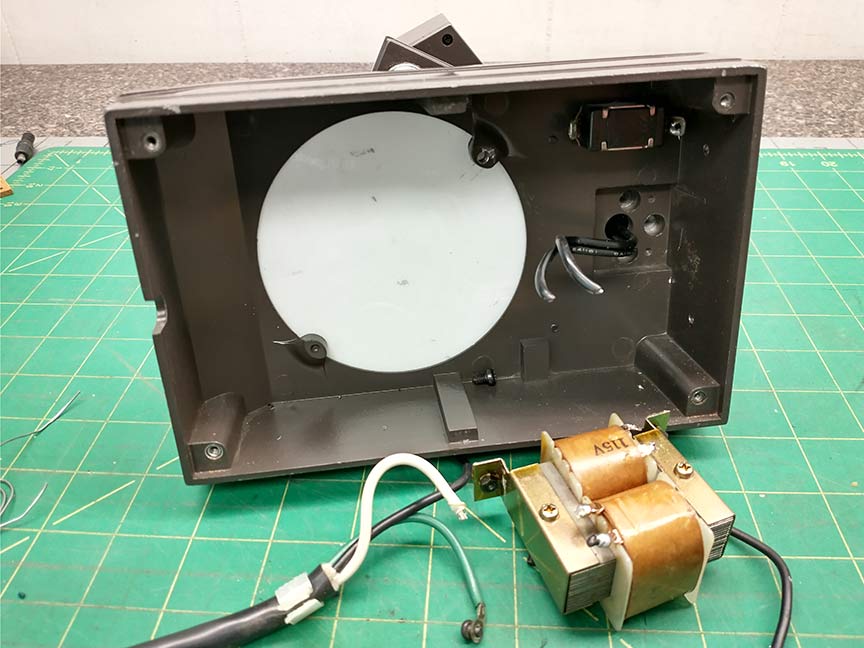
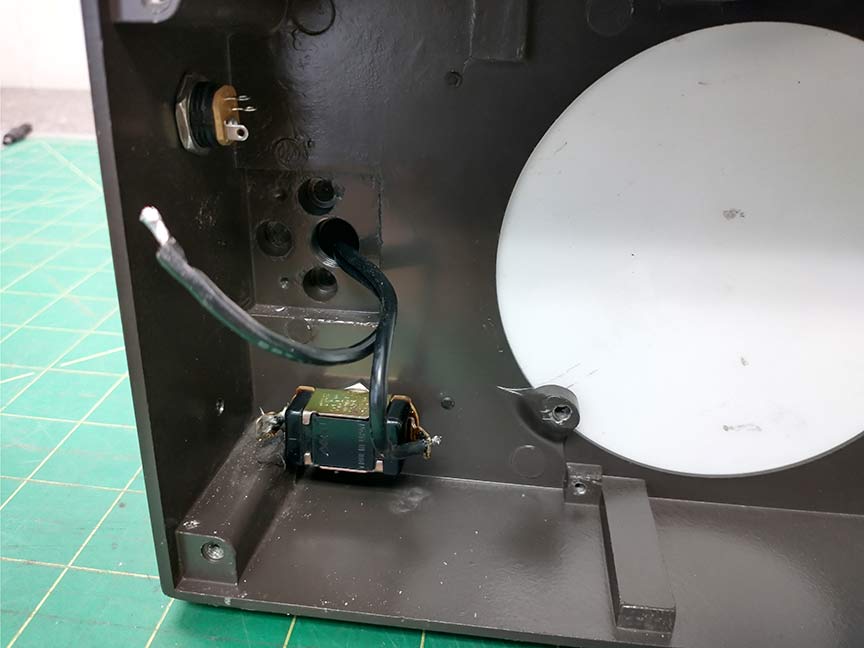
3. We needed to remove the unnecessary parts, mainly the power cable (which annoyingly attaches to the front of the microscope body), and the transformer which is inside the body. The bottom plate of the microscope was removed to get access to the transformer and cable. The transformer was just held on with 2 screws through the back of the body. The cable was clipped off from the switch and transformer. The only 2 wires that were left were attached to the bayonet bulb base.
4. I used a continuity test to find out which wire is connected to the positive side of the bulb (LED bulbs are polarized, meaning it matters which terminal is connected to the positive power rail. Incandescent bulbs are not polarized).

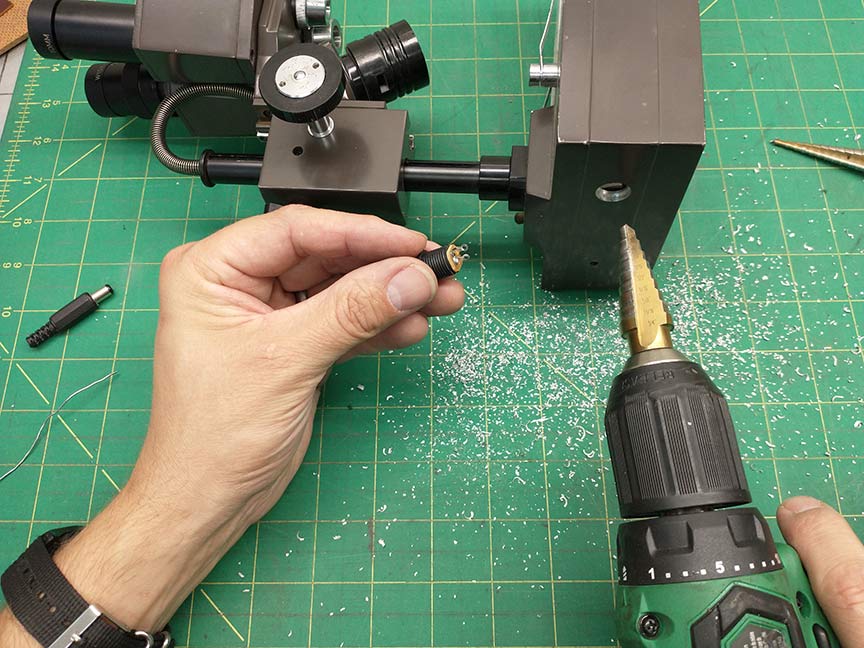
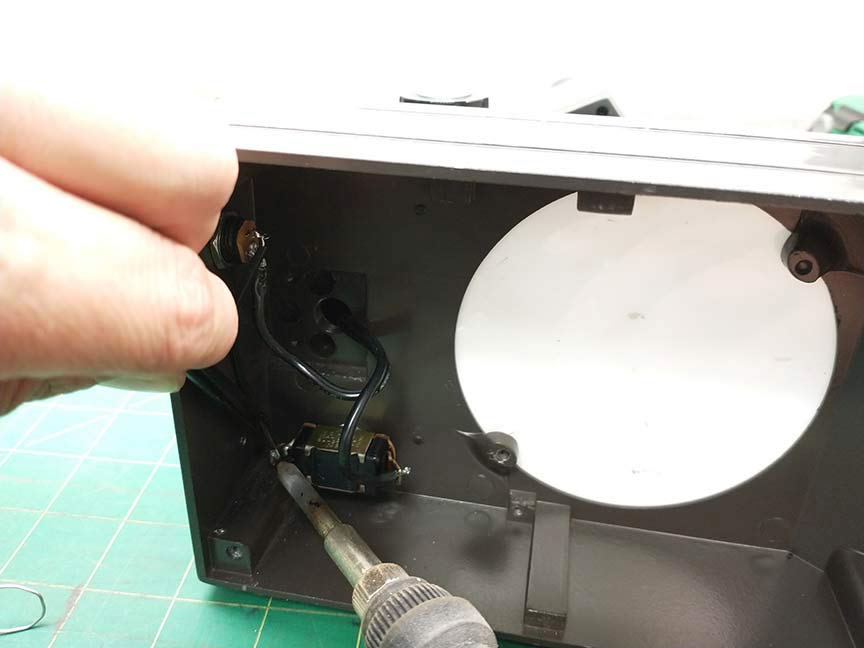
5. A hole was drilled in the body for the power jack. I used one of the screw holes from the transformer as the starting hole.
6. At this point the positive terminal of the panel jack just needed to be wired into the switch. The negative wire ran directly to the bayonet socket. The other wire from the bayonet jack was wired to the other lug of the switch.
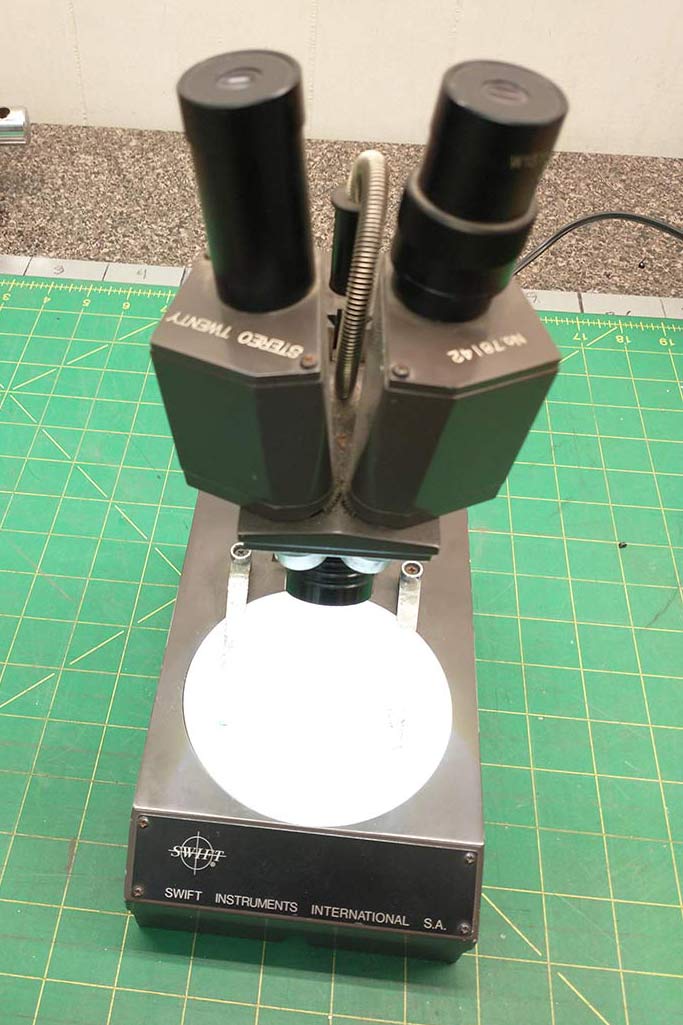
That’s basically it. I just installed the bulb, plugged in the wall wart, and flipped the switch and it worked!
If you are thinking of doing something like this, the only bit of advice I can give about a project this simple is to make sure the polarity of the power connections are correct. There are lots of different places to mix up the positive and negative wires. Triple check before soldering anything!
I’m really happy about how this mod turned out. The power cord isn’t coming out of the front of the microscope now, the power supply is detachable for easy storage, and the light on this thing is way brighter than before, making it much easier for me to see the small things I need to!